
How to Use a Mini Soil Blocker: Pros and Cons
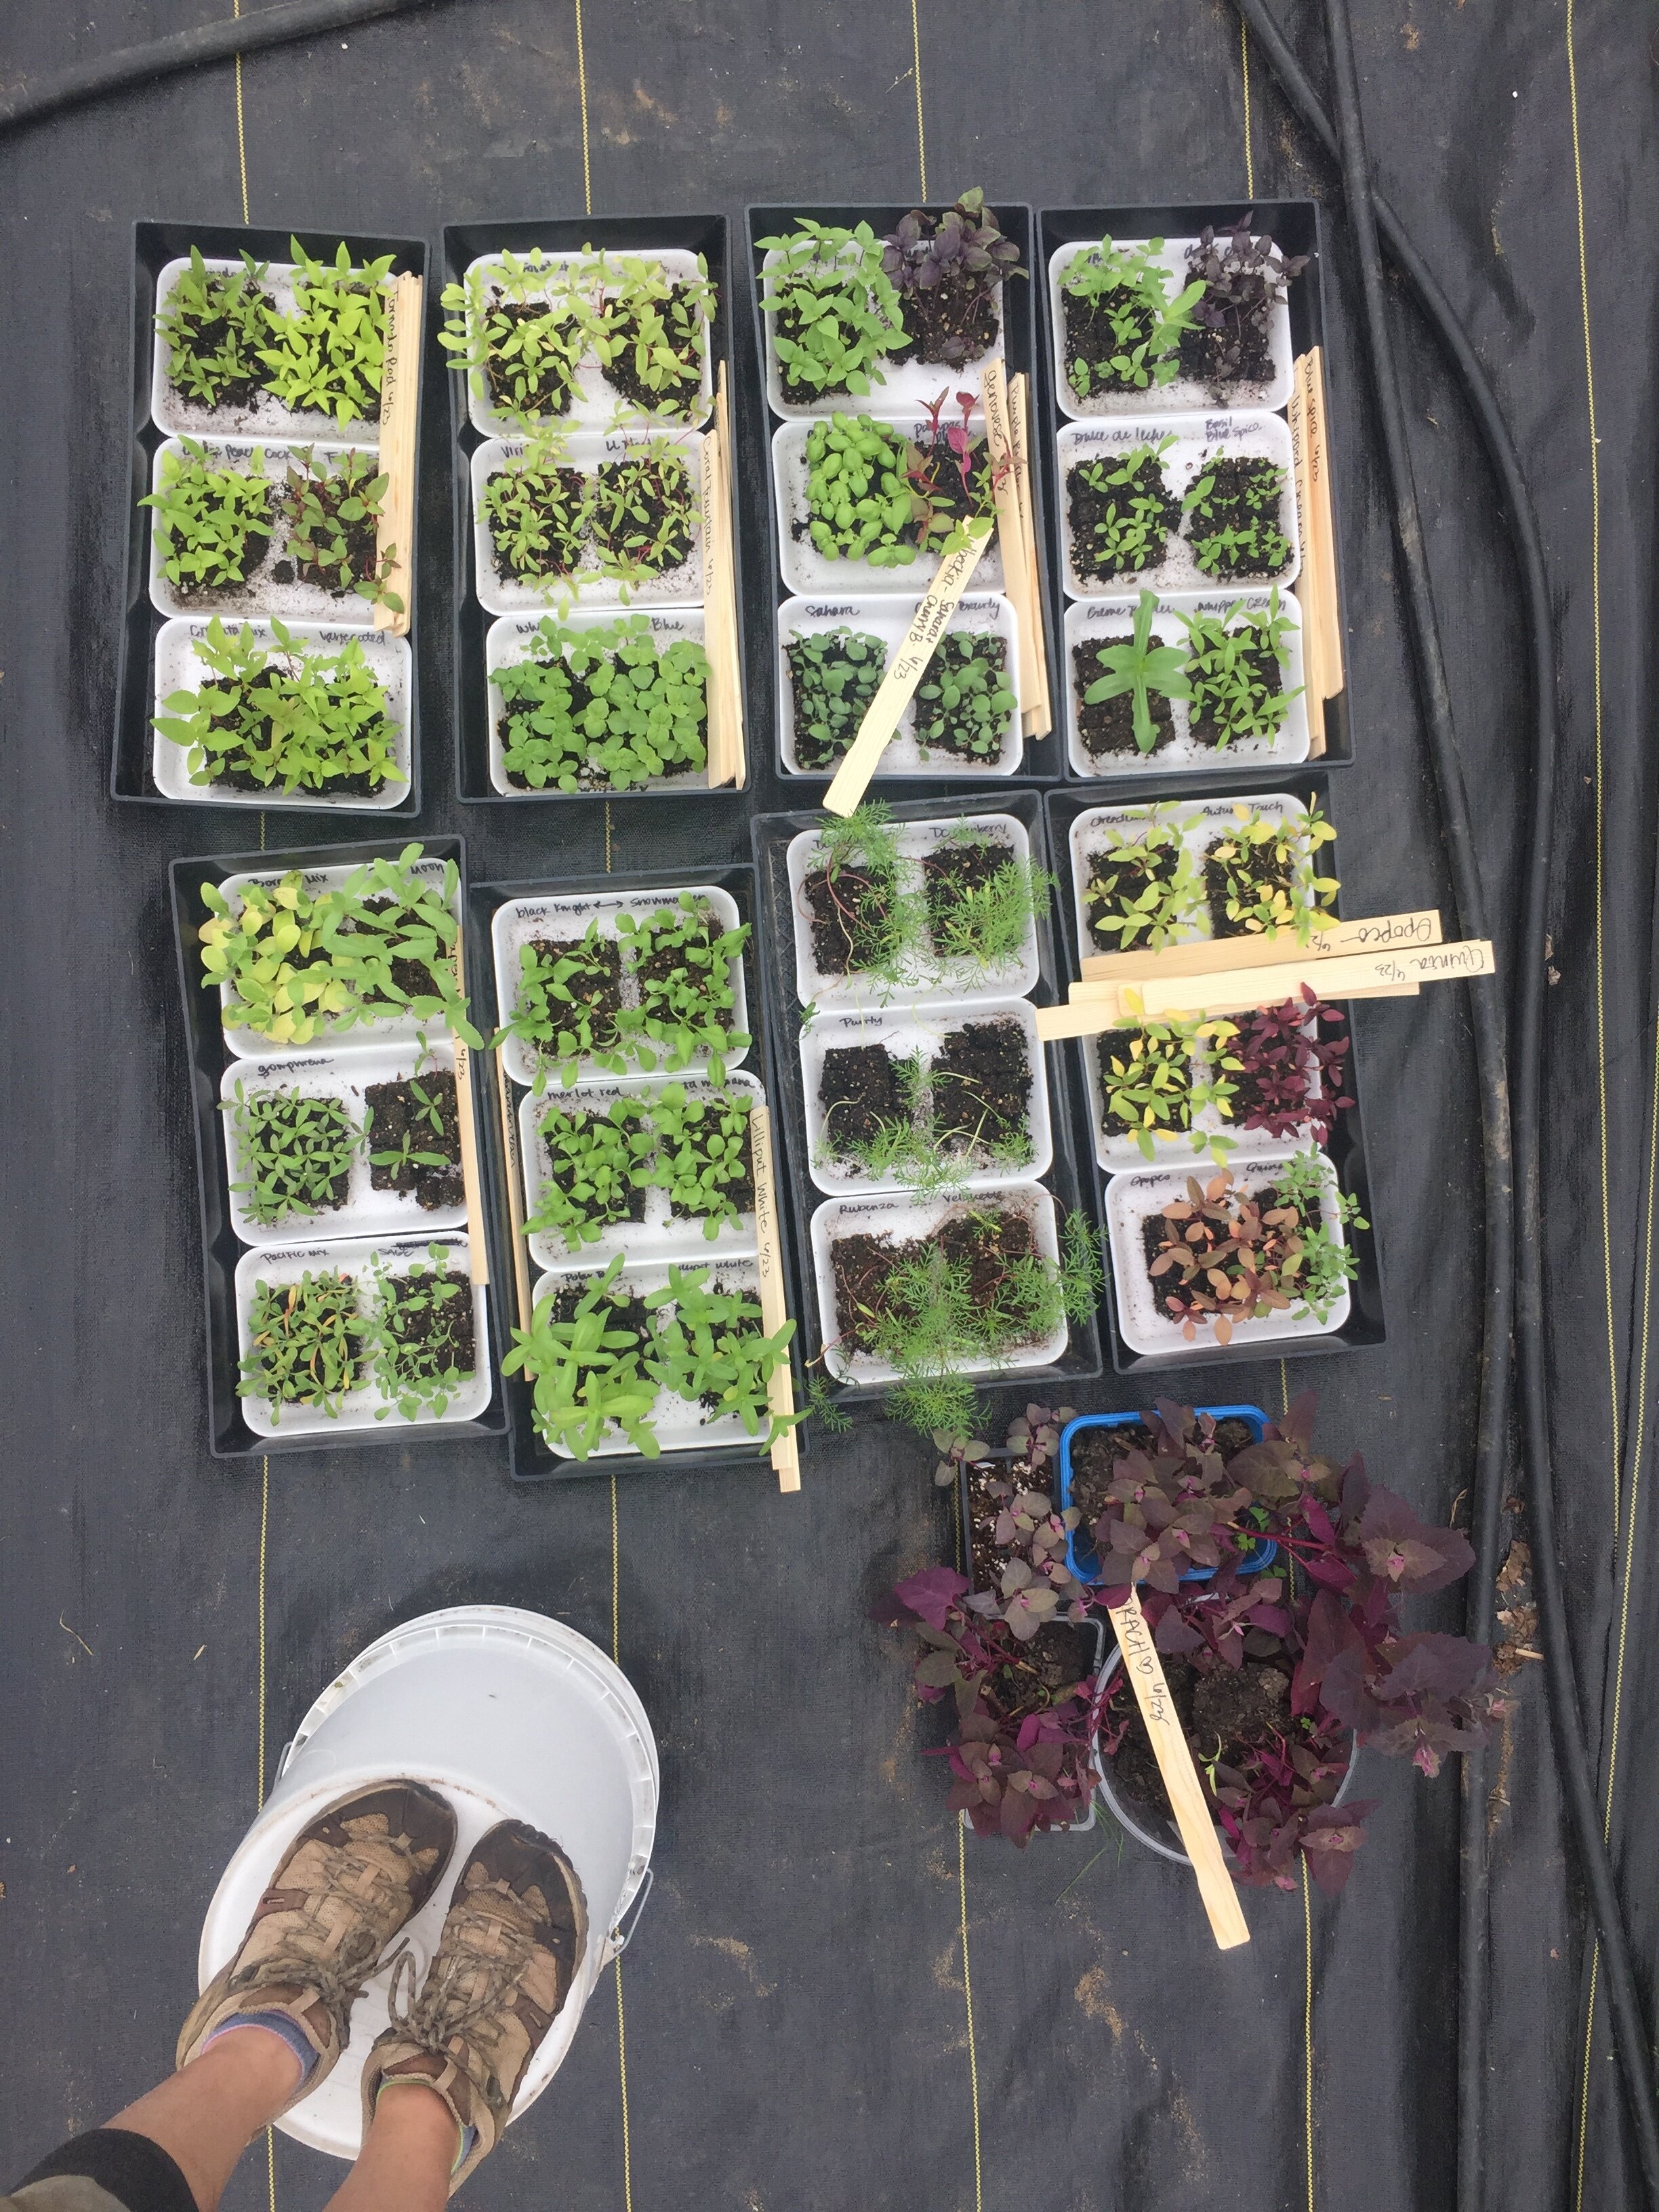
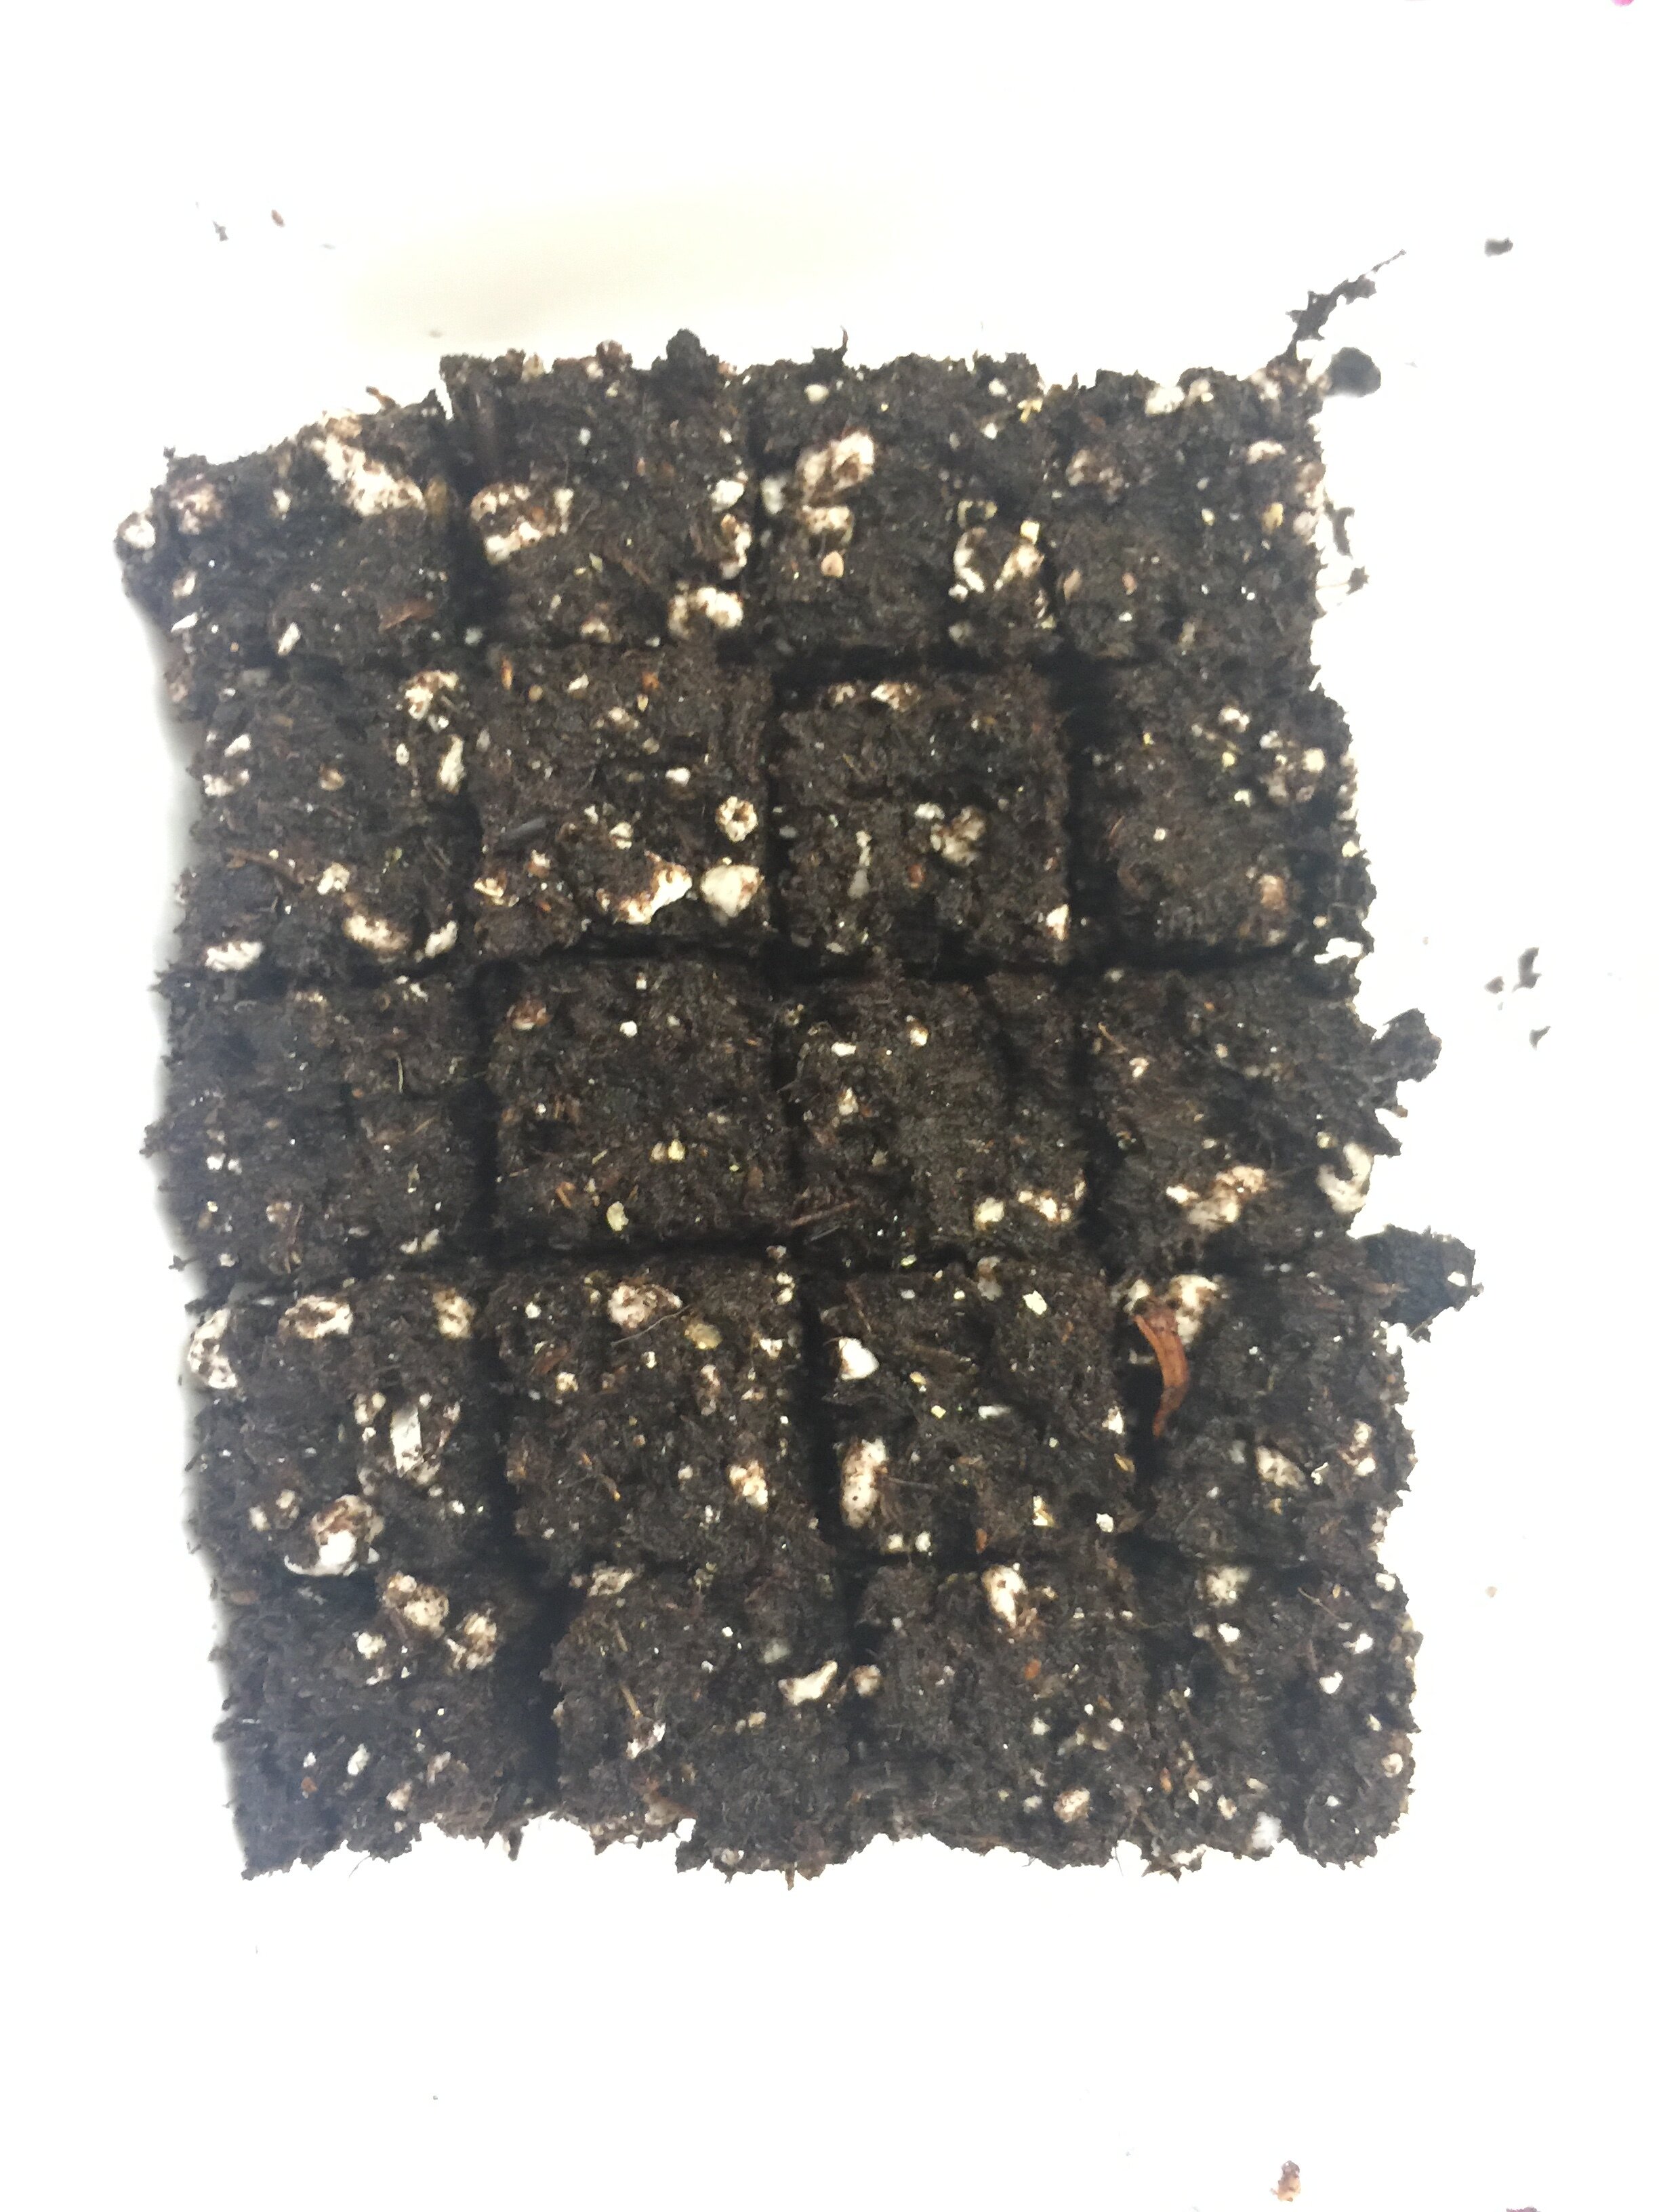
Flower seeds all grown in 3/4” mini soil blocker
Updated January 8, 2024
It’s seed starting season again, and one way I love to save time and materials during seed starting is by using Soil Blockers.
Soil Blocking is a seed starting method where you make compressed “blocks” of soil using a Soil Blocker tool, then plant seeds directly into the soil blocks. The blocks are freestanding and eliminate the need for plastic trays. Transplanting soil blocks is a breeze, and the Mini 3/4” Soil Blocker saves an incredible amount of time and space in the seed starting process.
Related: How to DIY a Seed Starting Setup: Grow Lights, Shelves, Trays, etc.
I will walk you through the Pros and Cons of using a 3/4” soil blocker based on my experiences, the materials that are needed for soil blocking, and the exact method for starting flower seeds using this 3/4” mini sized soil blocker. I was big into using this blocker a few years ago when I had less seed starting space while trying to grow way too many flowers. Now that I’ve narrowed down my seed starting list, I mostly grow in plug trays because it’s the method that works best for me. Regardless, I think this is still a helpful experience to share!
pros of using a 3/4” soil blocker for starting seeds
Soil Blocking uses less plastic and eliminates the need for plastic trays, which come with a carbon footprint.
The 3/4” mini soil blocker, in particular, allows you to grow tons of plants in a tiny amount of space. Soil blocking in general takes up less space in your seed starting shelves than plug trays do.
The 3/4” mini soil blocker requires less potting soil than larger soil blockers or plug trays.
Soil Blocking allows the roots of transplants to breathe, and lots of farmers say their plants that are grown in soil blockers end up with bigger, most robust root systems. I cannot confirm this because I’ve not done any actual comparative studies on my own farm, but it’s worth mentioning.
Overall, the main (only) reason I use a 3/4” soil blocker is if I am low on space on my seed starting shelves.
Related: Seed Starting Mistakes to Avoid
cons of using a 3/4” soil blocker
The 3/4” size soil blocks are tiny and they dry out very quickly. They must be watered several times every day, especially once the seeds have sprouted and there are several sets of leaves.
When bottom watering, if the soil blocks are dried out, they may completely fall apart if the water is poured into the tray too quickly. I have lost MANY soil blocks by pulverizing them with a stream of water added to the tray.
Transplants grown from a 3/4” soil blocker are generally smaller, and take longer to grow to full size plants than if using a 2” soil blocker or a 72- or 50-cell plug tray (this is in my own experience, and not necessarily the rule).
Using a fan for air circulation in your seed starting space will 100% dry out the mini soil blocks if the fan blows directly on them. We know that using fans on our seedlings helps them grow stronger and more resilient in the field.
Depending on how many soil blocks I’m making, the blocker starts to hurt my hands and cause blisters.
Overall, I now only grow bigger transplants in 72- and 50-cell plug trays to get a better head start on the growing season. Also, the amount of soil blocks I was losing (mostly due to drying out or being pulverized by a stream of water) was negatively affecting my farm profits. I personally have a better rate of success when growing with plug trays.
what kind of soil do you use with a 3/4” soil blocker?
I use ProMix, which is a sterile potting mix that is inoculated with mycorrhizae, for starting flower seeds for the flower farm. The only thing I add to the potting soil is 1 tbsp of Liquid Humate, which I’ve found helps regulate the soil moisture and keeps the soil moist for longer periods of time. If I am growing vegetables, I add Kelp Meal and Alfalfa Meal to the mix, to increase nutrient availability to grow crops with higher nutrient density.
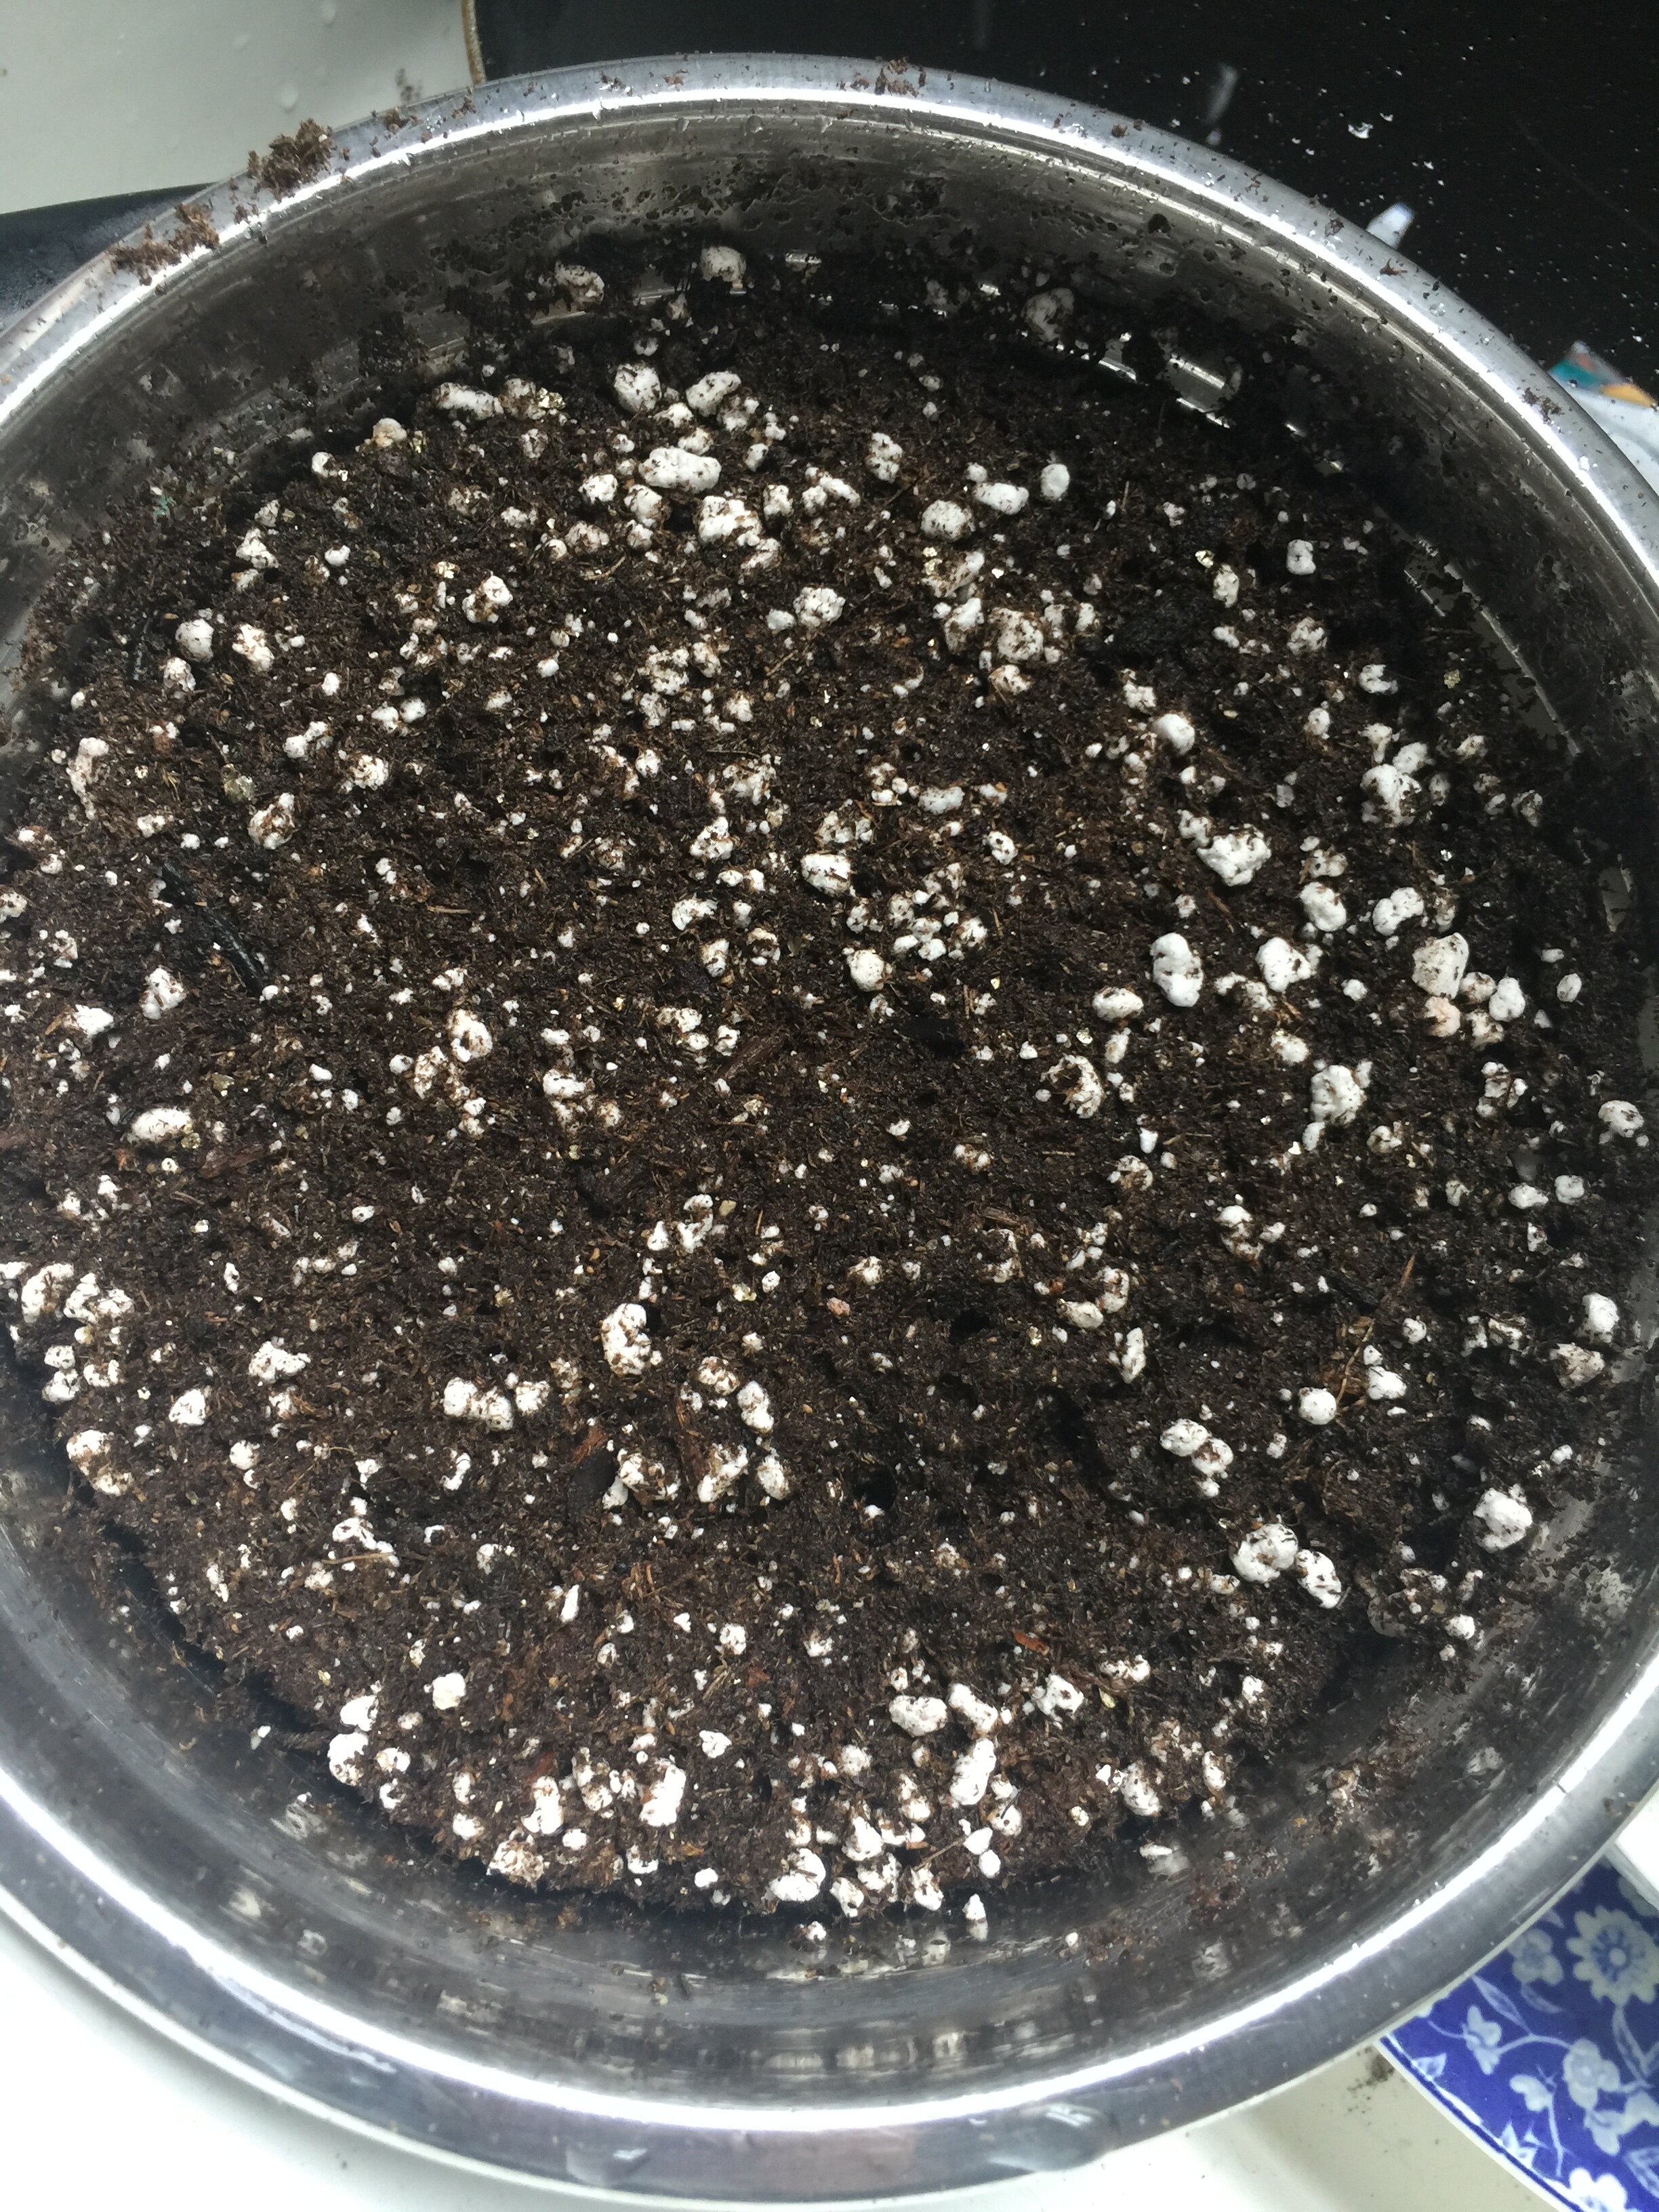
With the 3/4” soil blocker, I have had issues with some pieces of vermiculite in the potting soil being too big. There are also small 1-cm bits of wood chips in the potting mix that need to be picked out, by hand, before creating soil blocks. This is an added step specifically for the 3/4” soil blocker. Bigger sizes of soil blockers, and all sizes of plug trays, do not need the bigger pieces of vermiculite/wood chips picked out. You could run the potting soil through a 1/4” sifter, if you have one.
Materials needed for Soil Blocking
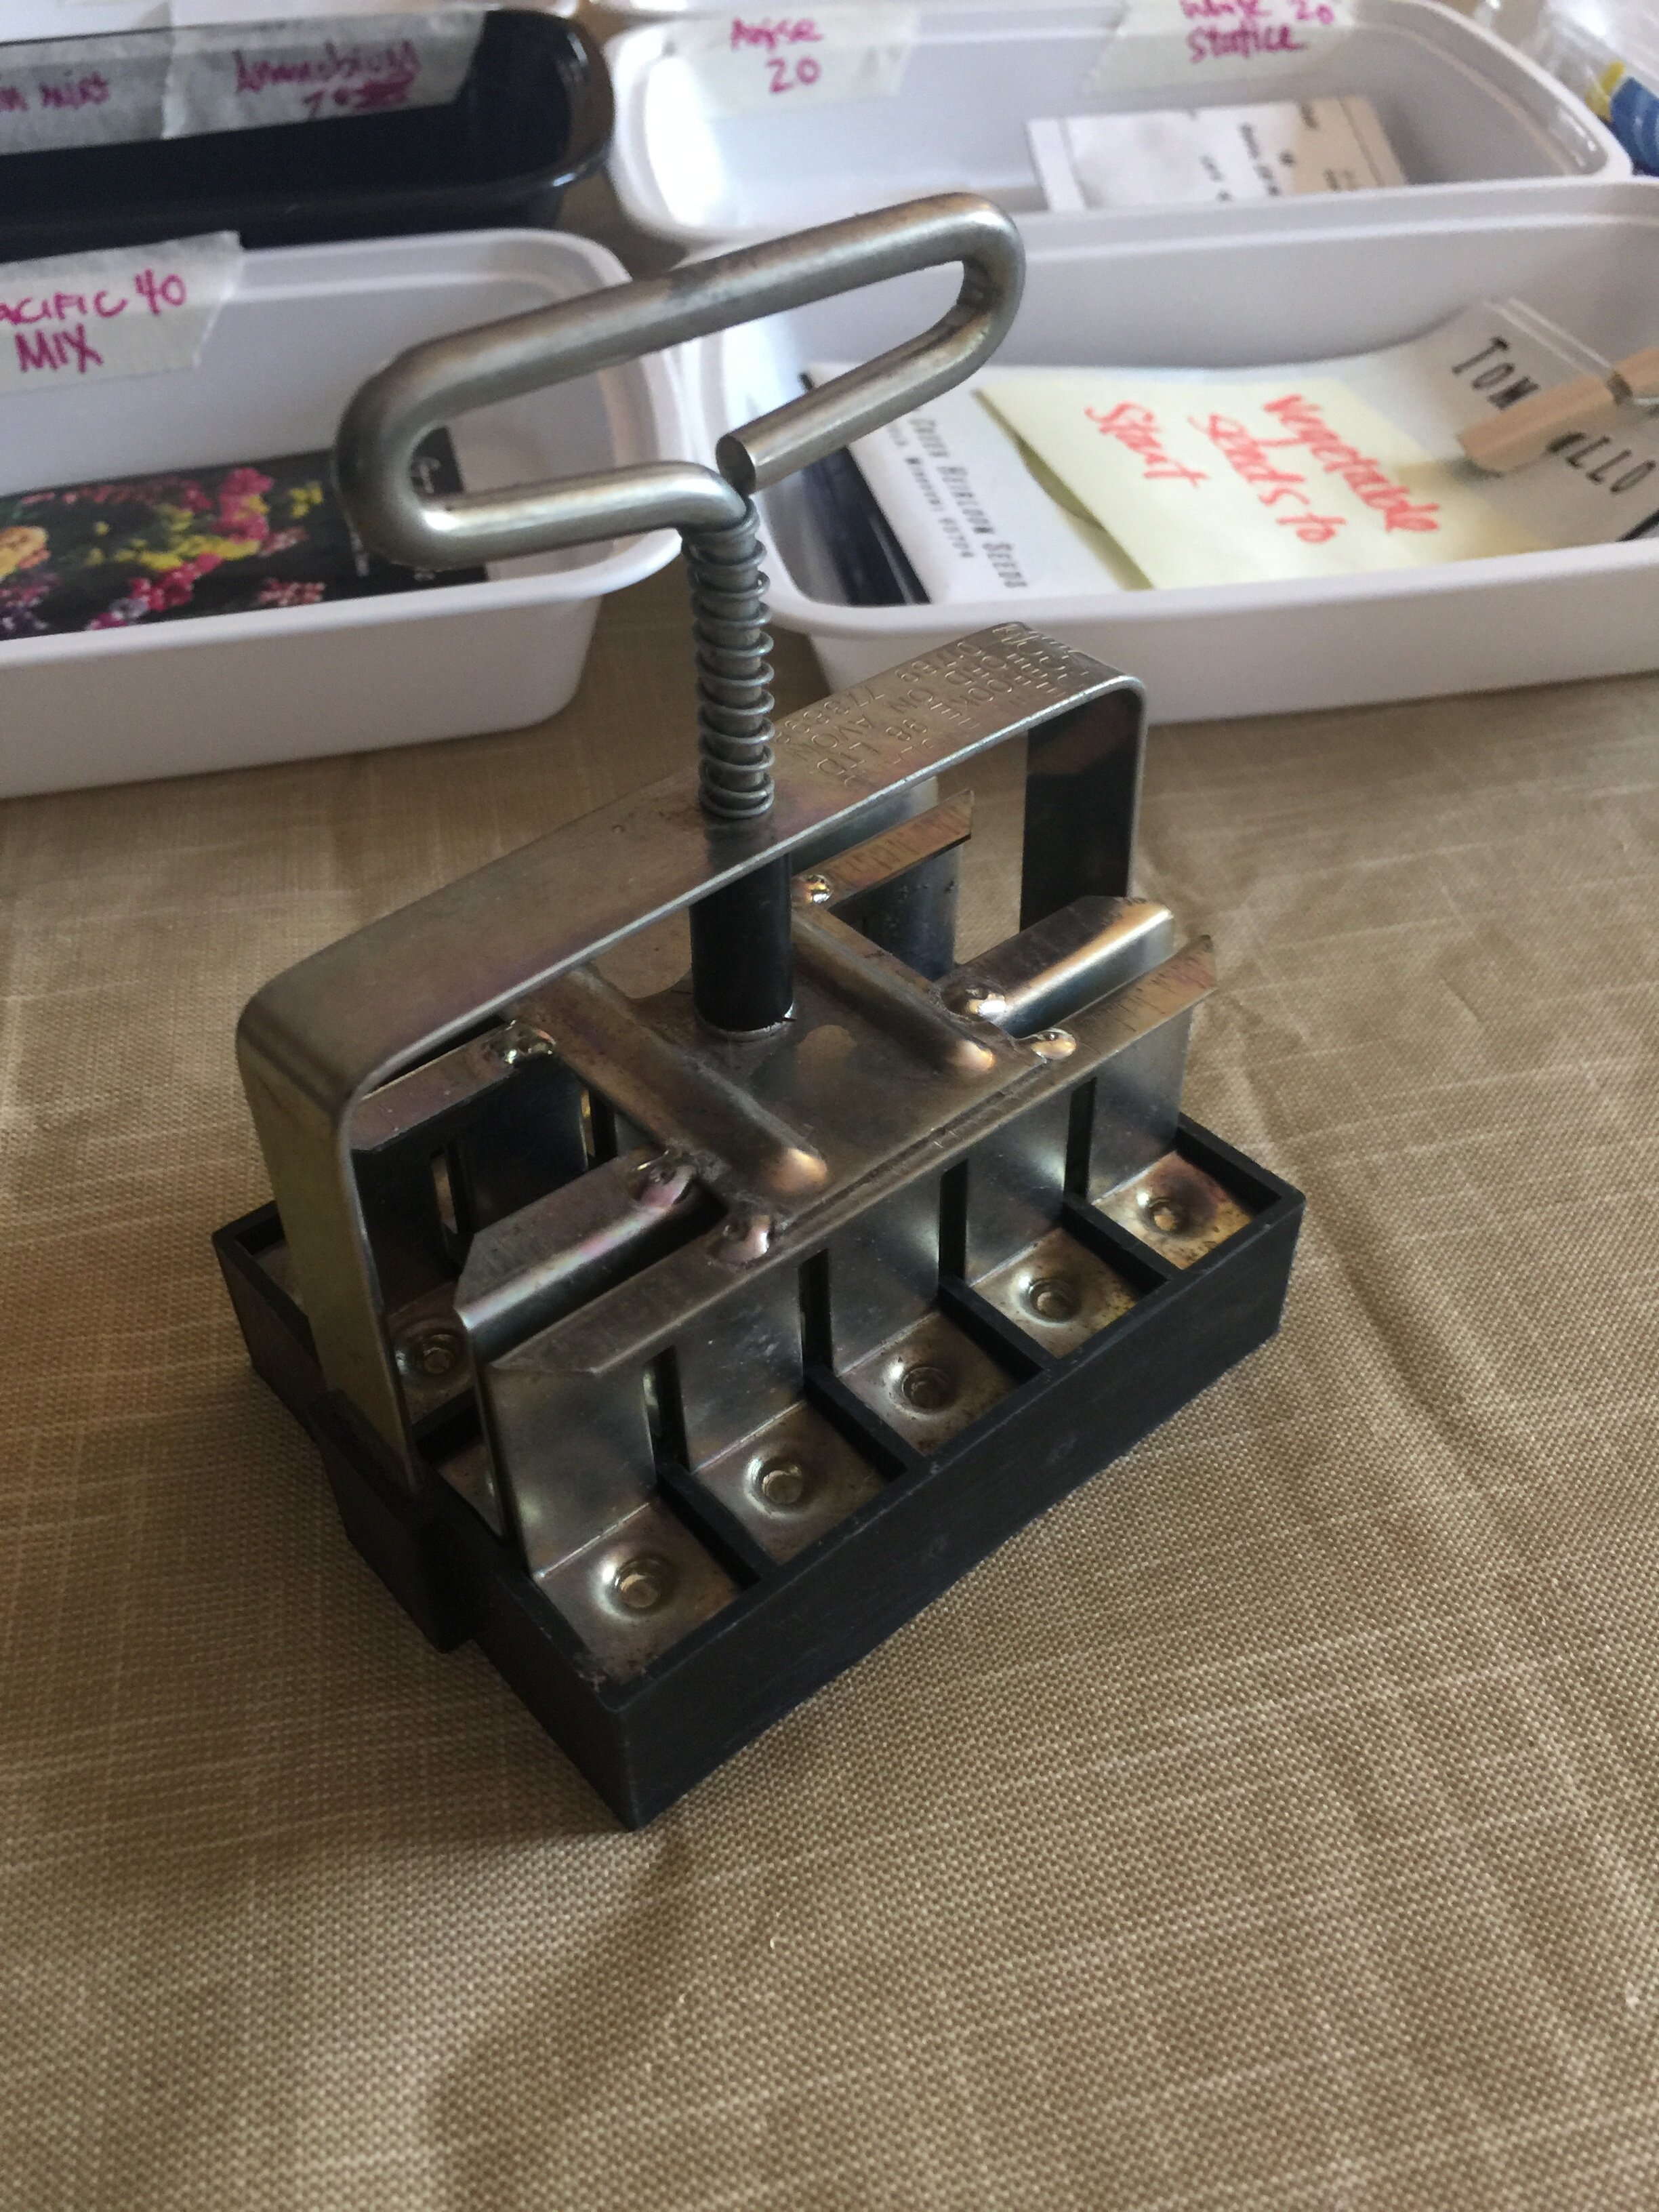
3/4” Mini Soil Blocker (buy here)
1 gallon of potting soil in a large bowl or bucket (I use ProMix)
Liquid Humate, as an amendment for the potting soil
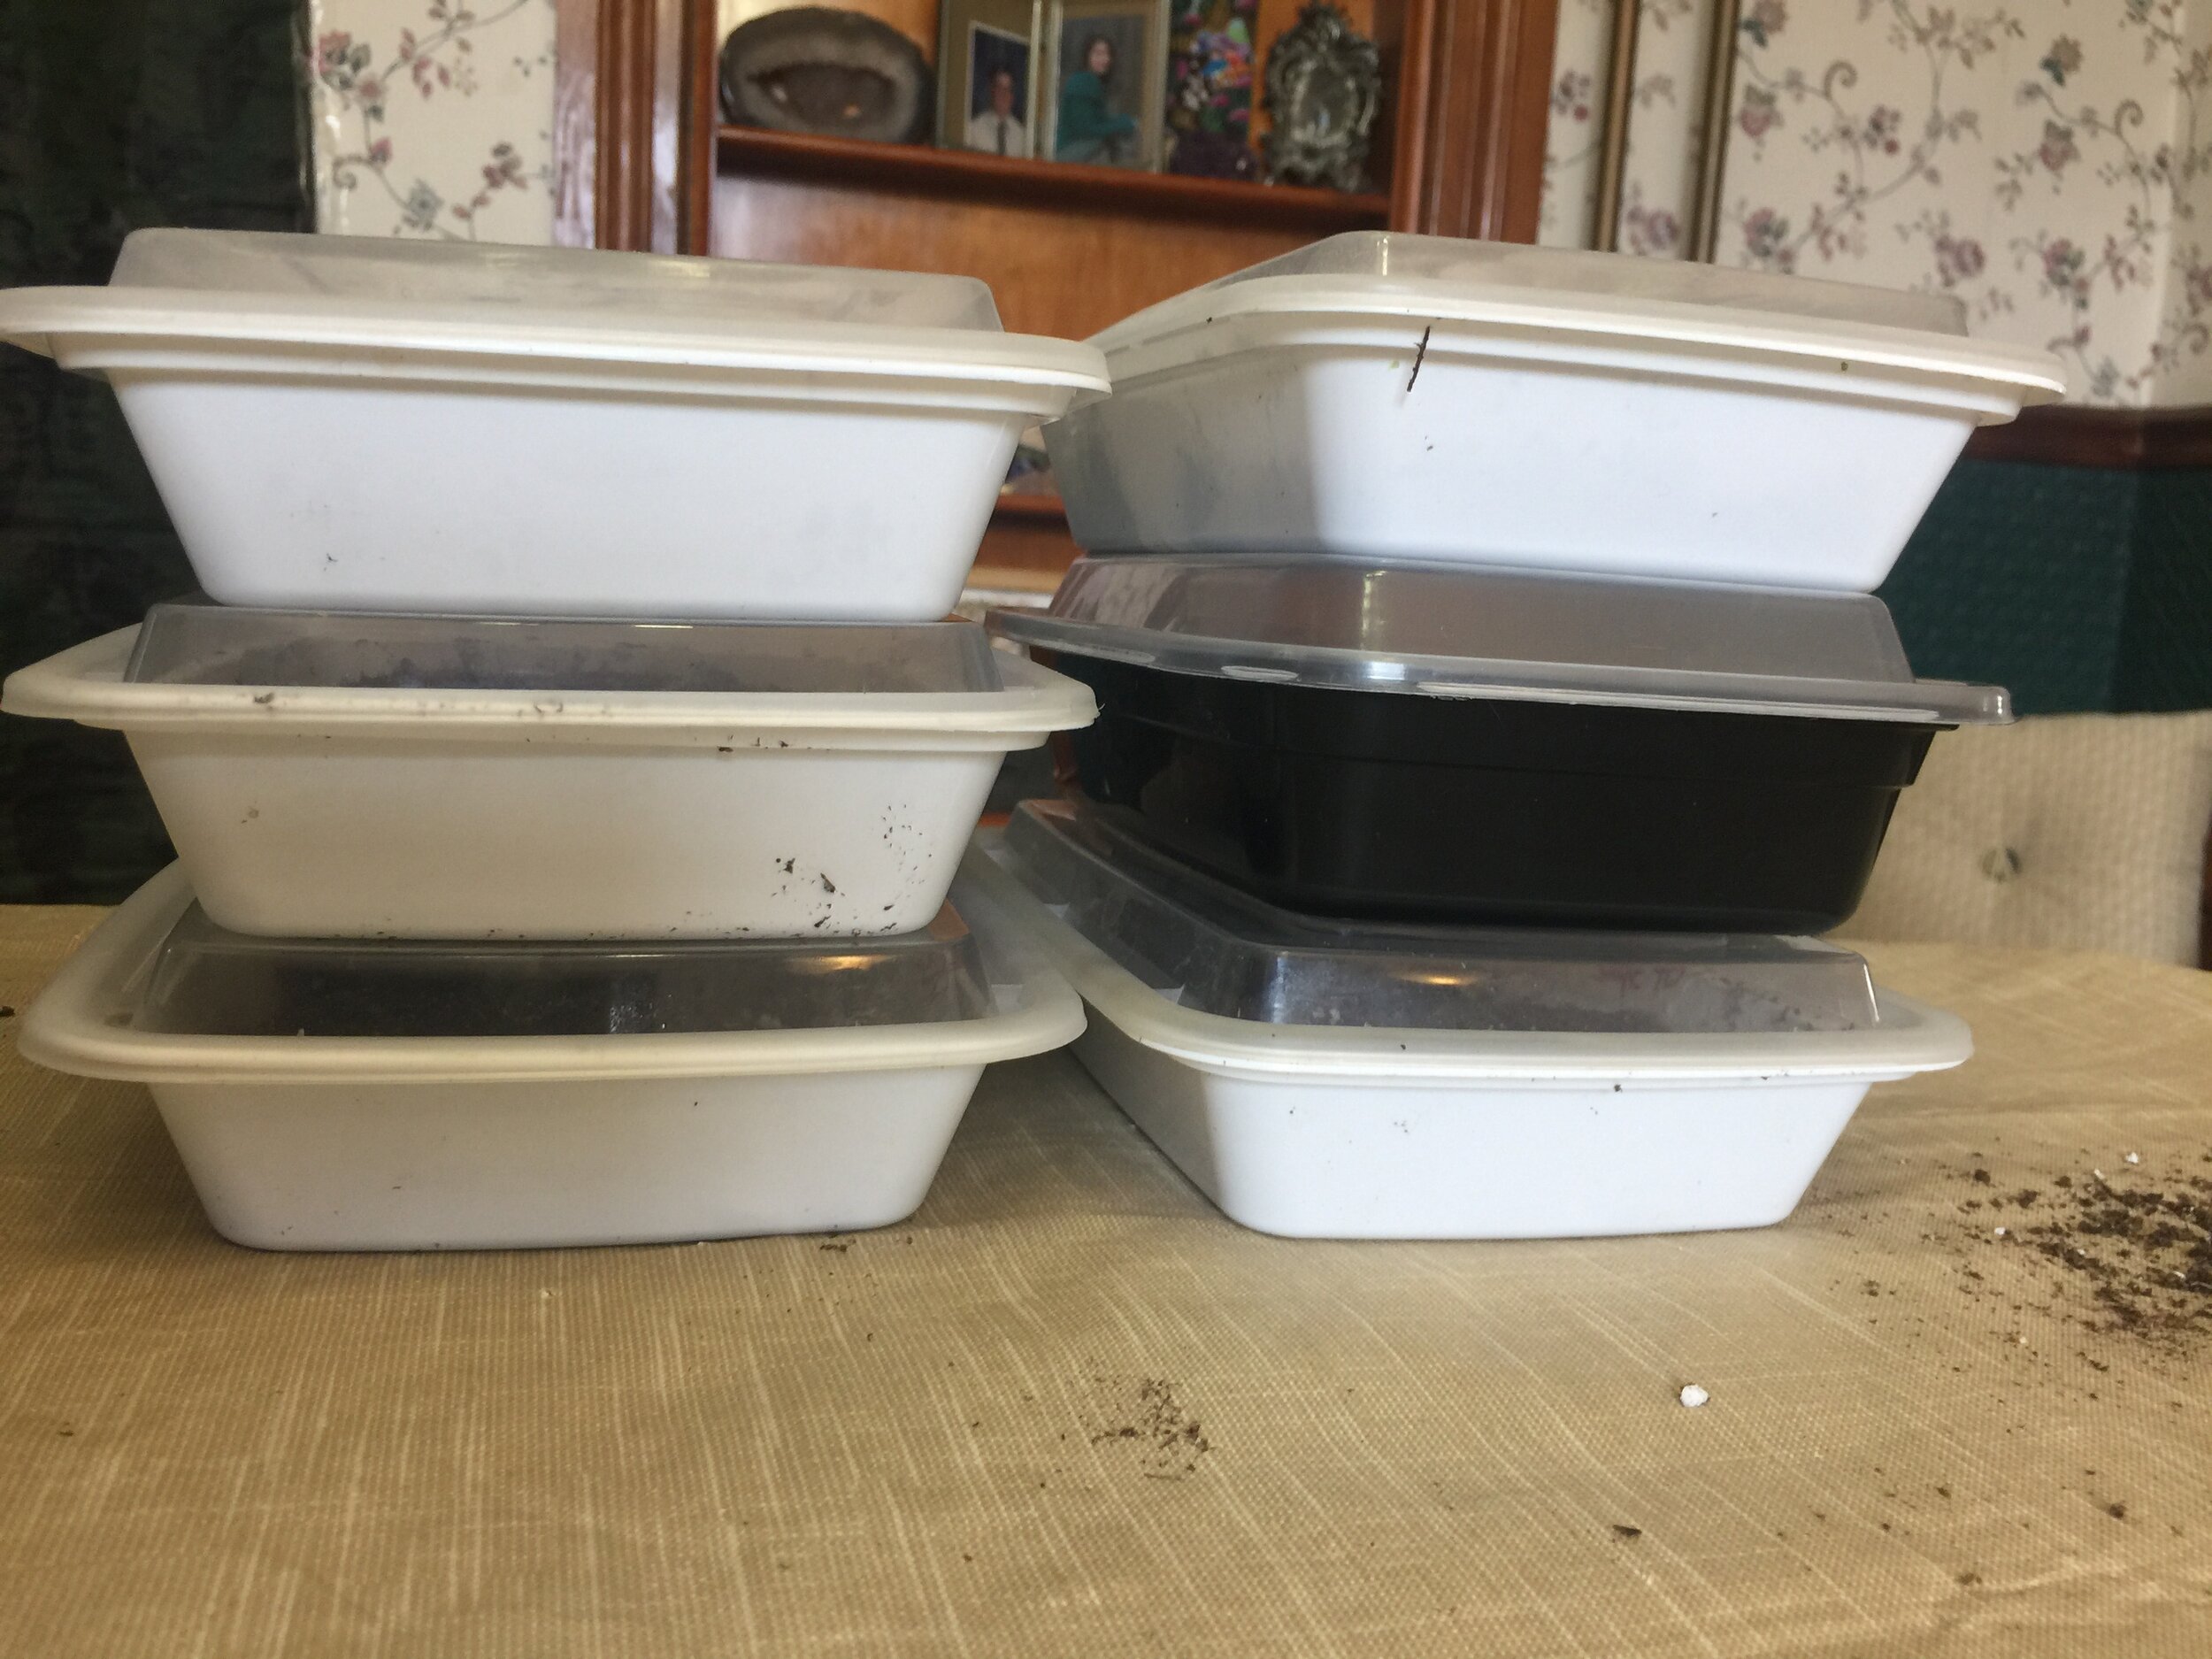
Reused Plastic Take-Out Containers, Foam Trays, Metal Trays, etc. (more thoughts on this below)
Masking Tape + Permanent Garden Marker for labeling trays
Spray bottle filled with water
Seeds
Grow Lights - Read this post to see how I set up my Seed Starting Shelves with Grow Lights
what kind of trays to use for soil blocking
When making soil blocks, you will use the soil blocker to release the soil to sit on top of a tray of some sort. That tray will then be home to the soil blocks until they are planted out. The trays should have a lip on them to hold water during the watering process, and I’ve found bigger trays are easier to deal with because you can move and water many sets of soil blocks at once, rather than one or two sets.
In the photo tutorial below, I show myself making 3/4” soil blocks in reused takeout containers, purely because I had a bunch of them in my tupperware drawer and I like reusing plastic things instead of buying new things. Regardless, I’ve found the best soil block trays are simple metal cookie sheets from the Dollar Tree. You can fit six sets of blocks on one cookie sheet and it is the perfect size for moving around. They are also easy to clean and can be reused indefinitely, for years to come, at a very low cost. So go get yourself some cookie sheets from the Dollar Tree!
Photo Tutorial of the 3/4” Soil Blocking Process


Instructions for Using a Mini 3/4” Soil Blocker for Seed Starting
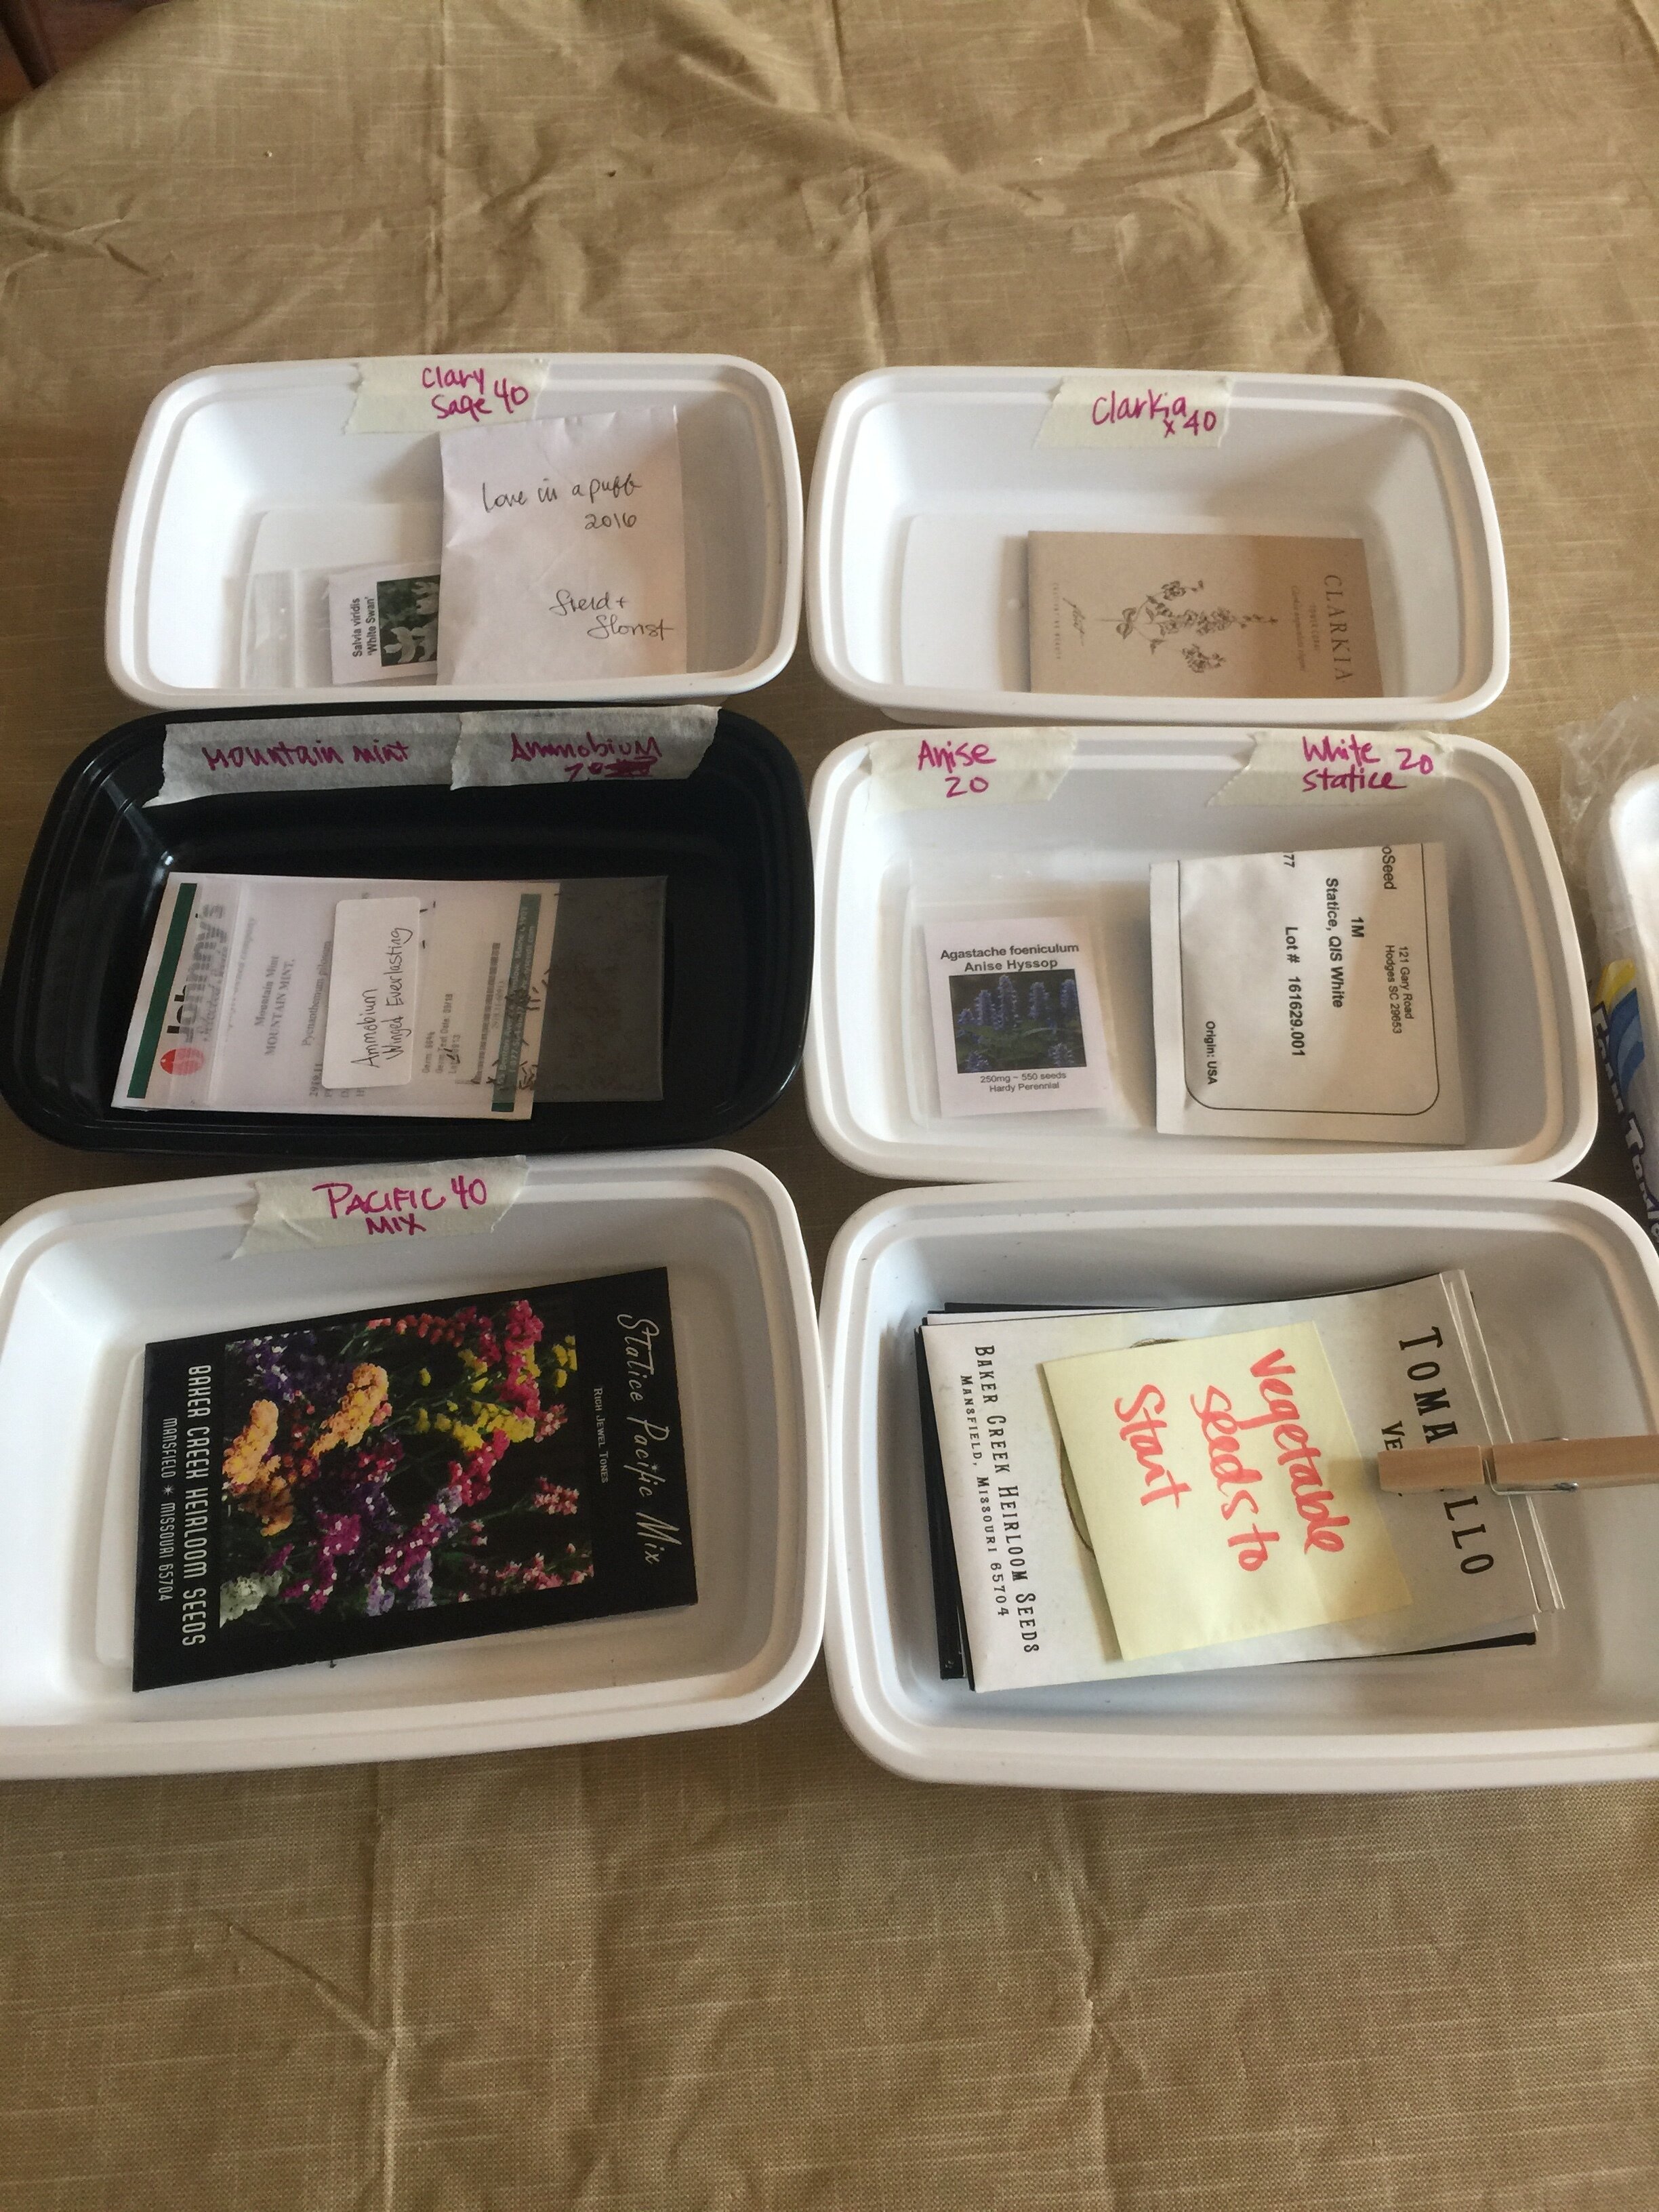
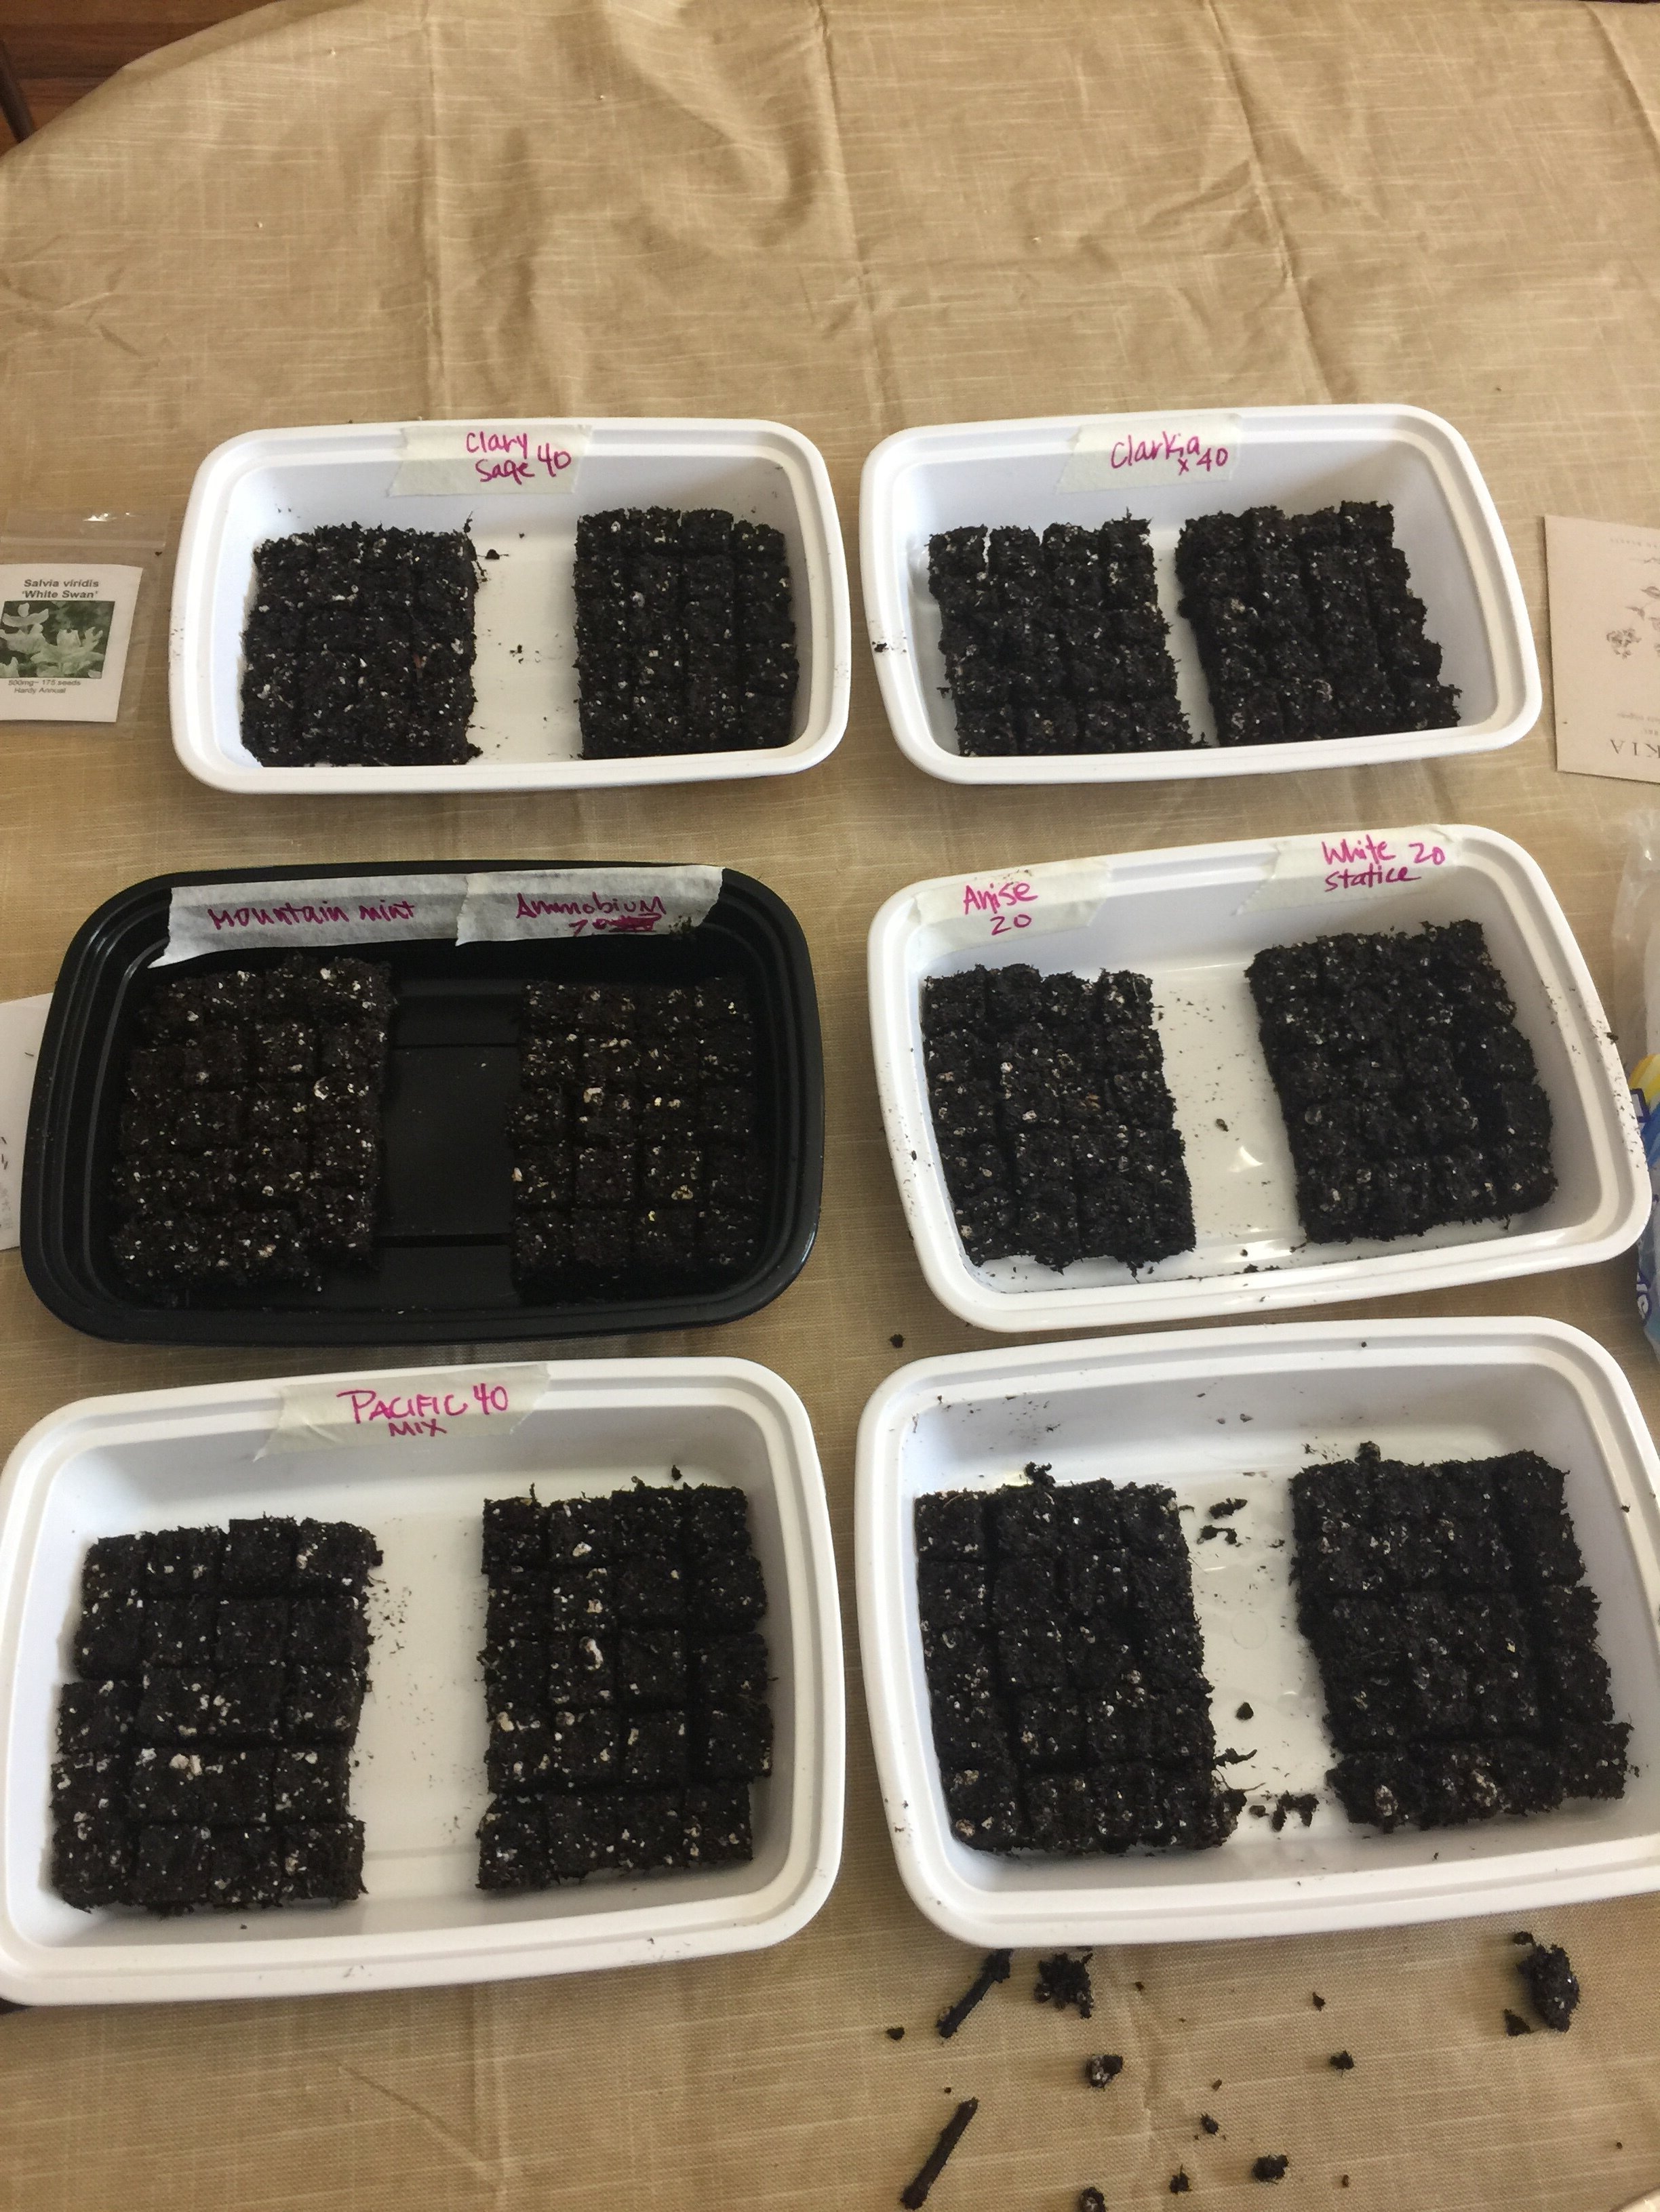
start by labeling all your trays at once
I like to lay the seed packets on top of their corresponding trays so everything is easily accessible during the seeding process. Label all of your trays now, before soil blocking, so the masking tape sticks nicely. If you label after soil blocking, there will be water droplets and soil all over, and it will make applying masking tape much harder.
Add water & Liquid Humate to the potting soil
This is perhaps the most challenging step for soil block beginners — it takes a few (or a half dozen) times of making soil blocks before understanding the perfect water-to-soil ratio. There is a sweet spot with the amount of water you add into the mix. You want the soil to be pretty wet, but not sopping. Start by adding 1 tbsp of Liquid Humate to 2 cups of water and mix it together. Then add the 2 cups of water/humate to 1 gallon of potting mix, and mix that together with your hands. Keep adding small amounts of water until, when you squeeze a fistful of soil, it drips water like a wet washcloth.
If the soil is too wet, the potting soil will slop right out of the soil blocker. If this happens, you can add more dry potting soil into it in small amounts until you achieve the right consistency. Alternately, if the wet mix isn’t wet enough, the soil blocks will break apart when you drop them out of the blocker — easily remedied by adding a bit more water into the mix.
With a few trays, you will learn how to add the correct amount of water. Overall, making mini soil blocks is nearly effortless and requires very little resources, so learning this step is worth the frustration if you’re experiencing any.
Related: 5 Steps to Building Healthy Garden Soil
Side note about Liquid Humate: You could skip adding this, but I’ve found that by adding it, potting mix stays moist much longer. This comes in real handy when growing in soil blocks!
Make all your soil blocks at once
Making soil blocks is a messy process, so I like to make all my soil blocks first, then do all the seeding afterward.
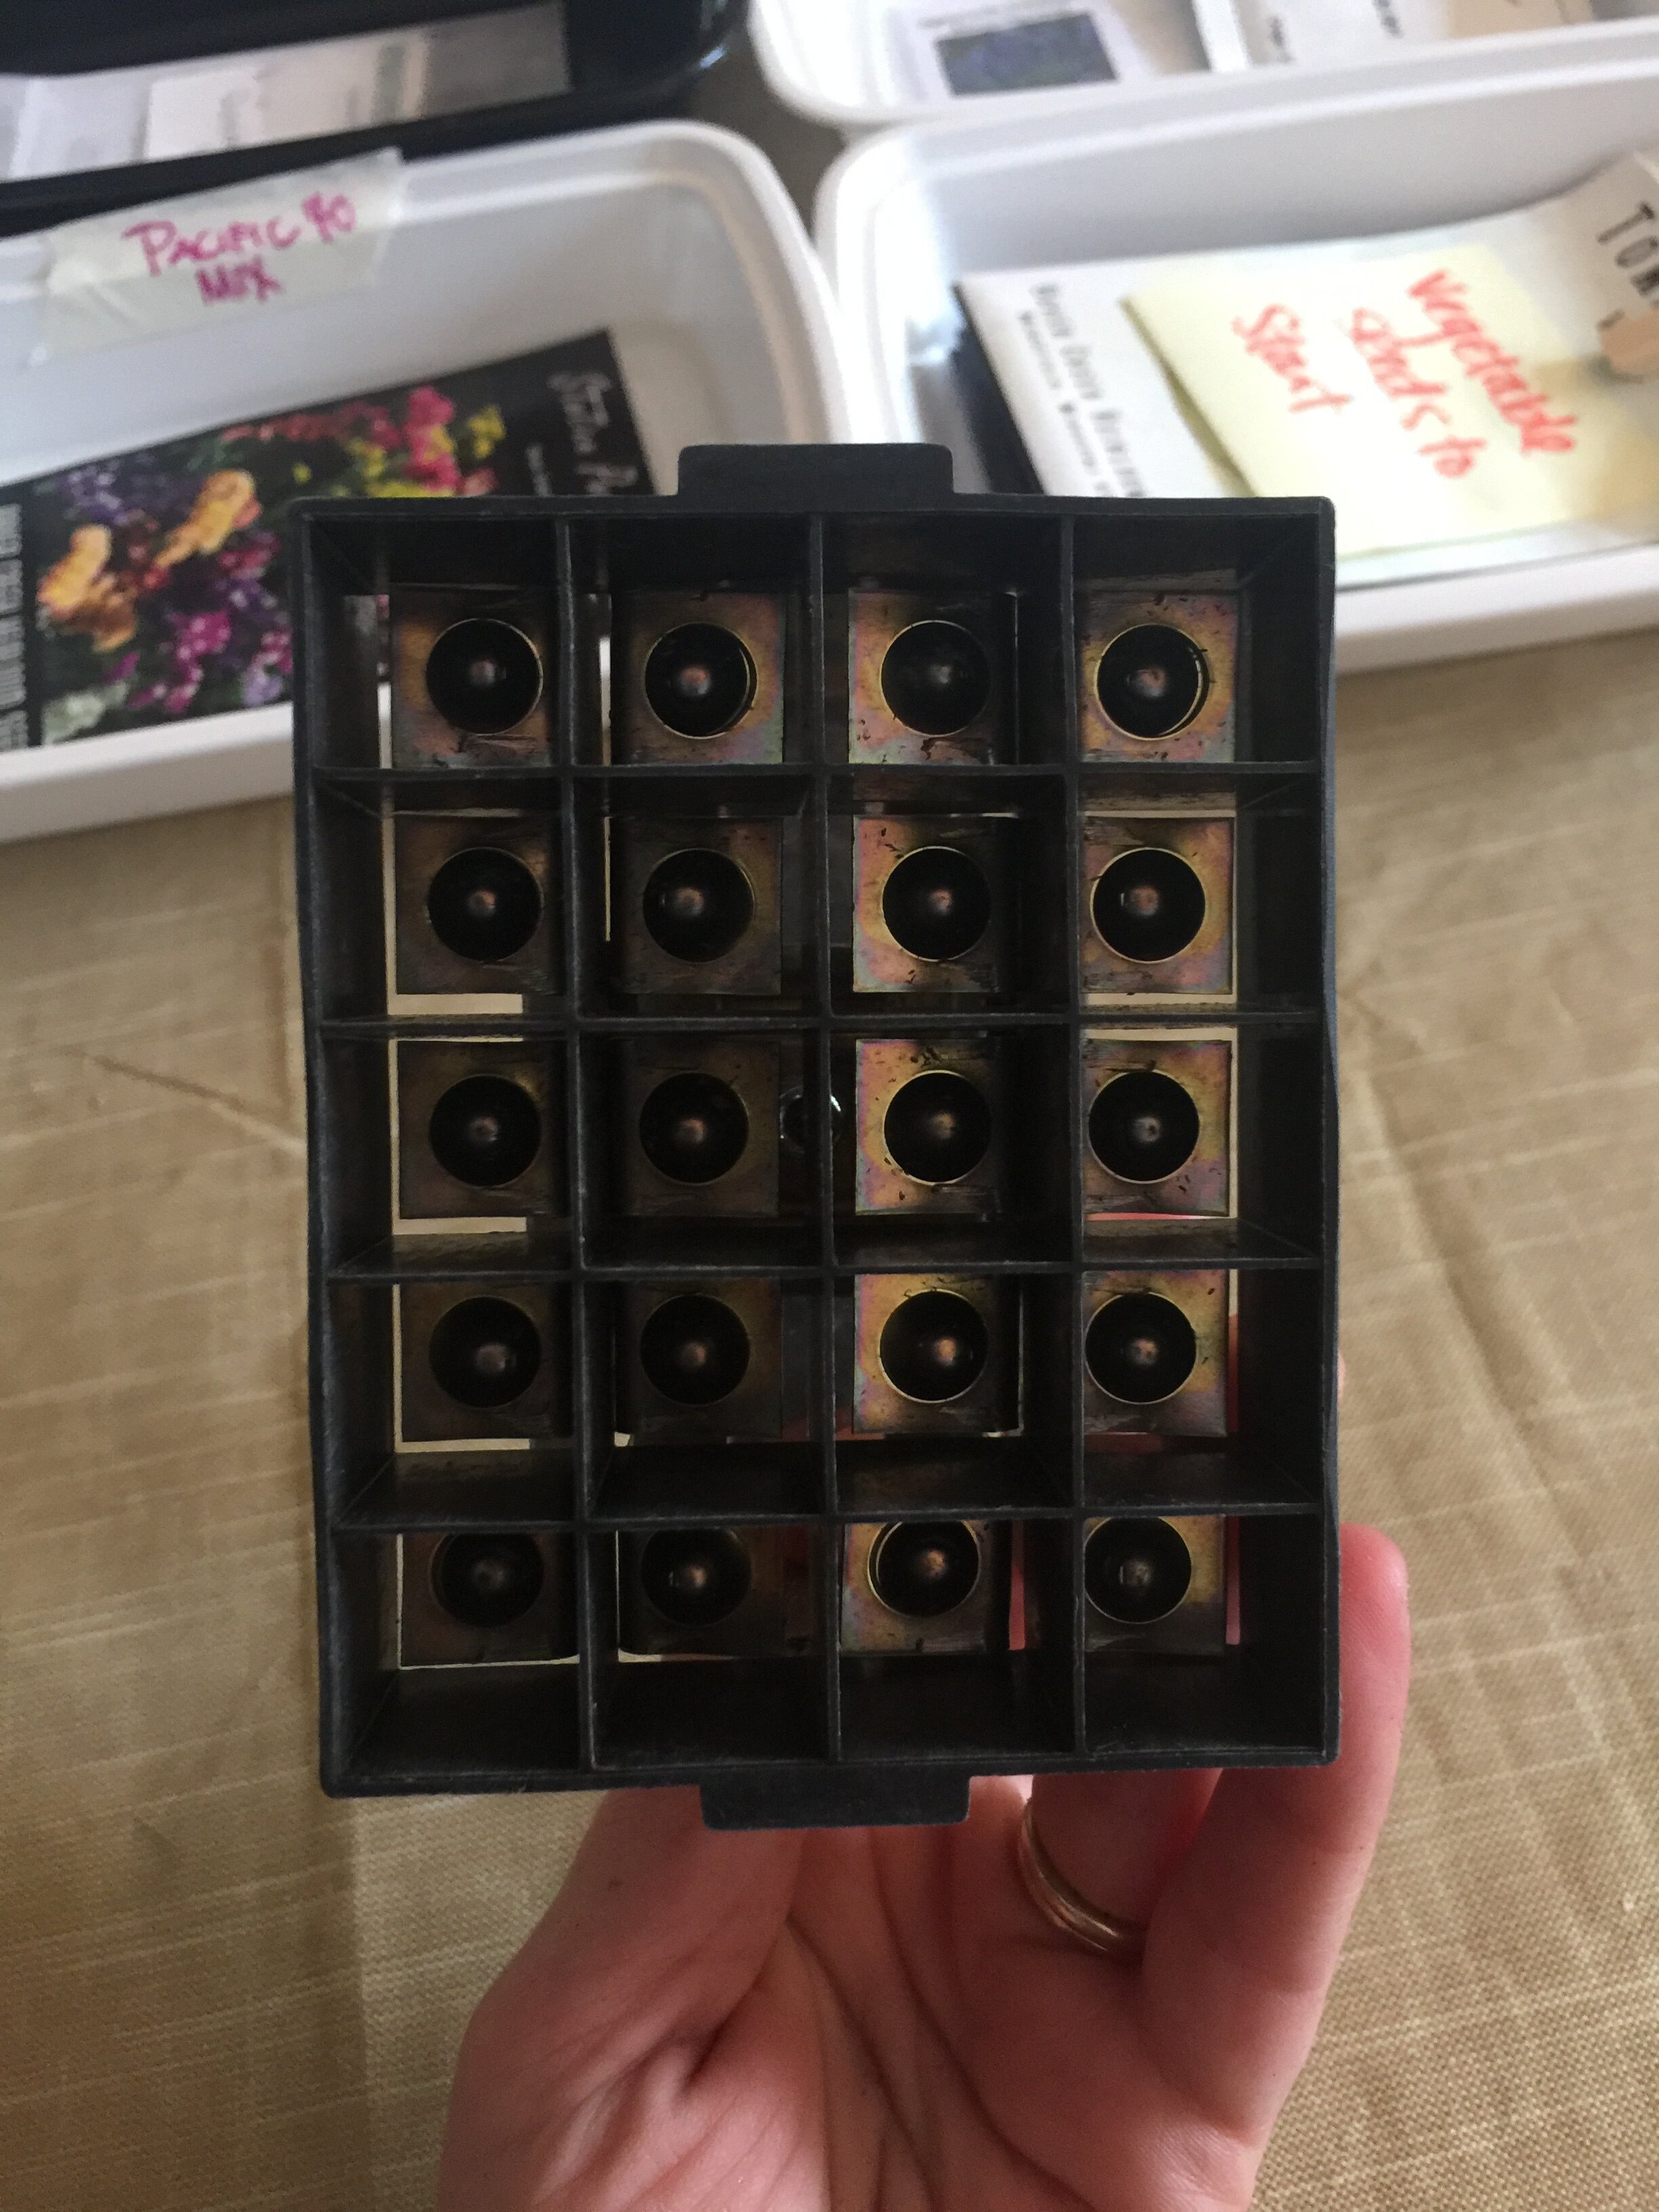
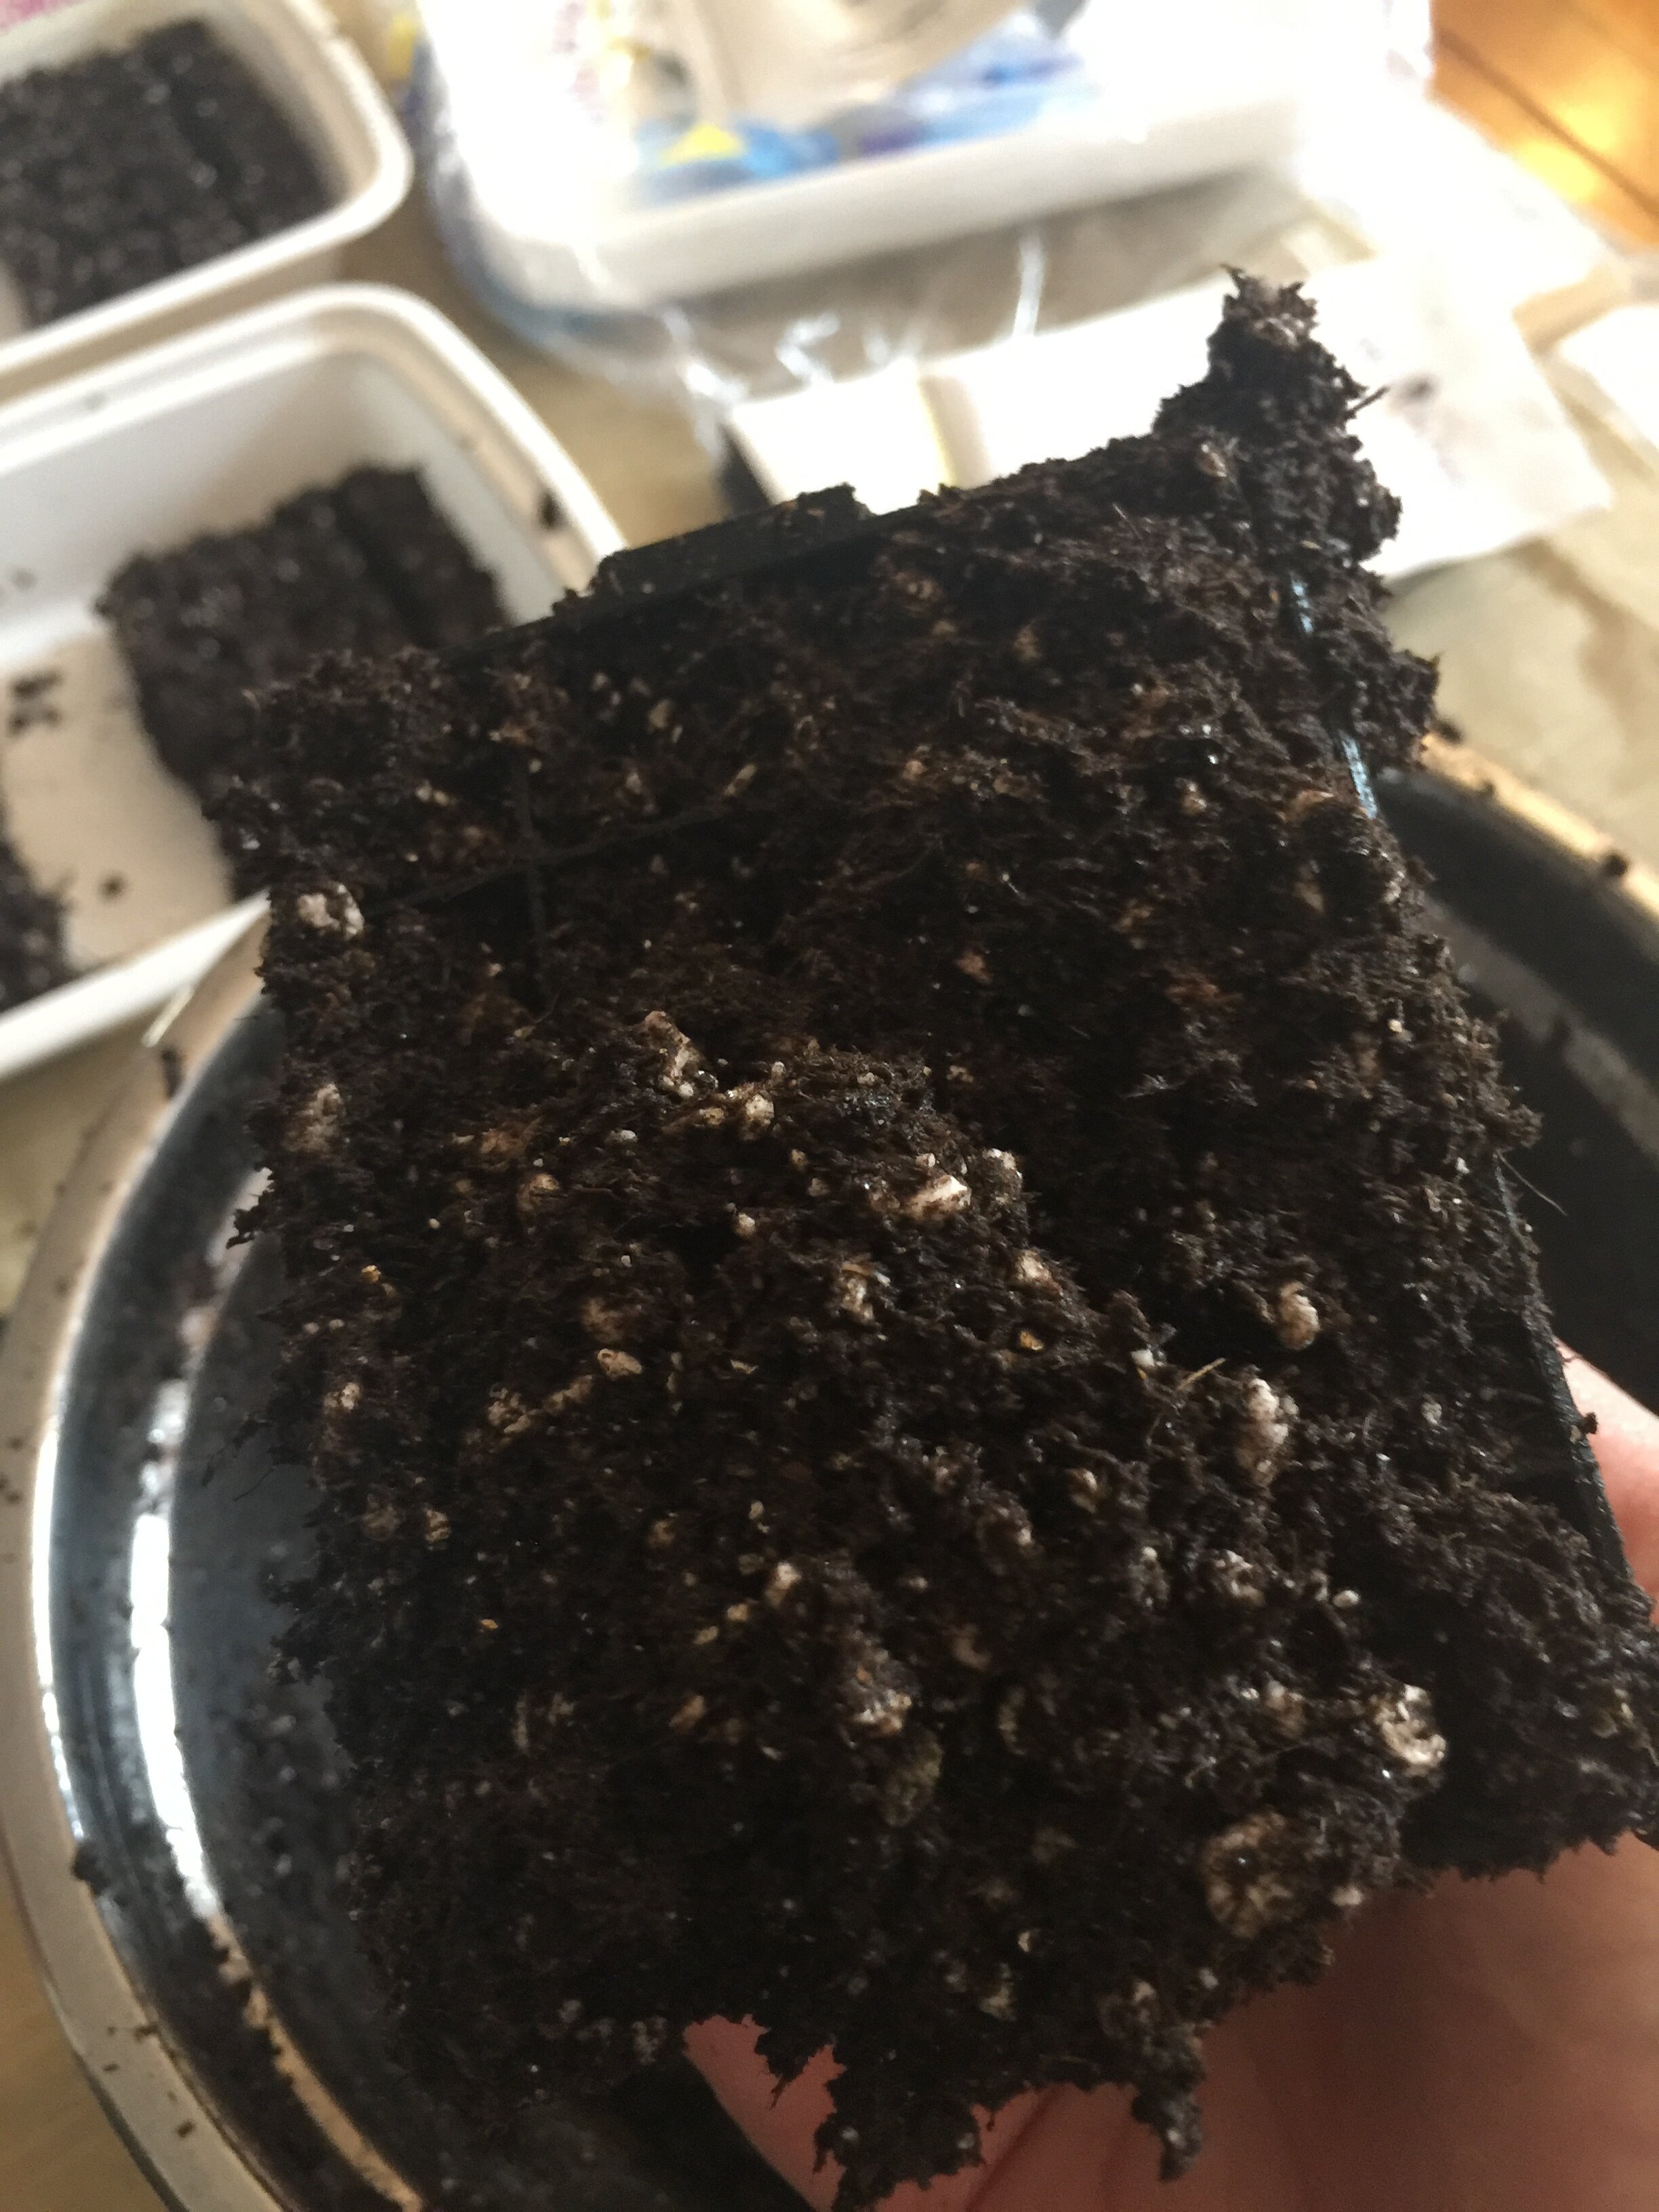
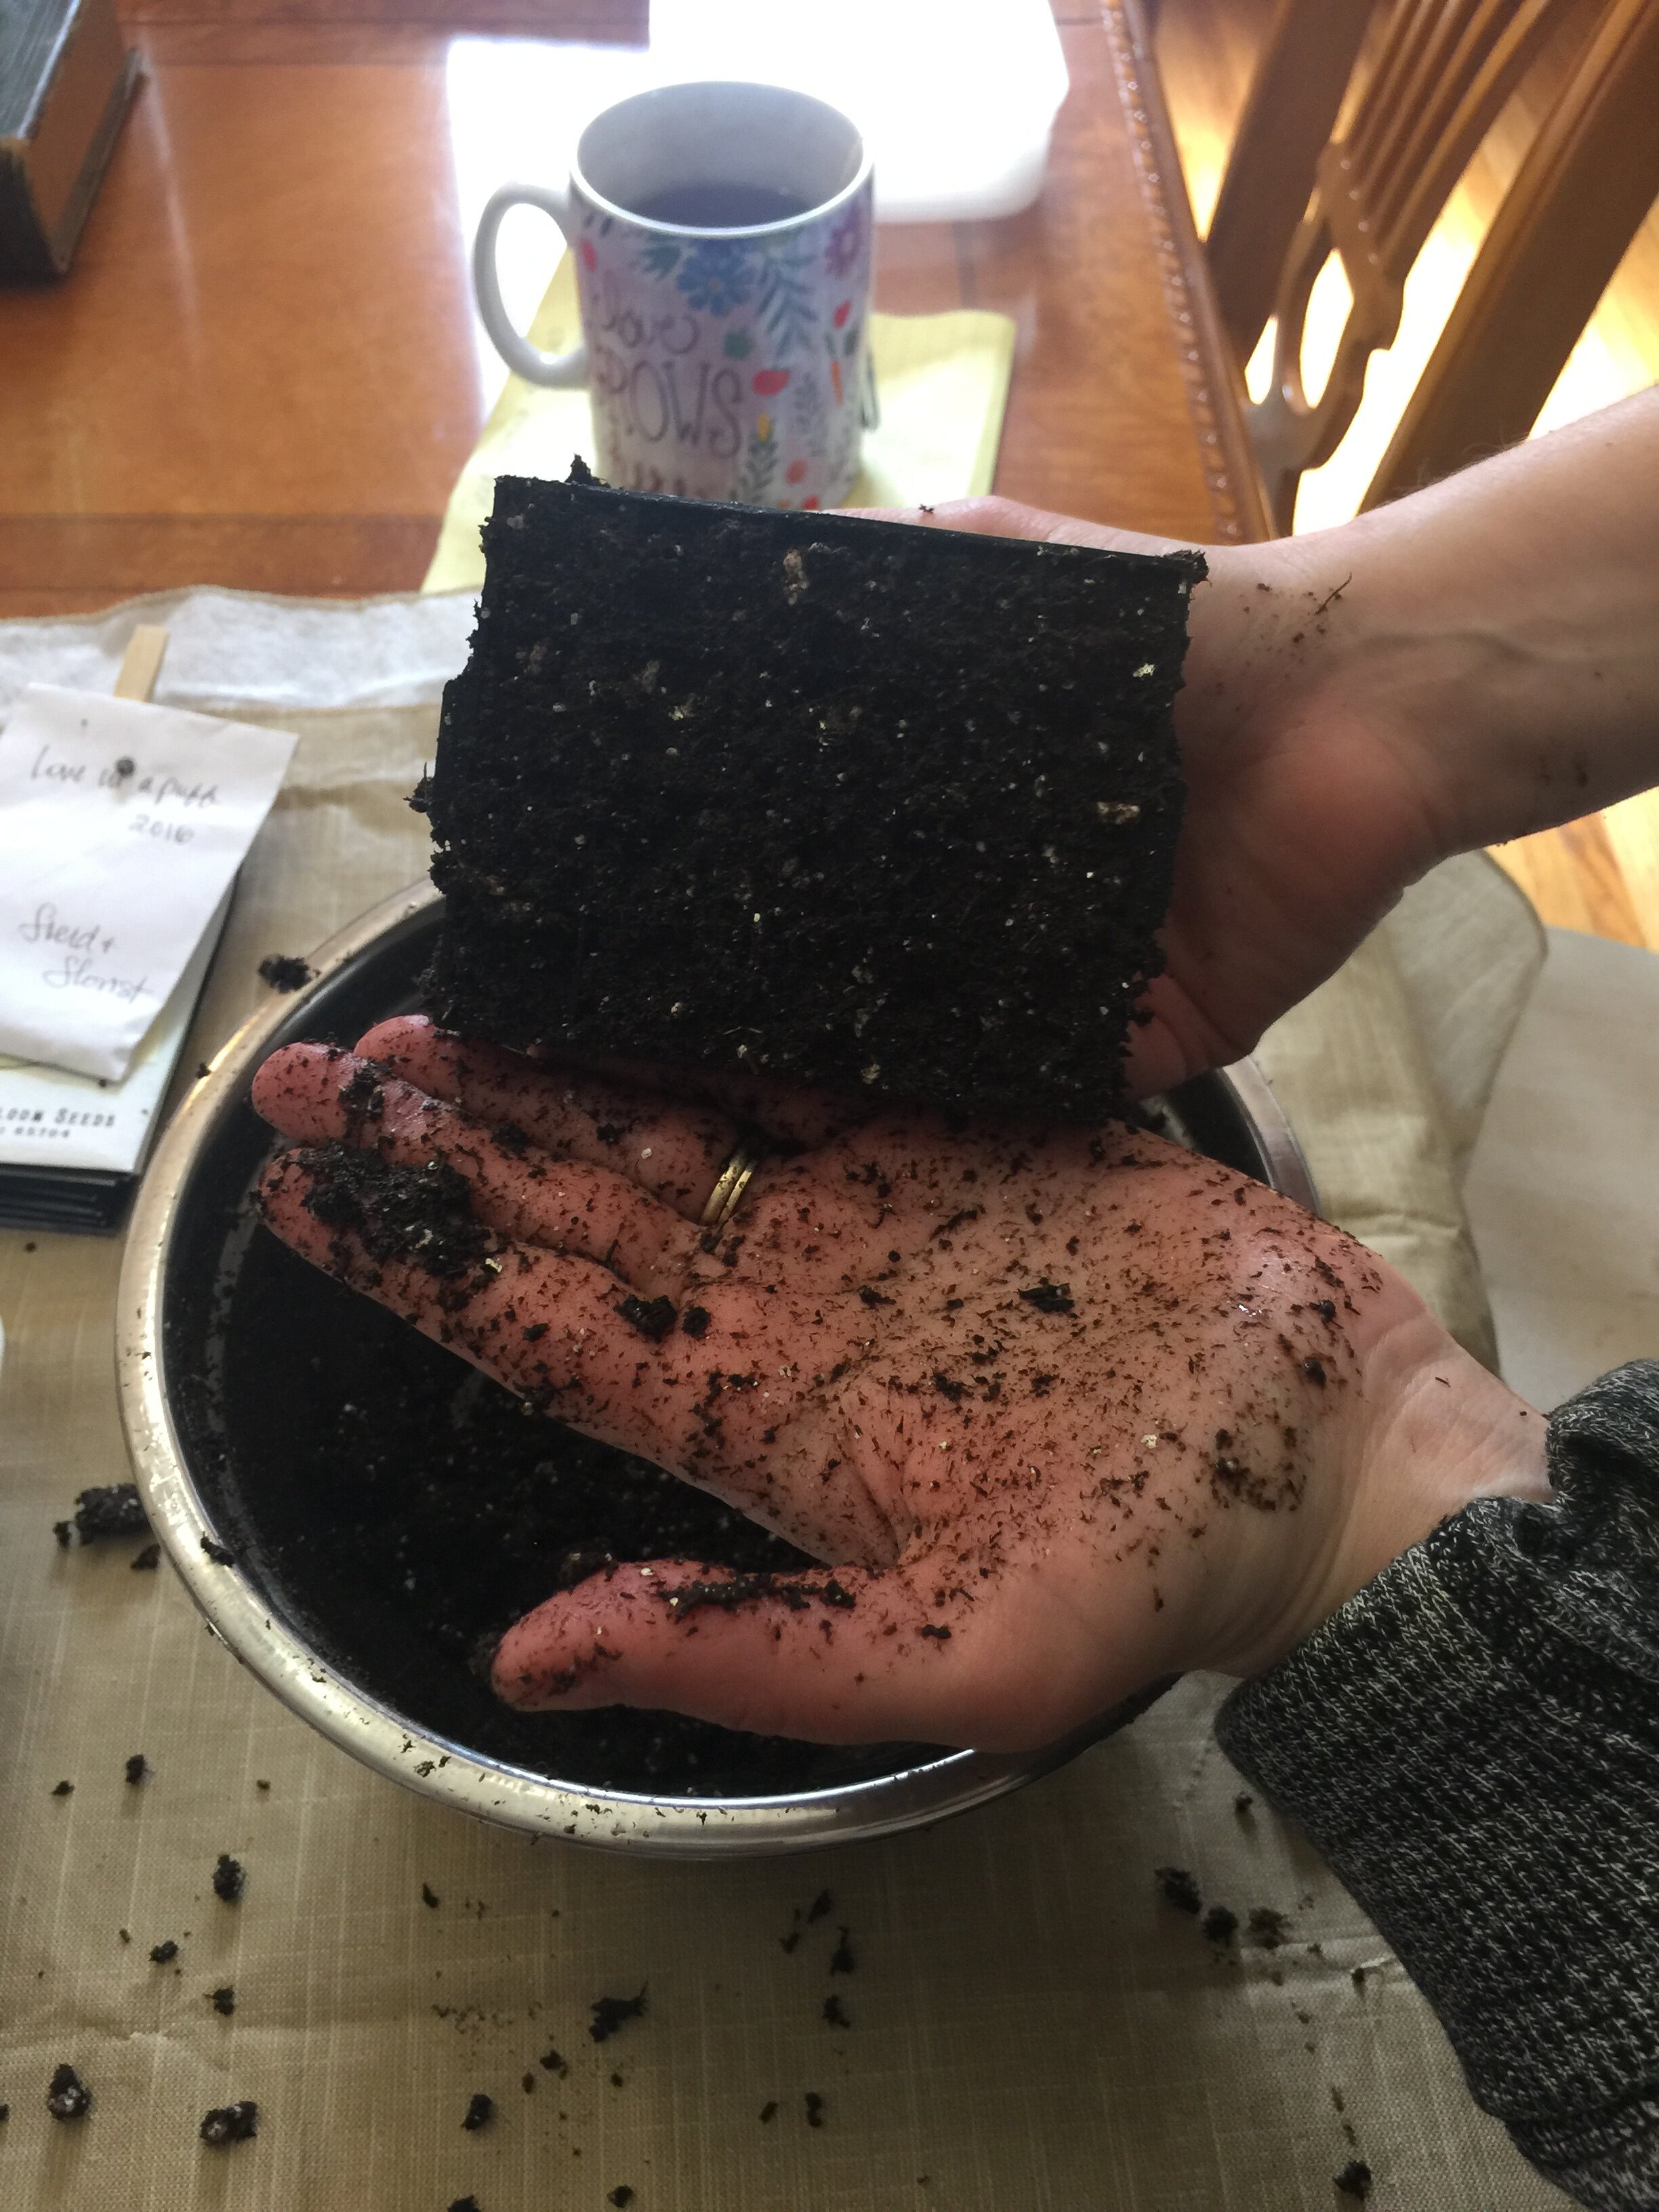
Start by pushing your soil blocker down into the soil bowl, twisting the blocker back and forth. Pick it up and look at the blocking grid — are your blocks nicely filled, or is soil glopping and falling out? (if the latter, your soil mix is too wet and you need to add more soil to even out the moisture).
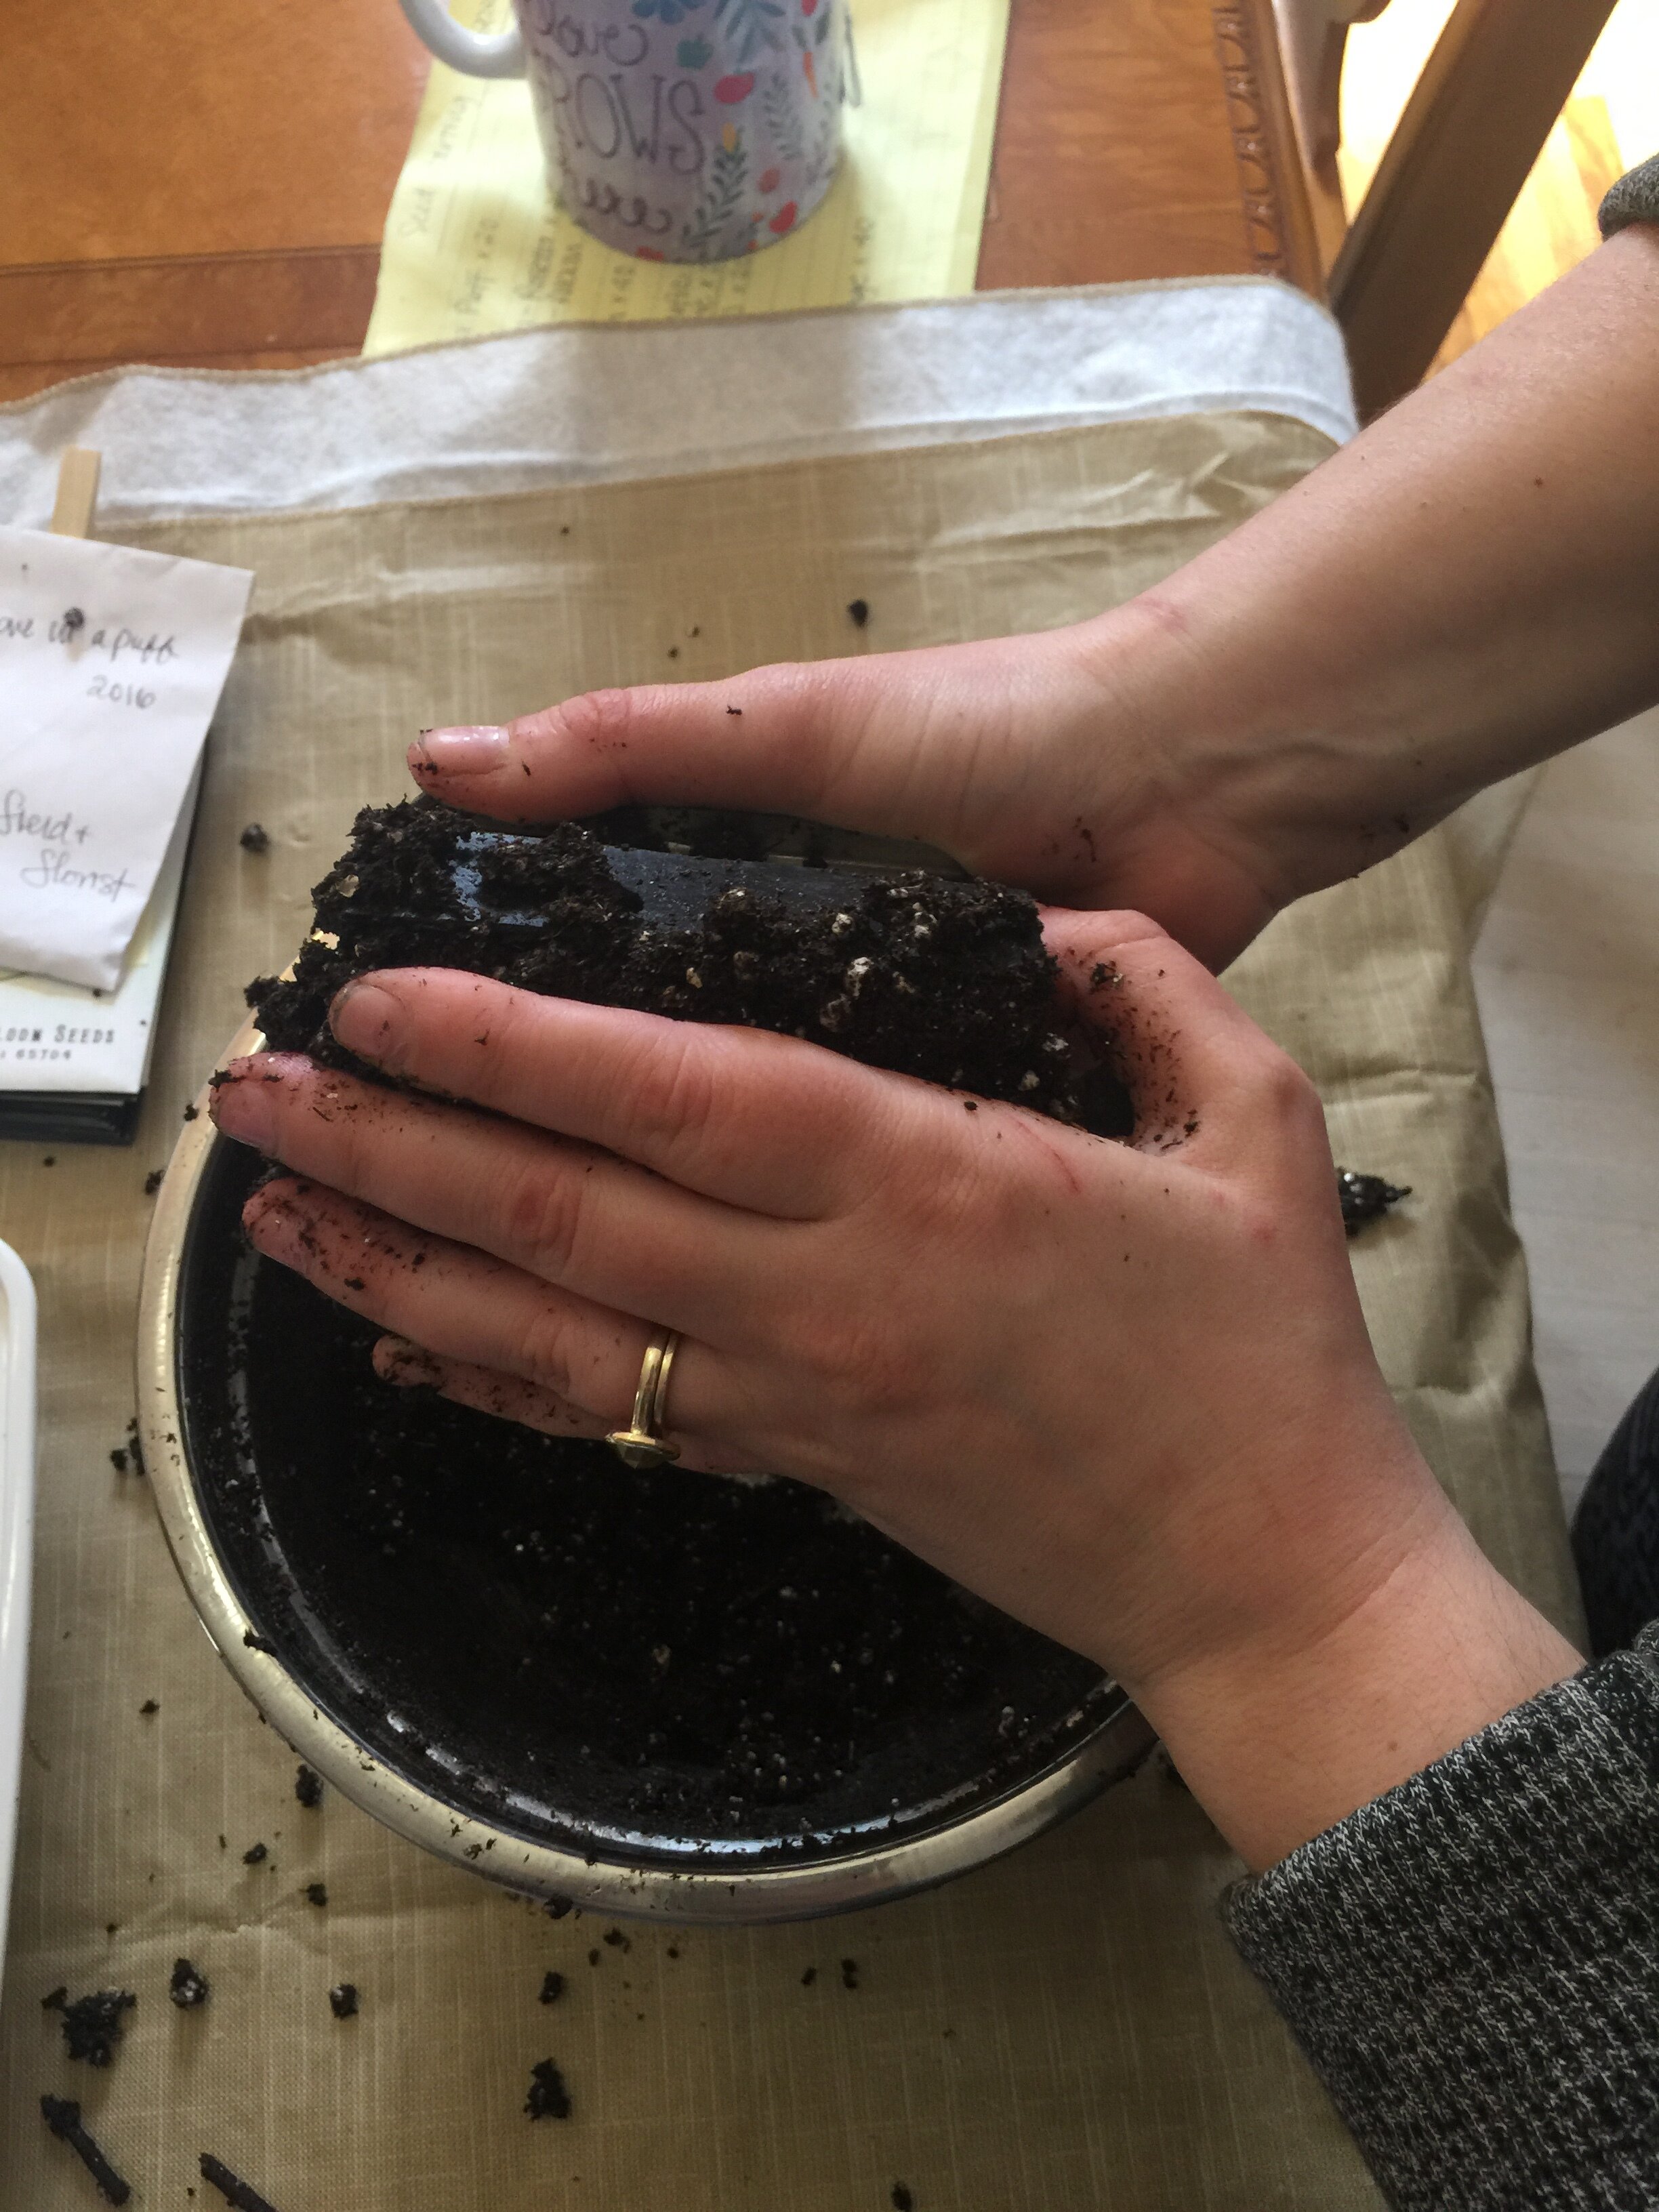
No matter how full the blocks look, take a handful of soil and mush it into the soil grid. This will ensure all the blocks are totally full (I’ve learned that some may appear full, but are only half full and you won’t know this until you drop your blocks and they break apart).
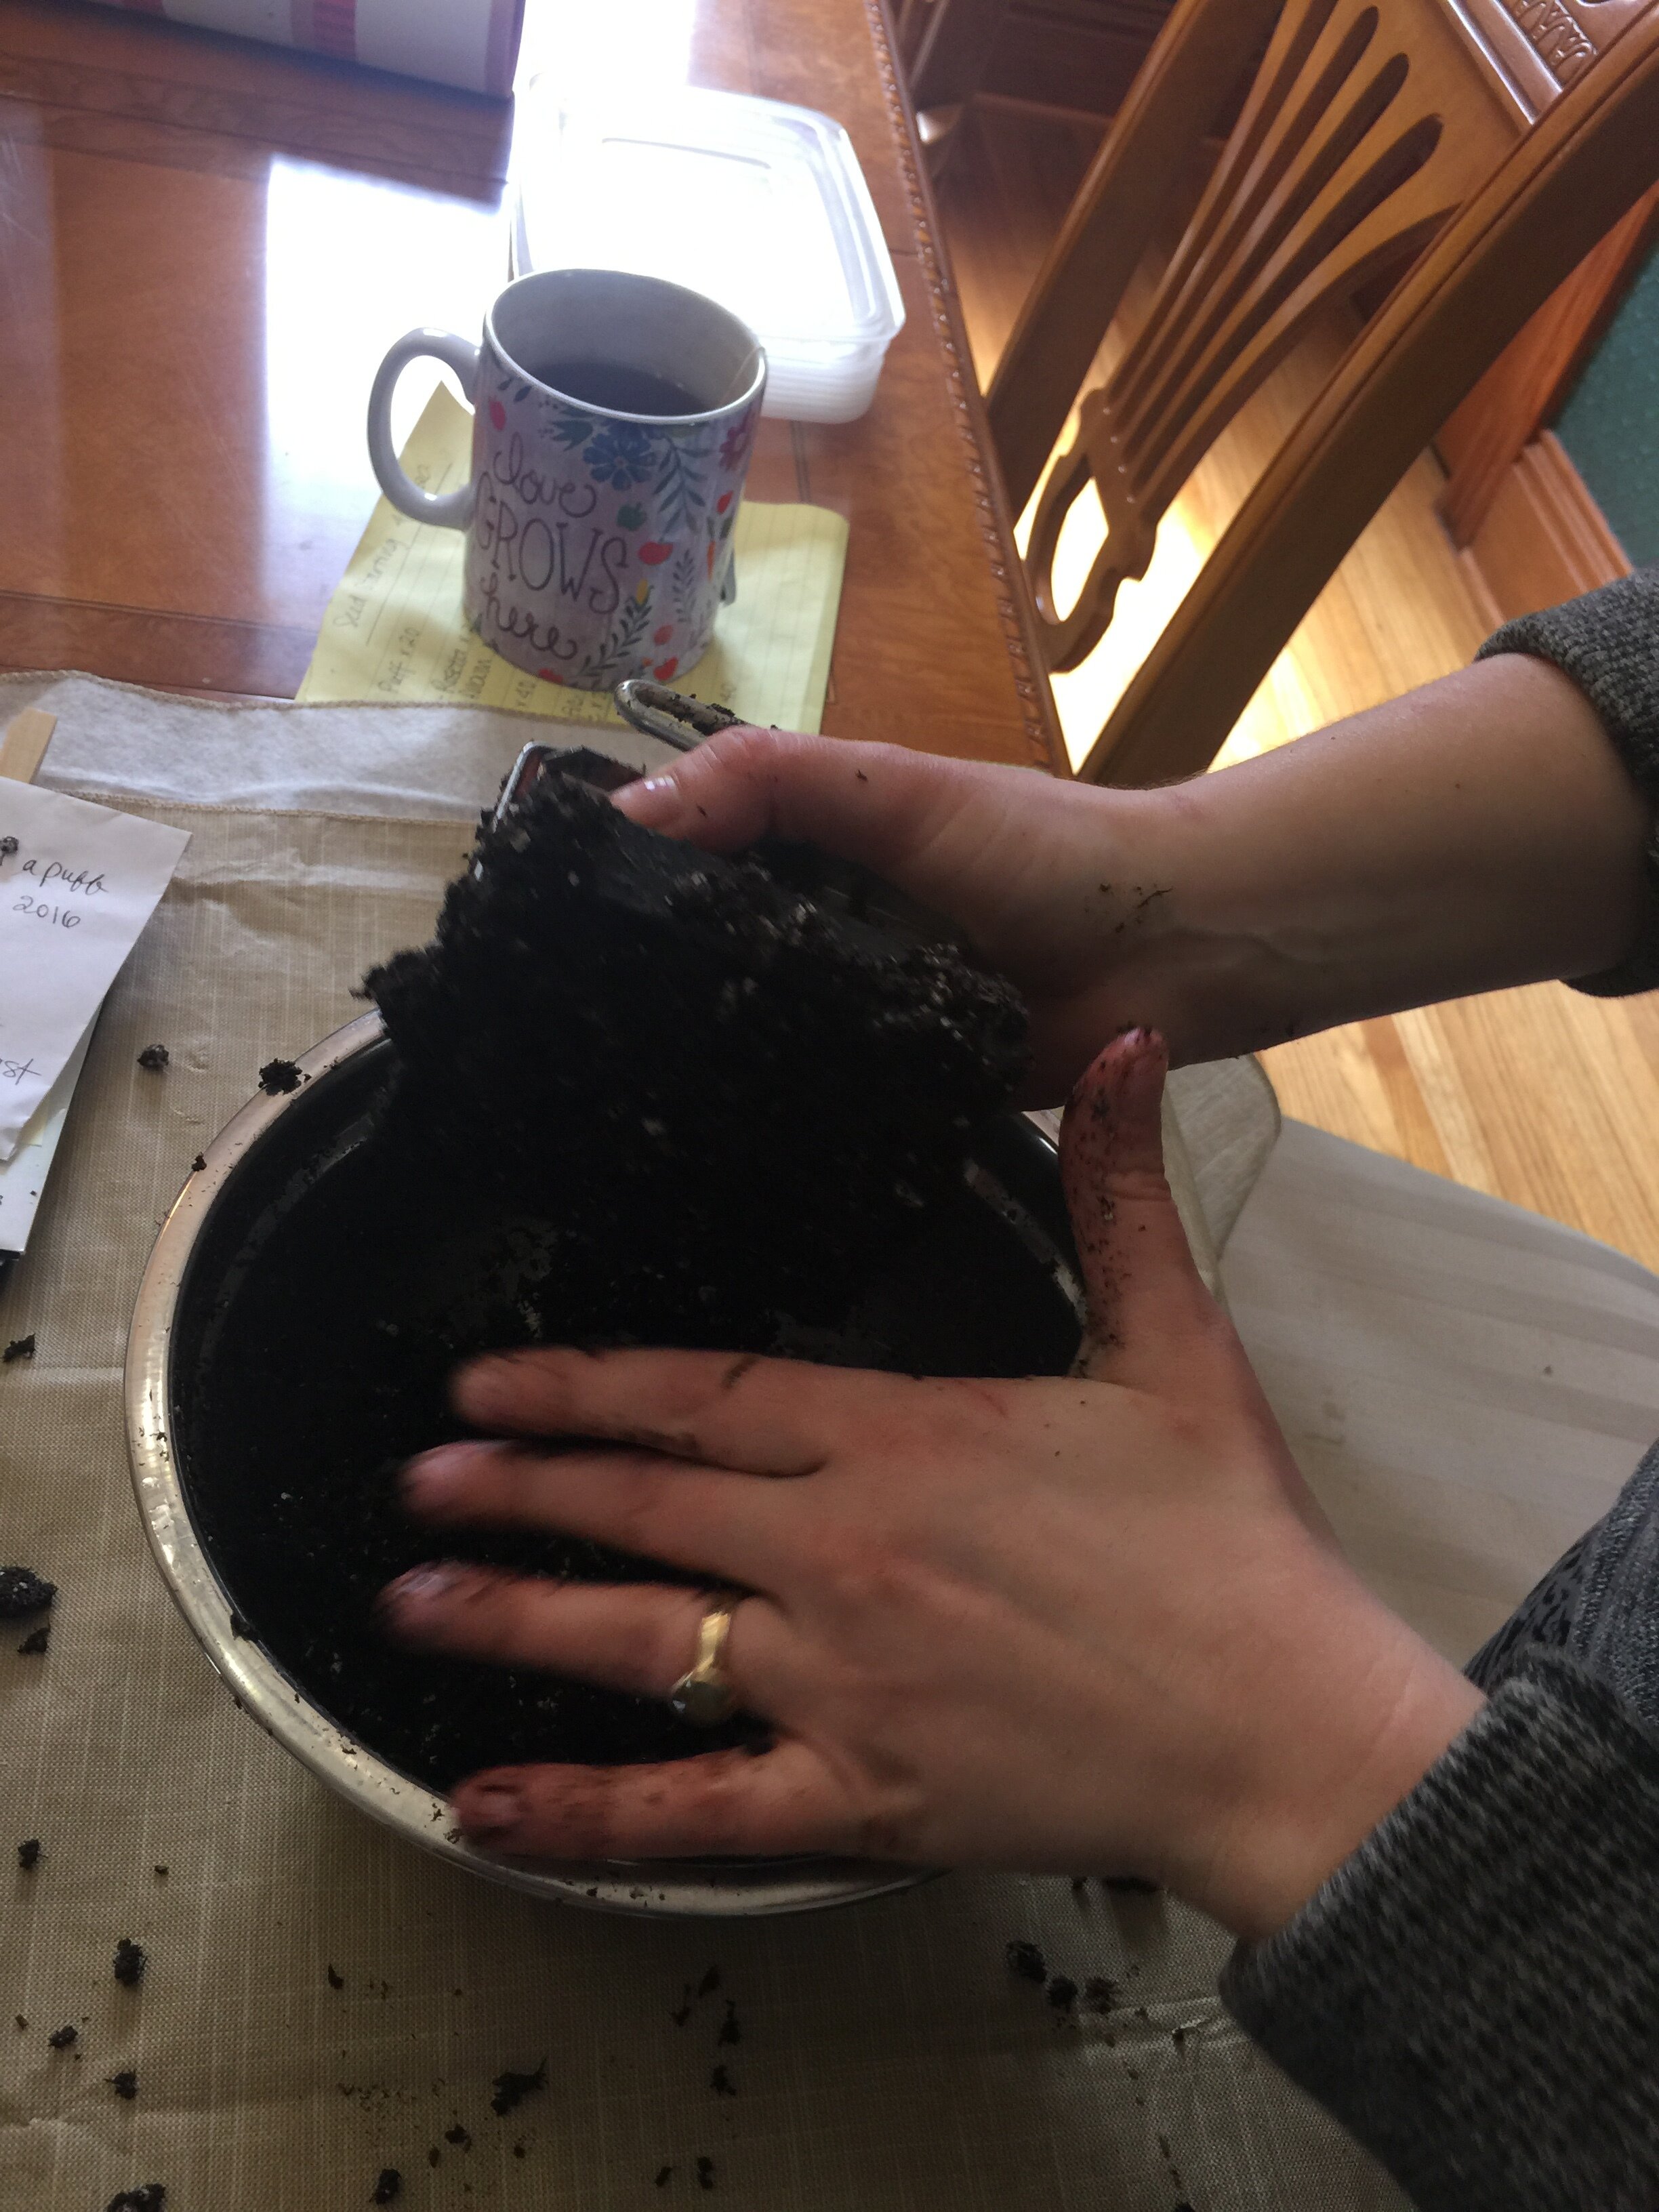
Wipe the excess soil off the blocking grid with your finger so the soil is flat against the grid (I’ve attempted to demonstrate this process in photos above).
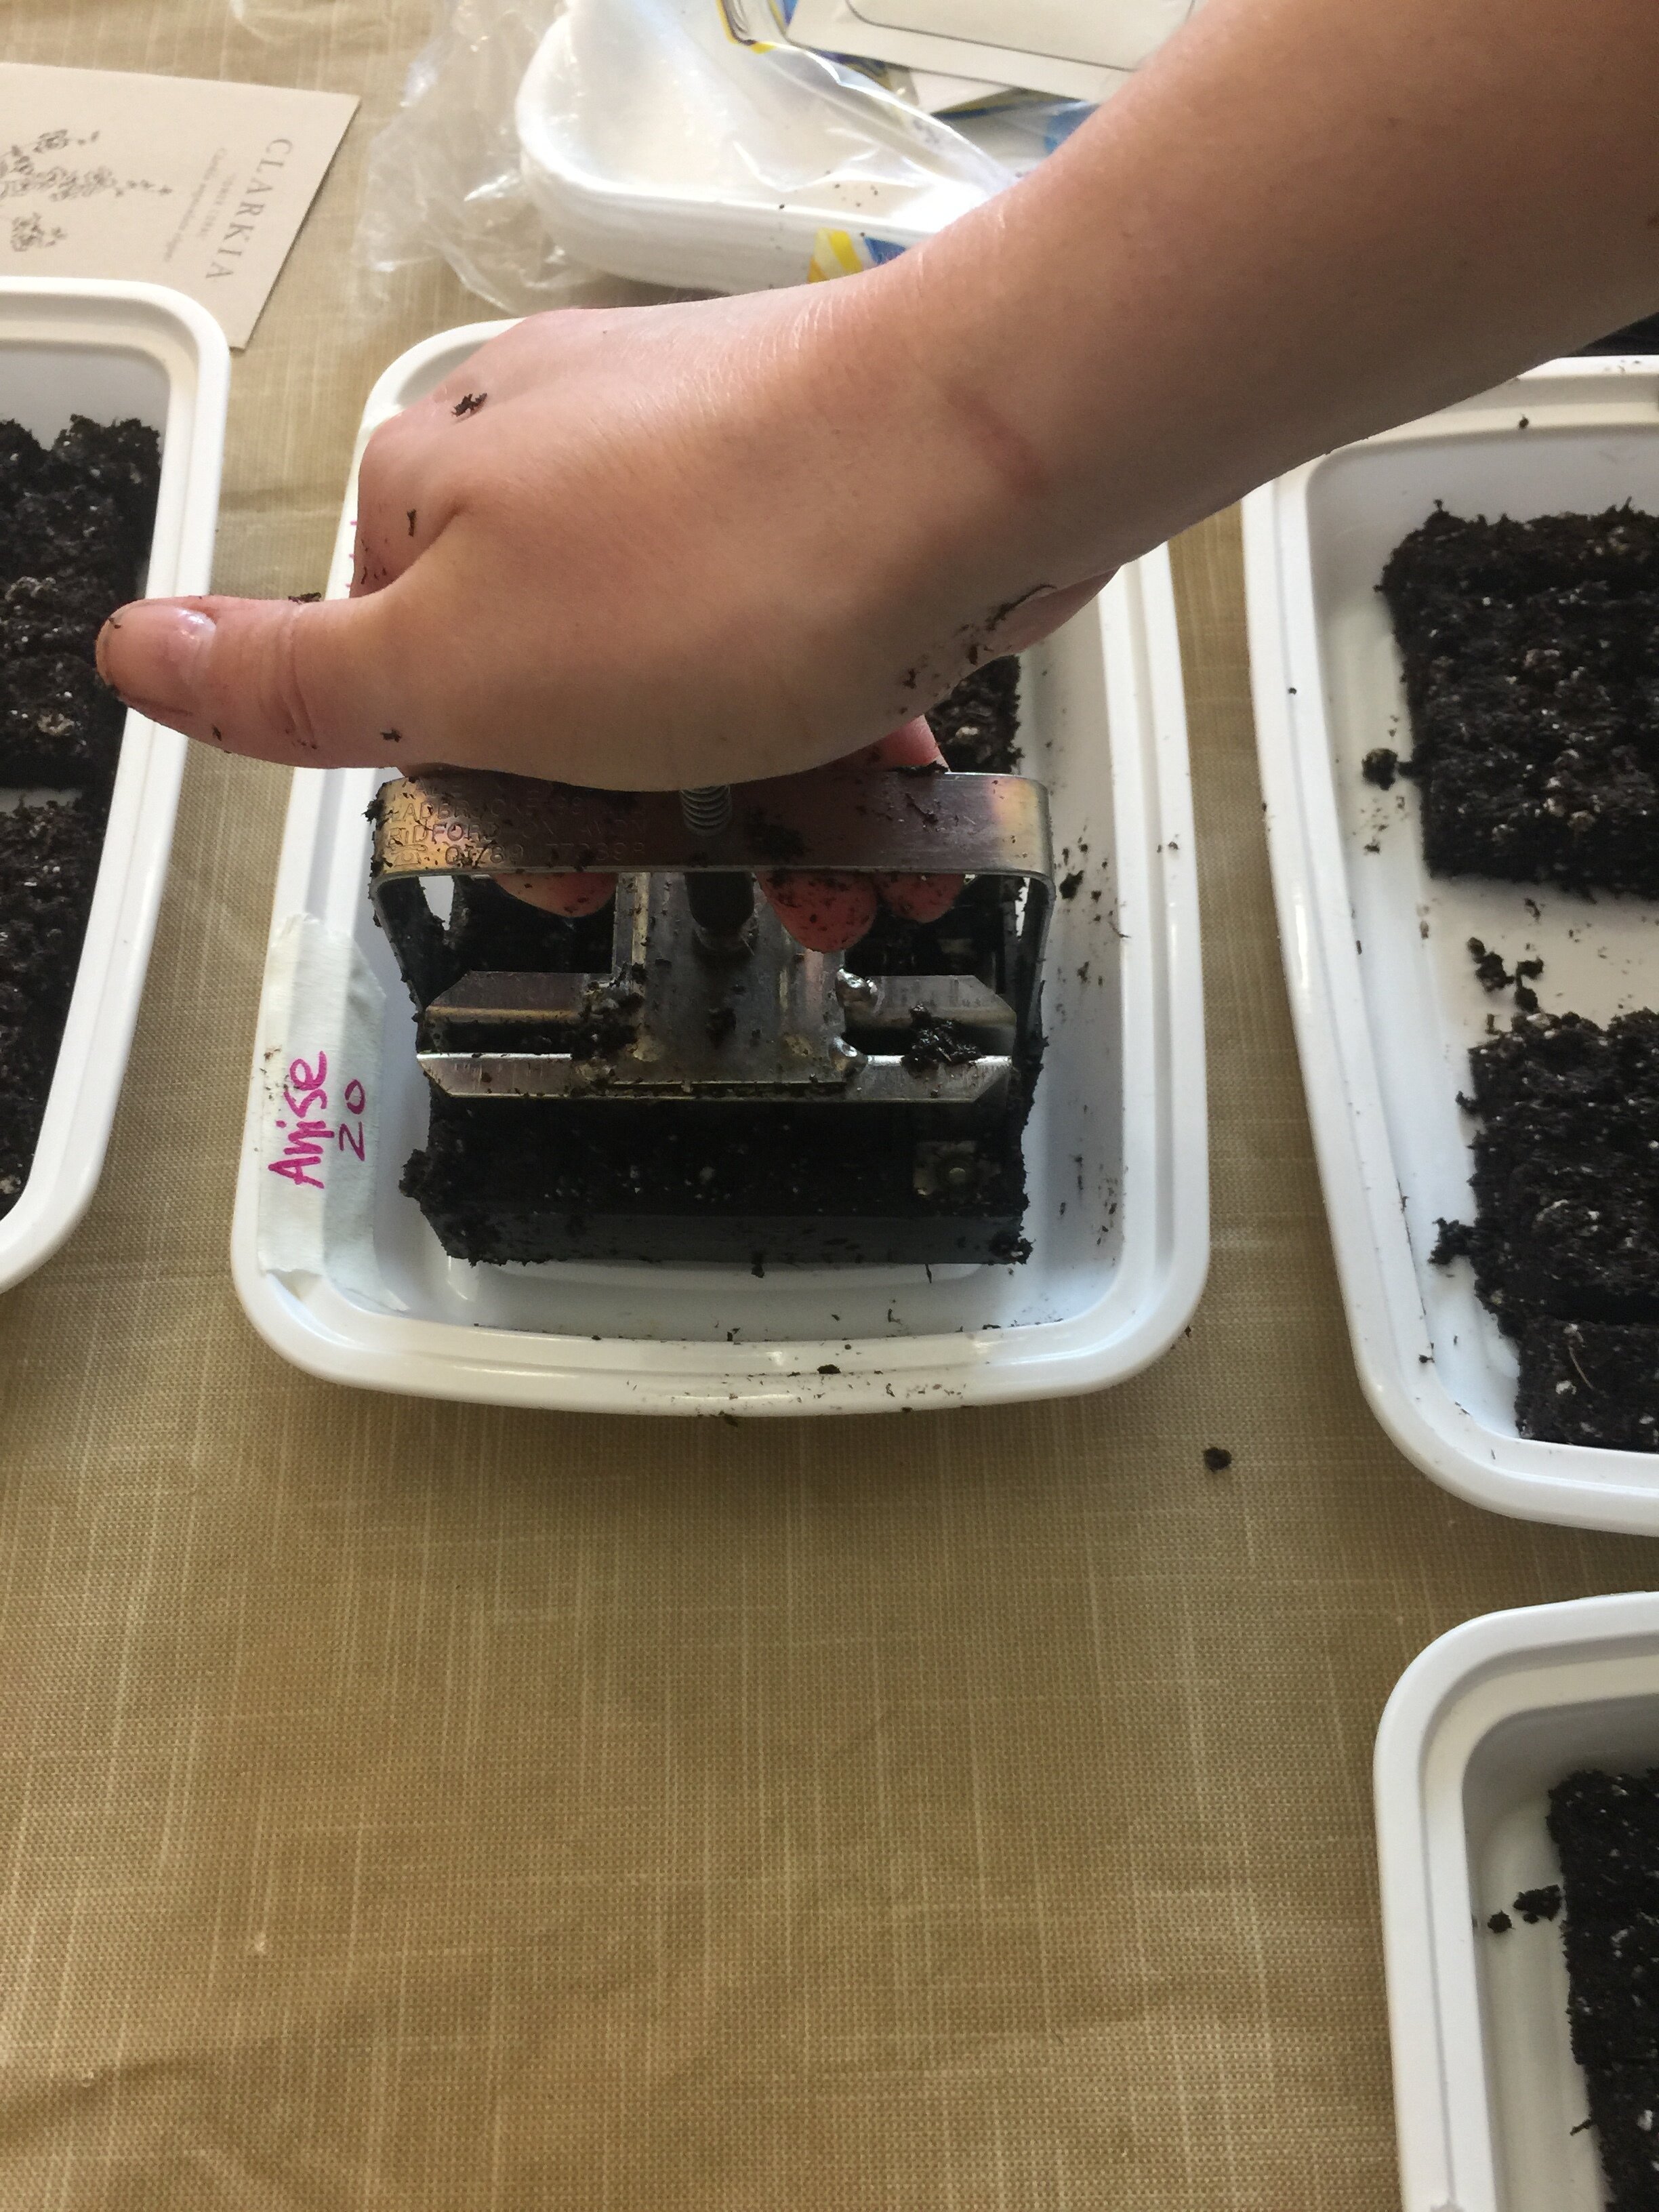
Now it’s time to drop your blocks onto your tray! Hold the soil blocker against the tray and pull the release. You may need to lightly shake the blocker to help them fall out, depending on how wet your soil is.
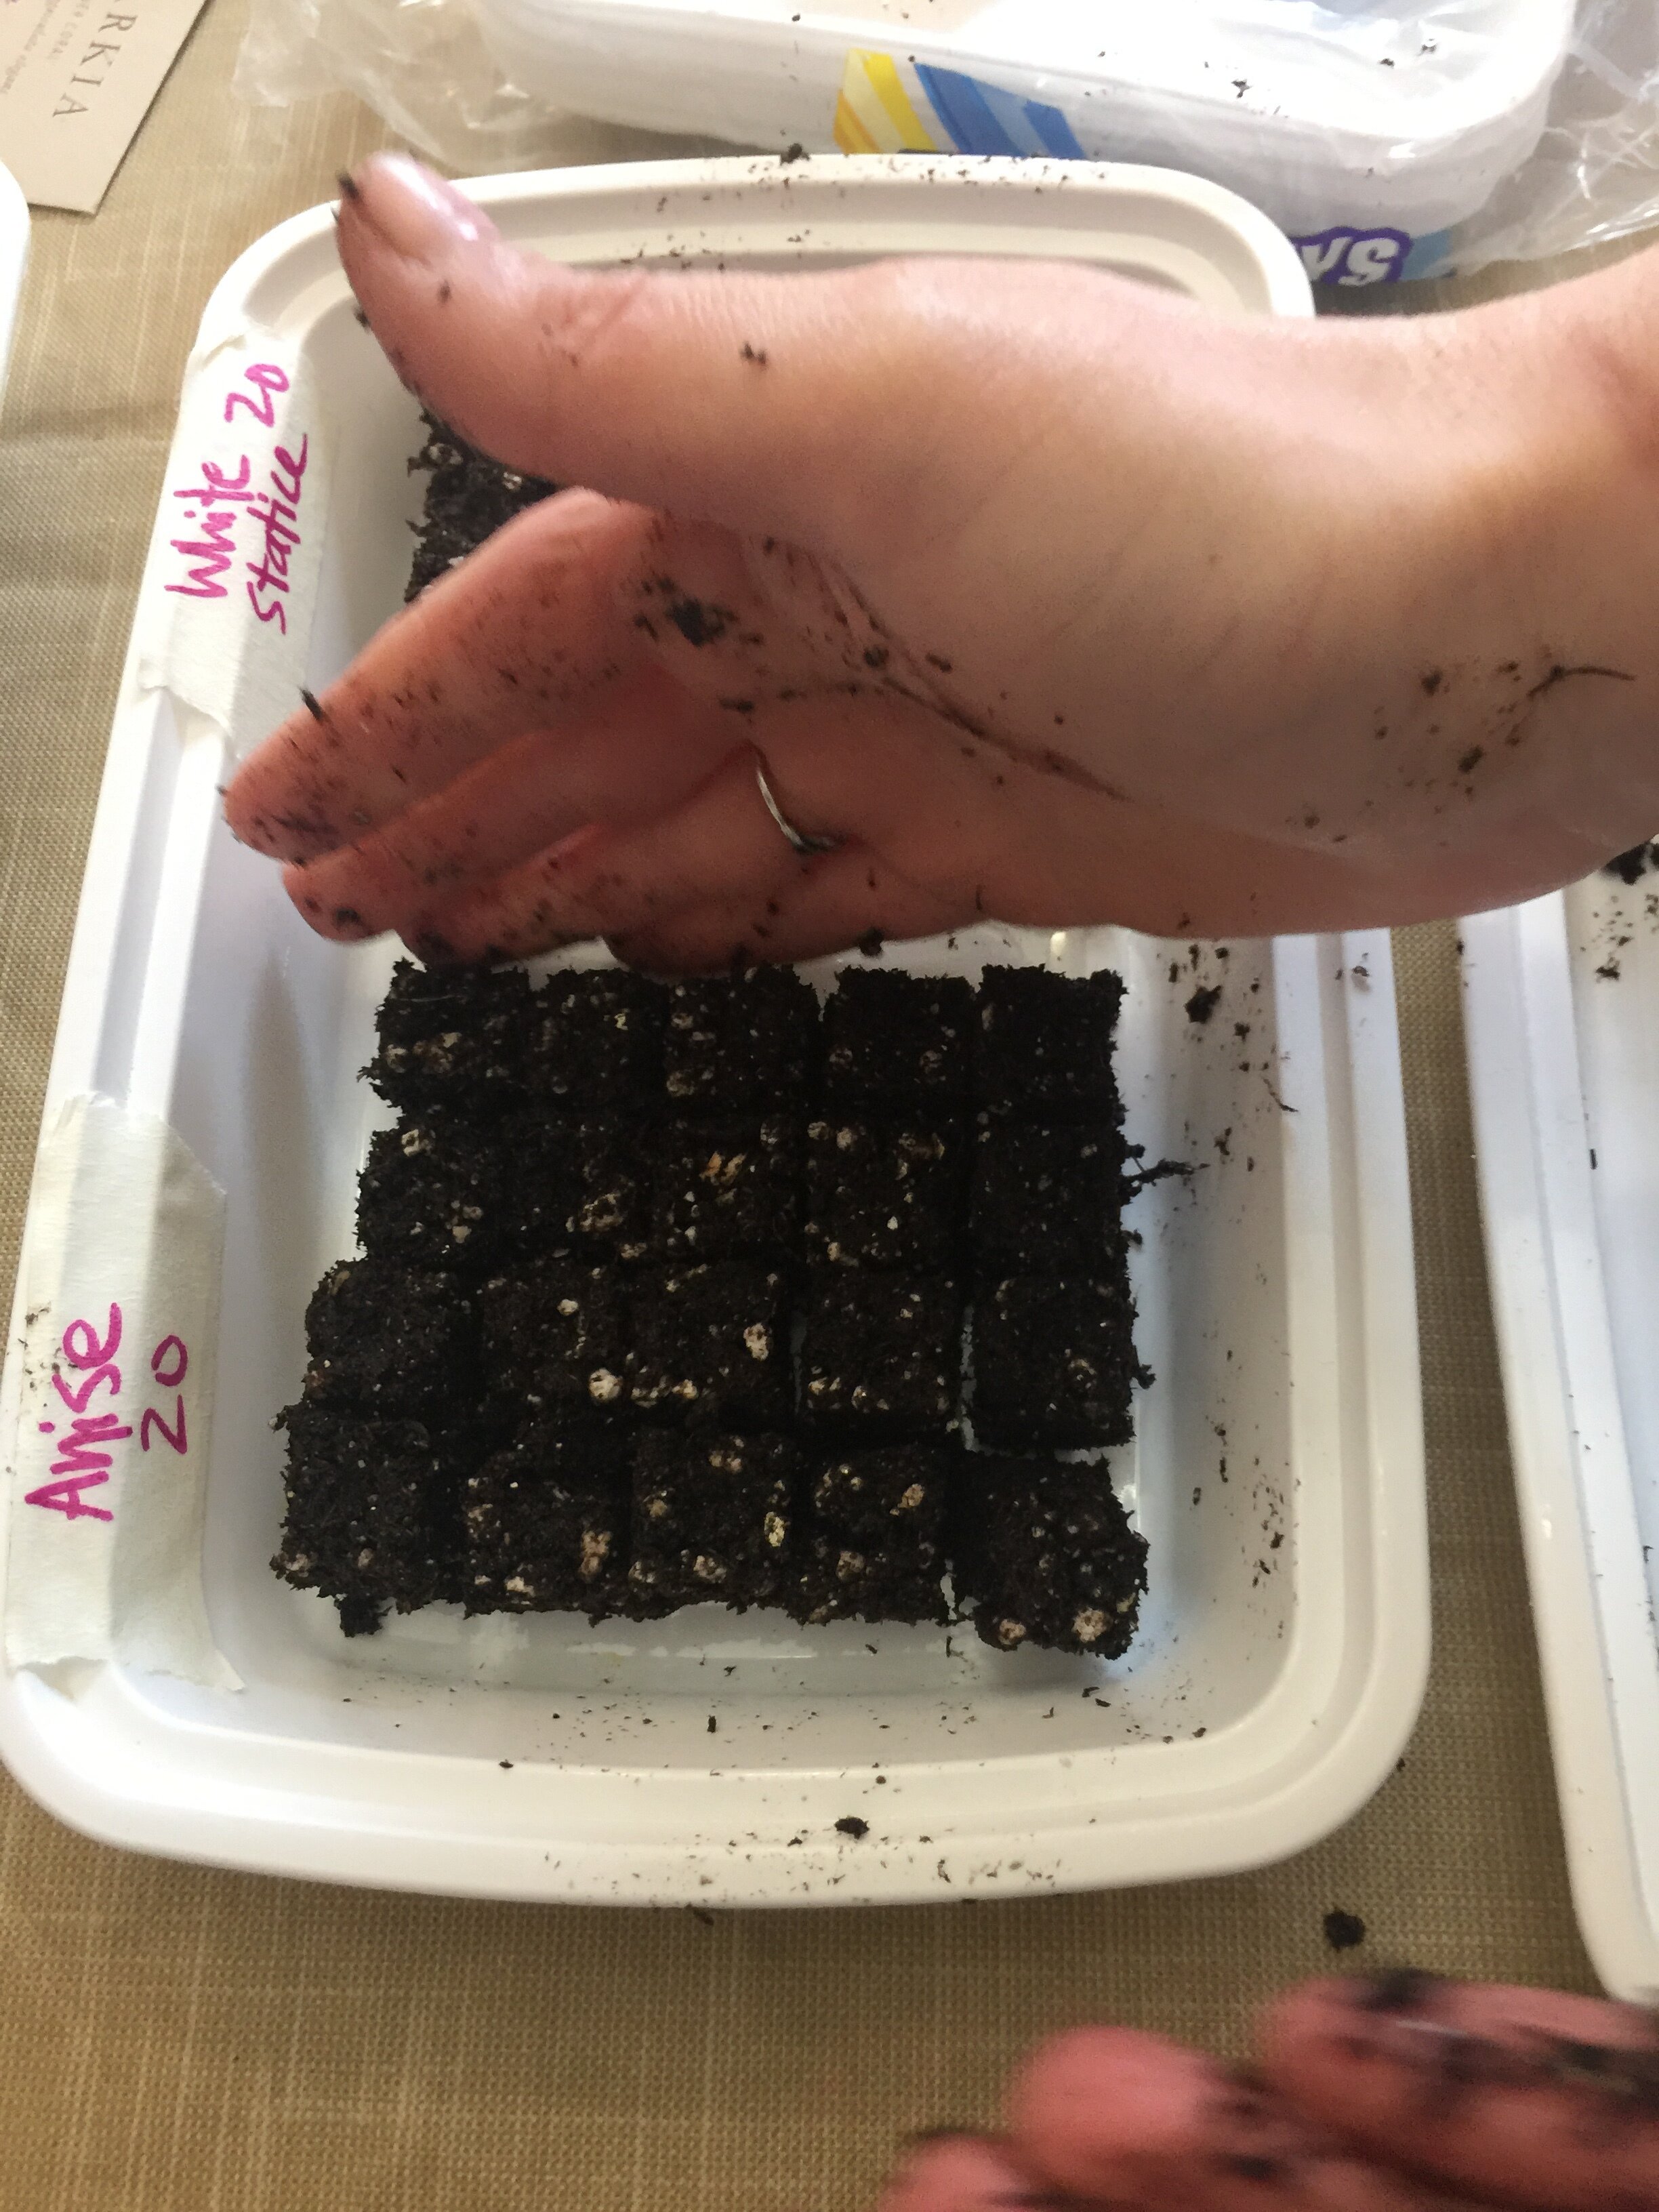
Smush your blocks together
This step is important - the mini blocks are tiny and they need to be right up against each other. If any on the ends or corners are falling off, use your fingers to gently smush them back together in their original grid. This will also help them from drying out quicker.
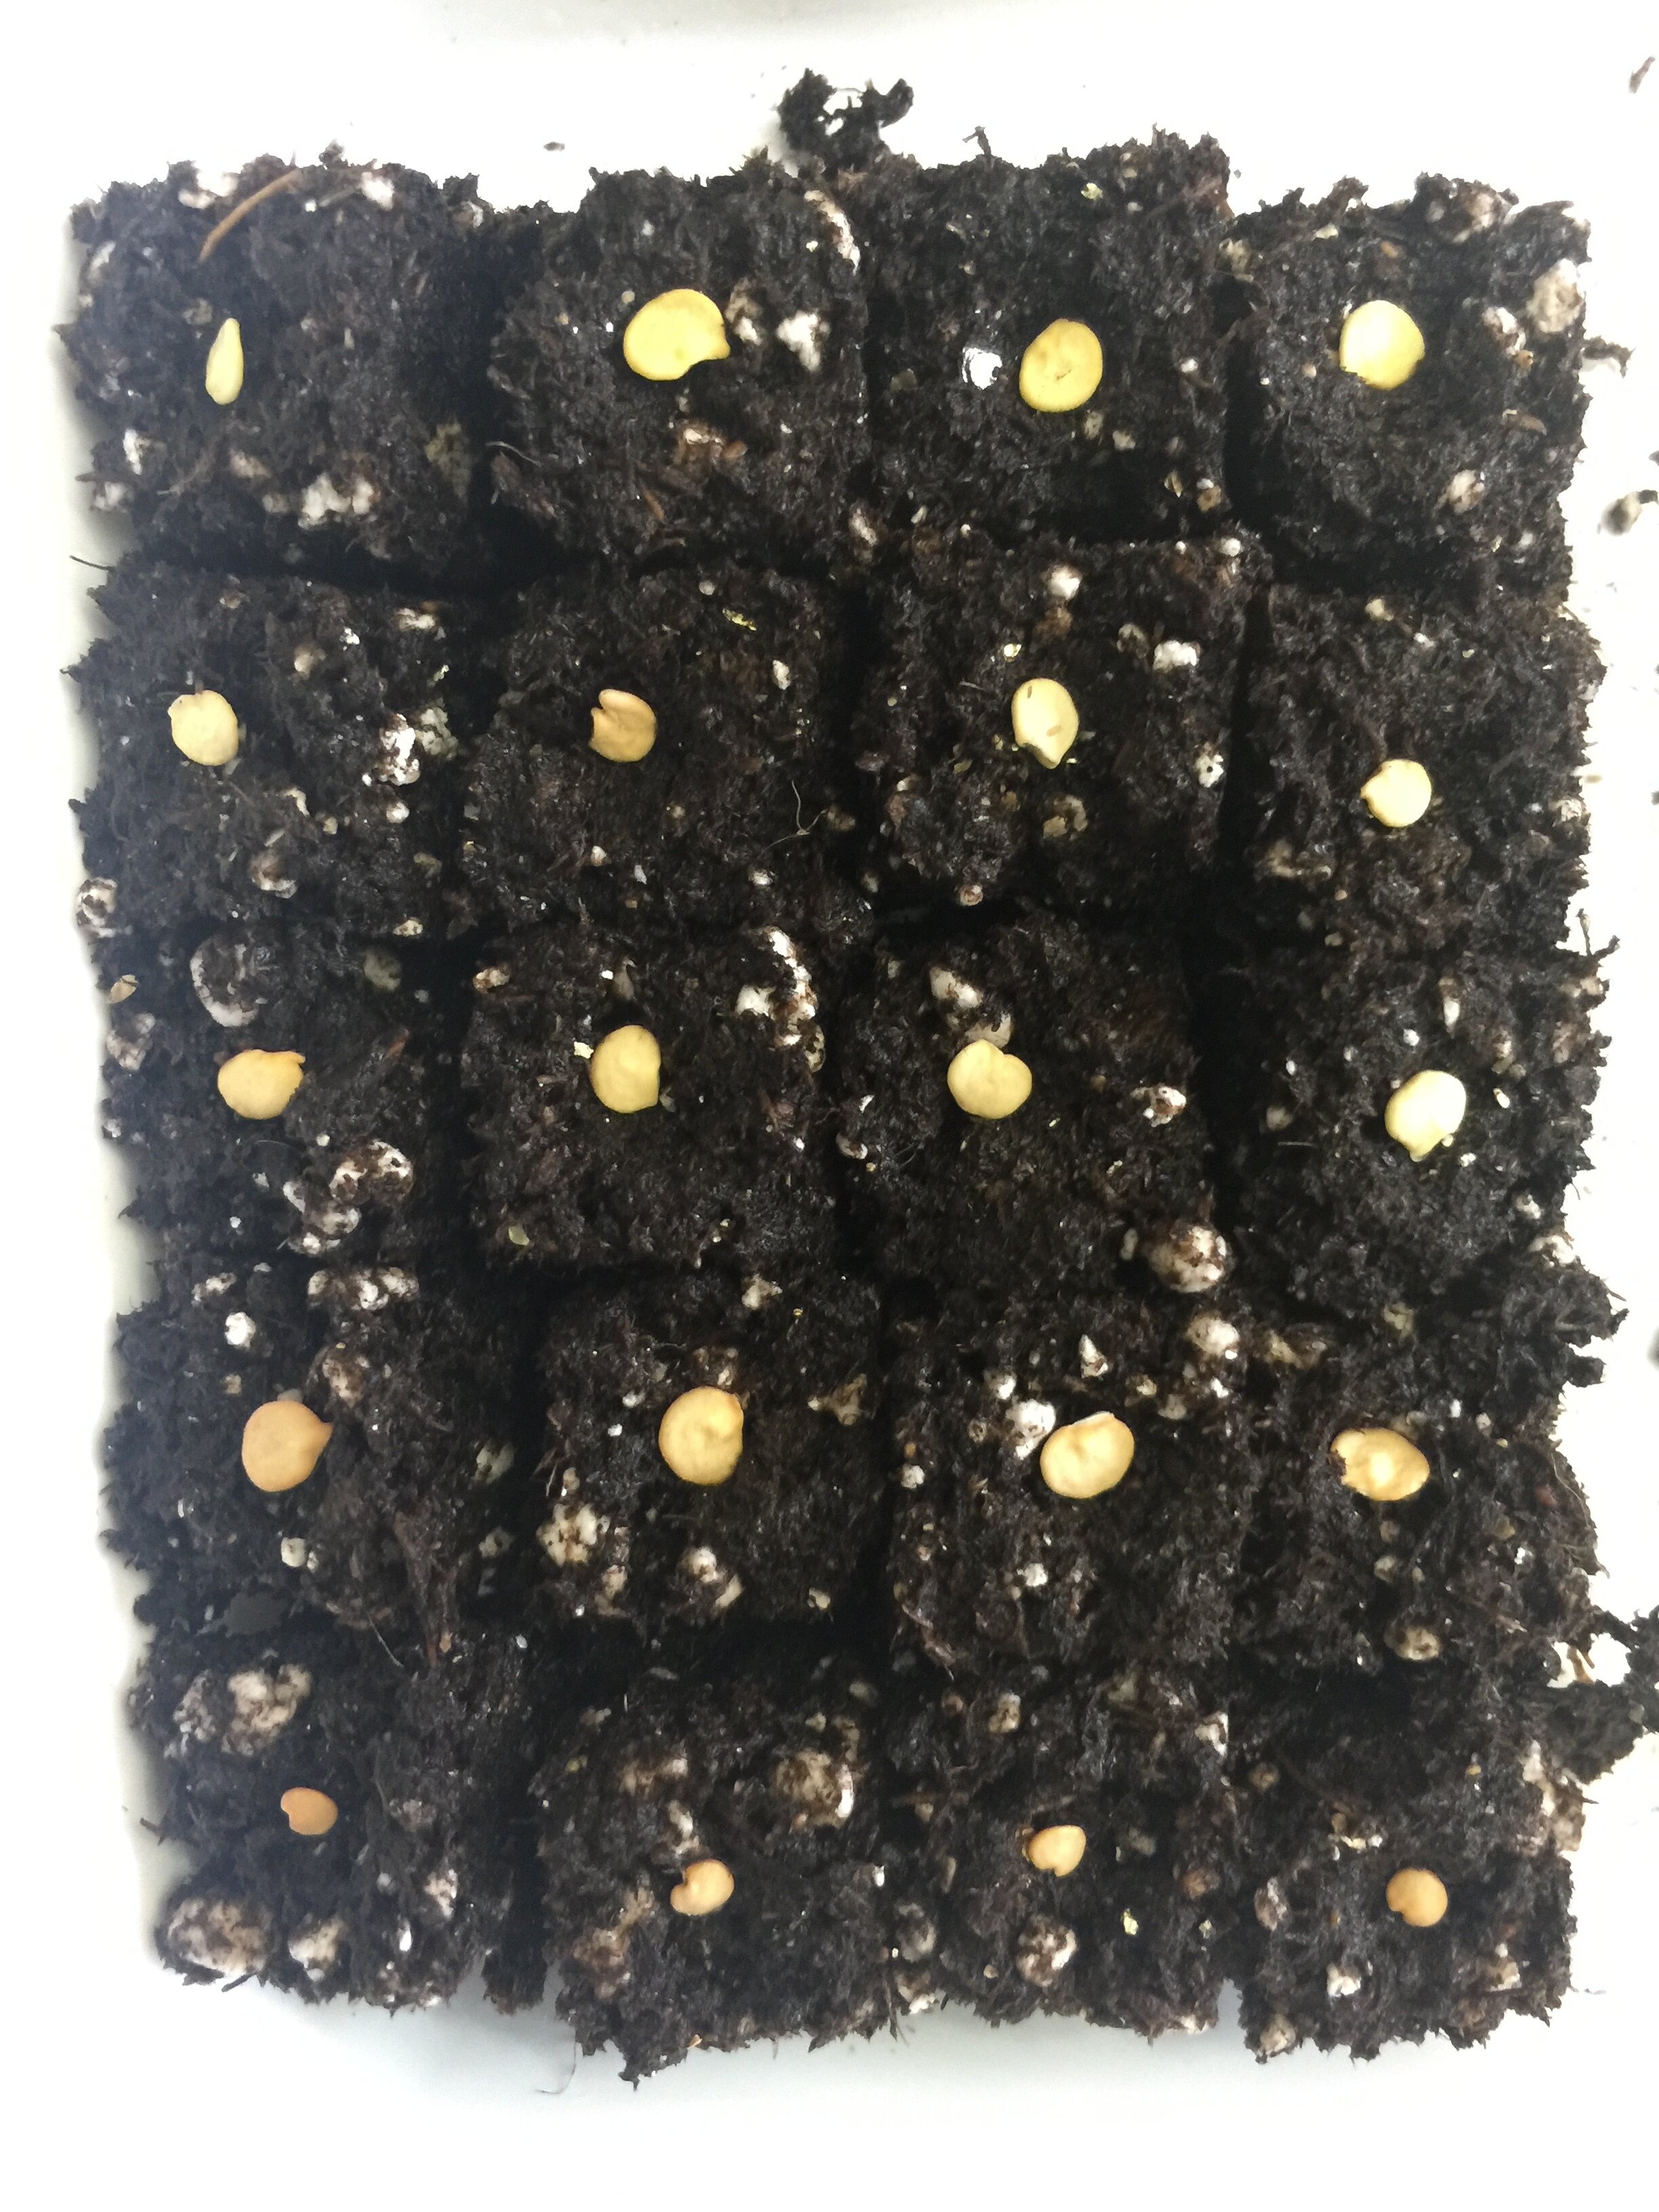
add seeds to all the soil blocks
I am very conservative with my seeds and only use one seed per block, especially for large seeds like zinnias and cosmos. If you are able to provide warmth and consistent light, you will find most (if not all) of your seeds will germinate, assuming your seeds are fresh and have been stored well, so there is no need to double or triple seed. You will have to thin the seedlings later, which can be challenging in the mini blocks because thinning may cause the mini soil block to collapse.
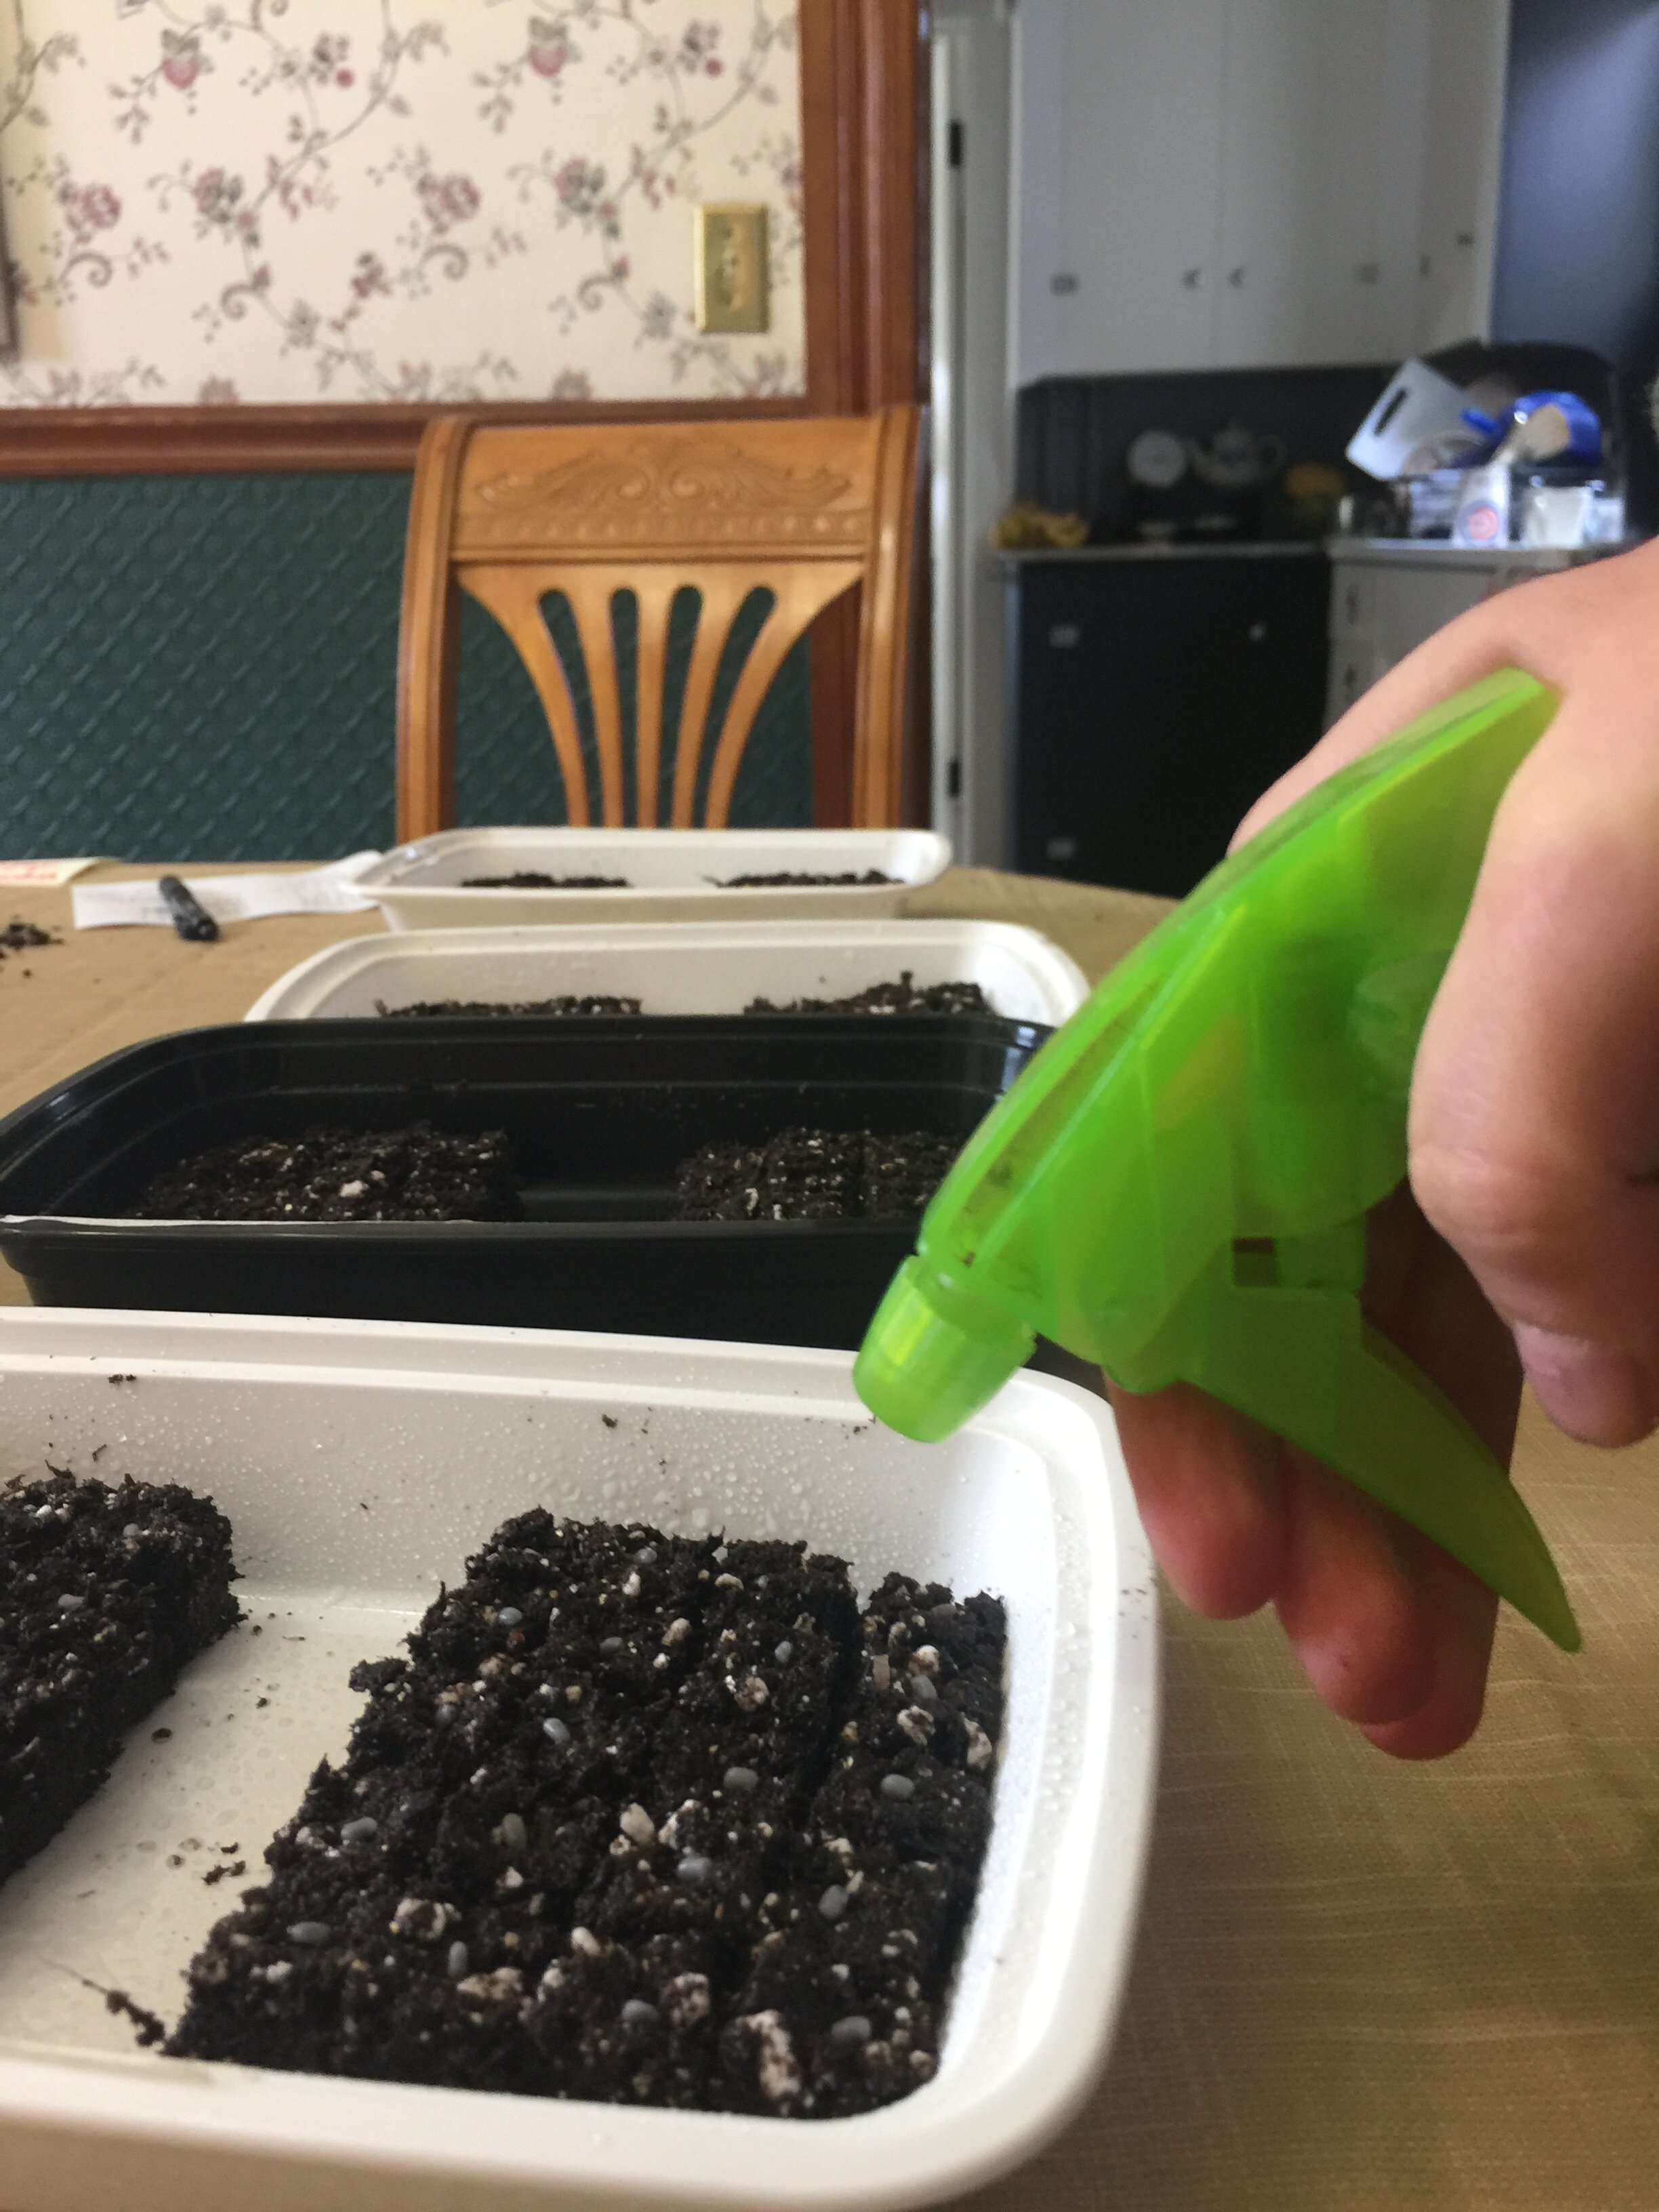
Water your seeds with a spray bottle.
After all the seeds are down, GENTLY spray all of them with a water bottle. I do this to ensure the seeds have adequate moisture and soil contact for good germination.
Cover the seeds with soil
BEFORE completing this step, make sure you know which seeds require darkness and which seeds require light for germination. Some flower seeds and many perennial seeds require light for germination, and if that’s the case, you are done with them at this point and can put them under lights!
My preferred method for covering seeds in mini soil blocks is lightly sprinkling DRY soil mix on top of the blocks. It’s okay if soil goes in the cracks and onto other parts of the tray — the seeds will grow just fine! Spray that dry soil again with the water bottle until it is saturated.
Put your seeds under lights
Some growers start with heat mats, since most seeds (the ones you covered with soil) only require heat to germinate, not light. I’ve found that I don’t need heat mats if I cover my seedlings with a plastic dome and turn the LED lights on. The dome holds the heat from the lights and germinates the seeds quite rapidly this way. This is why those plastic take-out containers are so amazing; they come with built-in domes!
If you’re using the Dollar Tree cookie sheets as soil block trays, a 1020 humidity dome will do the trick to keep soil moisture in. Once seeds have sprouted, remove the humidity domes. The domes should not stay on once green growth has begun because it will hold in too much moisture and your plants will be at risk for damping off, which is a fungal disease encouraged by too-wet conditions.
soil blocks After 3-4 weeks of growth…
After 3-4 weeks of green growth in a 3/4” soil block, you will need to either pot up your seedlings into larger soil blocks or pots; or harden off your mini soil blocks for one more week and transplant plant directly into your garden. The transplants will be small, but they will grow great if given the right conditions.
TIPS FOR WATERING MINI SOIL BLOCKS
You are going to have to water your mini blocks everyday — they dry out very quickly and your plants will die if they do. It is most efficient to bottom-water your soil blocks. Do this by GENTLY pouring water into the trays with a small watering can. Pour water into the middle of the trays. If you pour water near a soil block, it may entirely break apart from the water stream.
Pour excess water the blocks don’t soak up, into a sink. Your blocks should not ever sit in standing water. You could opt to water with a tiny amount of Fish Emulsion Fertilizer once per week (use 1 tsp per cup of water).
tips for hardening off mini soil blocks
Hardening off mini soil blocks is a bit trickier than hardening off bigger soil blocks or plug trays. The risk of the mini blocks drying out due to evaporation (hot air, direct sun exposure) is much greater. I have successfully hardened off 3/4” soil blocks on my front porch which receives 3 hours of indirect sunlight in the morning. I left the mini soil block trays out in that morning light every day for a week before bringing them to my farm to direct transplant. I am in Zone 6b in the northern hemisphere of New York State. Be aware, if you live in the southern hemisphere or in a hotter growing zone, hardening off your mini soil block transplants may be more of a challenge due to harsher sun exposure and hotter temperatures.
