
5 Steps to Improve Garden Soil Naturally

Updated December 19, 2023
In Part 2 of this soil-improving blog series, we will discuss five steps you can take to improve and fully restore the fertility of your garden soil.
In this post, you’ll learn how to…
Immediately improve the aeration and tilth of your garden soil with the Double Digging method;
Feed your soil using compost and compost tea;
Consider planting polycultures and practice cover cropping;
How to mulch your soil;
and finally, you’ll learn how to garden like a forest with the Chop n’ Drop method.
If you haven’t read Part 1: A Discussion on the Soil Food Web and Soil Degradation, I suggest you skip back to that article for a practical conversation on the negative effects of tillage and chemical use in the garden. There’s also an introduction into the fascinating soil microbial system known as the Soil Food Web.
For us to be successful, mindful gardeners, it is important to understand that healthy garden soil grows from a system of good practices, not just one good practice. Adopt all or several of these practices below and your garden will produce more food and flowers than it ever has before. I’ve been growing food and cut flowers for over a decade now, and I continue to improve on my soil building practices year after year. There is no end to learning more and trying out new things in the garden (which is, perhaps, why we farmers love our profession so much!)
Related: Our Favorite Resources for Vegetable Gardening: Books, Tools, Soil Amendments & Sourcing
Building Healthy Garden Soil Using the Double Digging Method
Prepare garden Soil Using a No-Till Method: Double digging
One of the easiest (and cheapest!) ways for us to improve soil structure and increase the diverse microbial content of our soil is to STOP tilling up the soil. If you own a push rototiller, or a handheld cultivator (like a Mantis), I have four words for you: Get rid of it. Leave it on the curb, sell it on Craigslist, or better yet, smash it. For the love of mother earth, stop using machines in your garden!

A demonstration of how one might approach smashing a rototiller. Source: Huffington Post.
Preparing our soils in the spring should never be a mindless, mechanical process where we stand behind a tiller and let it do all the work.
Every garden is different, and you need to assess how much work will go into your soil prep based on the current state of your soil. You’ll learn that every season will be different for your garden, and if you adopt intuitive, mindful soil prep practices now, the process will eventually require less of your input every year.
You will cultivate this intuition naturally, by spending time in your garden and making careful observations. I highly suggest keeping a notebook and photo journal of what you see. It takes time to become an observational gardener; however, the only way you can really get to know plants is by spending quality time with each and every one of them.
Keeping a garden journal is one of the best ways to get to know your garden and to become a better gardener over time – it’s how I learned and I also use this blog to record my experiences so I can continue to learn.
Related: 7 Steps to Start Planning Ahead for a New Garden
do you have to aerate soil every spring?
There is a common misconception that we must deeply aerate our garden beds every single Spring. Lucky for you and your precious time, annual soil aeration is unnecessary. The first year in your garden, you will need to aerate the soil and amend it with compost and natural fertilizers (we’ll talk about how in a minute). Existing gardens that are heavy clay, have a lot of rocks in them, or are very compacted will need one season or several seasons of aeration and amendments to build fertility and increase soil moisture holding capacity.
I’ll say again that you must be in tune with your garden to determine what it needs in the Spring and throughout the growing season. Pay attention to how your soil changes (water absorption, plant nutrition, soil color and tilth, the workability of it, ie. how hard it is to dig a shovel into the ground in the first year vs. the third year).
Related: Winterizing the Flower Farm Using No-Till Soil Building Techniques
is soil testing important?
I do want to talk about soil testing for a quick minute. Yes, getting your soil tested is important, even if you are a home gardener with a small plot. Soil tests will tell you exactly what nutrients are balanced/imbalanced in your soil, and most soil testing services will even offer fertilization suggestions for an extra fee. If you are growing food, it is important to understand the mineral composition and nutrient density of your soil, and where the minerals are lacking, because this will be directly translated into the nutrient density of the food you grow. After all, why would you grow your own vegetables without knowing how nutritious they actually are for your body?
how to get a soil test for the garden
To have your garden soil tested, I recommend sending it into a soil testing lab, rather than buying an at-home soil testing kit. Sending your test into Logan Labs in Ohio (the soil testing lab we use) will cost $25 for a basic test (2023 pricing), plus the cost of shipping your soil to the lab. A soil test is best performed in the Spring when the soil begins warming up, but really anytime is better than never doing it at all — I’ve sent in soil samples taken in March, June and November. All the directions you need for collecting and packaging a soil sample will be on the order form of the lab you decide to order a test from.
Once you have your soil test results, you’ll be able to figure out which base minerals need balancing in your soil. This is a super important step to growing nutrient dense food and growing plants that have stronger immunity against pests and diseases.
Okay, onto digging up a new garden plot using a no-till method.
Related: Why is Tilling So Bad?
how to start a no-till garden using the double digging method
When starting a brand new garden, or improving on an existing garden with compacted soils, my preferred method of “intense” soil preparation is the Double Digging Method.
I first learned about double digging from John Jeavons, founder of Ecology Action and the ‘Grow Biointensive’ farming method, and author of How to Grow More Vegetables, when he presented at the 2015 MOSES Organic Farming Conference (it’s so cool seeing celebrity gardeners in person!)
The Double Digging Method is simple: you dig down two shovelful layers of soil using nothing but old-fashioned manual labor. Using the least amount of effort possible, the digger is to “twist” the soil in patches while amending it using organic fertilizers and compost. It’s important to not “flip” the soil onto itself, as this exposes and oxidizes valuable soil microbial life.
I am SO excited to double dig our brand new 96’x30’ high tunnel beds, in preparation for an early Spring planting of flowers. Our high tunnel was constructed (December 2023) in our clay soil flower farm and I know that double digging the beds with compost and shredded leaves will get our flower plugs off to a strong start.
For excellent instruction on double digging: Watch this instructional YouTube video on double digging (note that there is a second part).
Here are some of my own double digging tips for you
Tip 1: Double digging need only be done for in-ground gardens. If you have a raised bed, simply hand cultivate it using a trowel. The method for hand cultivation is to “twist” the soil in the top 2-4 inches only – do not dig in and flip it over. Flipping the soil over will oxidize the microbial life and has the same negative effects as mechanical tillage.
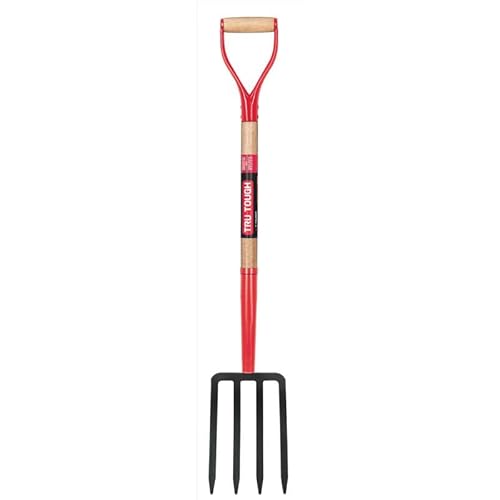
Tip 2: When double digging your in-ground garden, use a fork like this one (my favorite for soil prep). Again, you want to twist and scoot the soil over more than you want to dig and flip it over on itself. The less disturbance the better. If there are weeds growing, pull them out and toss them aside. Double diggings is meant to be gentle, so take your time.
Tip 3: For adding fertilizers, I recommend using a blend of Alfalfa Meal and Kelp Meal, which are two all-purpose, gentle, organic fertilizers that you can’t really overdo. Again, having a soil test performed is always the best way to ensure your soil nutrient profile is complete.
Tip 4: Double-digging won’t need to be done every year. The idea is to build your soil fertility over the course of the growing season by also cover cropping your soil and amending your soil with good quality compost and natural fertilizers. Remember that healthy soil results from lots of trials, observation, and a system of healthy practices.


benefits of double digging your garden soil
The benefits of double digging your garden are endless.
When done correctly, there’s no intense breaking up of the soil structure.
No mass killing of valuable microorganisms, so plants are naturally healthier.
Earthworms, spiders, centipedes and other beneficial bugs will be left in tact.
Plants’ root systems will grow deeper and stronger.
Once you build soil fertility with organic matter, your soil will hold more water, reducing the need to water as often. My favorite way to add organic matter to the garden is to add shredded leaves and a bit of good compost into the soil DURING the double digging process.
The main point I want to make here is that no till is the absolute most important factor when prepping your soil. There are many other ways you could prep your garden other than the Double Digging Method – this is just my preferred way of prepping a brand new garden.
I also love starting a new garden using the Sheet Mulching Method. Always remember there is no single, correct way to do anything when gardening. It is so important for us to be open-minded and experimental when we garden, and to do what is best for us and our space.

Feeding Your Soil with Compost and Compost Tea
Understanding what fertilizers are and why you are using them is the first step to feeding your garden properly. Most commercial fertilizers are made from synthetic materials that aren’t naturally-occurring at all – and the industry itself is incredibly dependent on fossil fuels. We should be moving away from fossil fuel dependency in our gardens.
So while using a slew of granulated synthetic fertilizers is an effective way to keep your plants dark green and happy for a short period, they can be harmful to soil life, even if the fertilizer is organic.
Read our (most popular!) post to understand more: The Reasons Why Synthetic Fertilizers like Miracle-Gro Are So Bad for Your Garden.
What you really want to focus on, rather than feeding your plants, is feeding your microbes and introducing more of them into your garden throughout the season. The best fertilizer you could ever use is one you can make yourself, for free, in your own backyard… Compost!
Related: How to Start a Biodiverse Compost Pile
Compost is not the same as soil, nor is it mulch. Compost is a soil amendment and microbial inoculant. When made properly, compost contains the richest, most biodiverse concoction of microorganisms, and the richest mix of organic matter. By mixing compost into your garden soil and spraying your garden down with compost tea, you introduce a plethora of new, beneficial bacteria and fungi into your garden.
The more diverse your soil microbiology is, the healthier your plants will be!
when to add compost to your garden
During Initial Soil Preparation: If you’re using the Double Digging method, incorporate compost during this process. If you are not double digging, simply add a 3” layer of compost on top of your garden beds and sink a fork in every 6 inches to help incorporate the compost (this is a great tool for the job).
Mid-Season: Side dress your long-term, heavy feeding plants (fruiting veggies and perennial plants) with a few handfuls of compost a few months after planting. Sprinkle the compost around the base of your plants — earthworms and other soil microbe life, along with summer rains, will work to incorporate the compost deep into the soil over time.
Compost Tea: Spray homemade compost tea once per month throughout the growing season. I highly recommend spraying compost tea on planting day and after that, once per month. You can spray more frequently if you are really into it (it’s totally okay to be really into compost tea) and take good notes/observations on what happens after application. Always apply when it is overcast or when the sun has gone down so you don’t burn your plants’ leaves when the sun is high and hot. When made properly, compost tea is ultimately the best microbial inoculant, and garden fertilizer, you could possibly use.
For help on how to make compost tea, I recommend this book as a resource: Teaming with Microbes: The Organic Gardener’s Guide to the Soil Food Web by Jeff Lowenfels and Wayne Lewis.
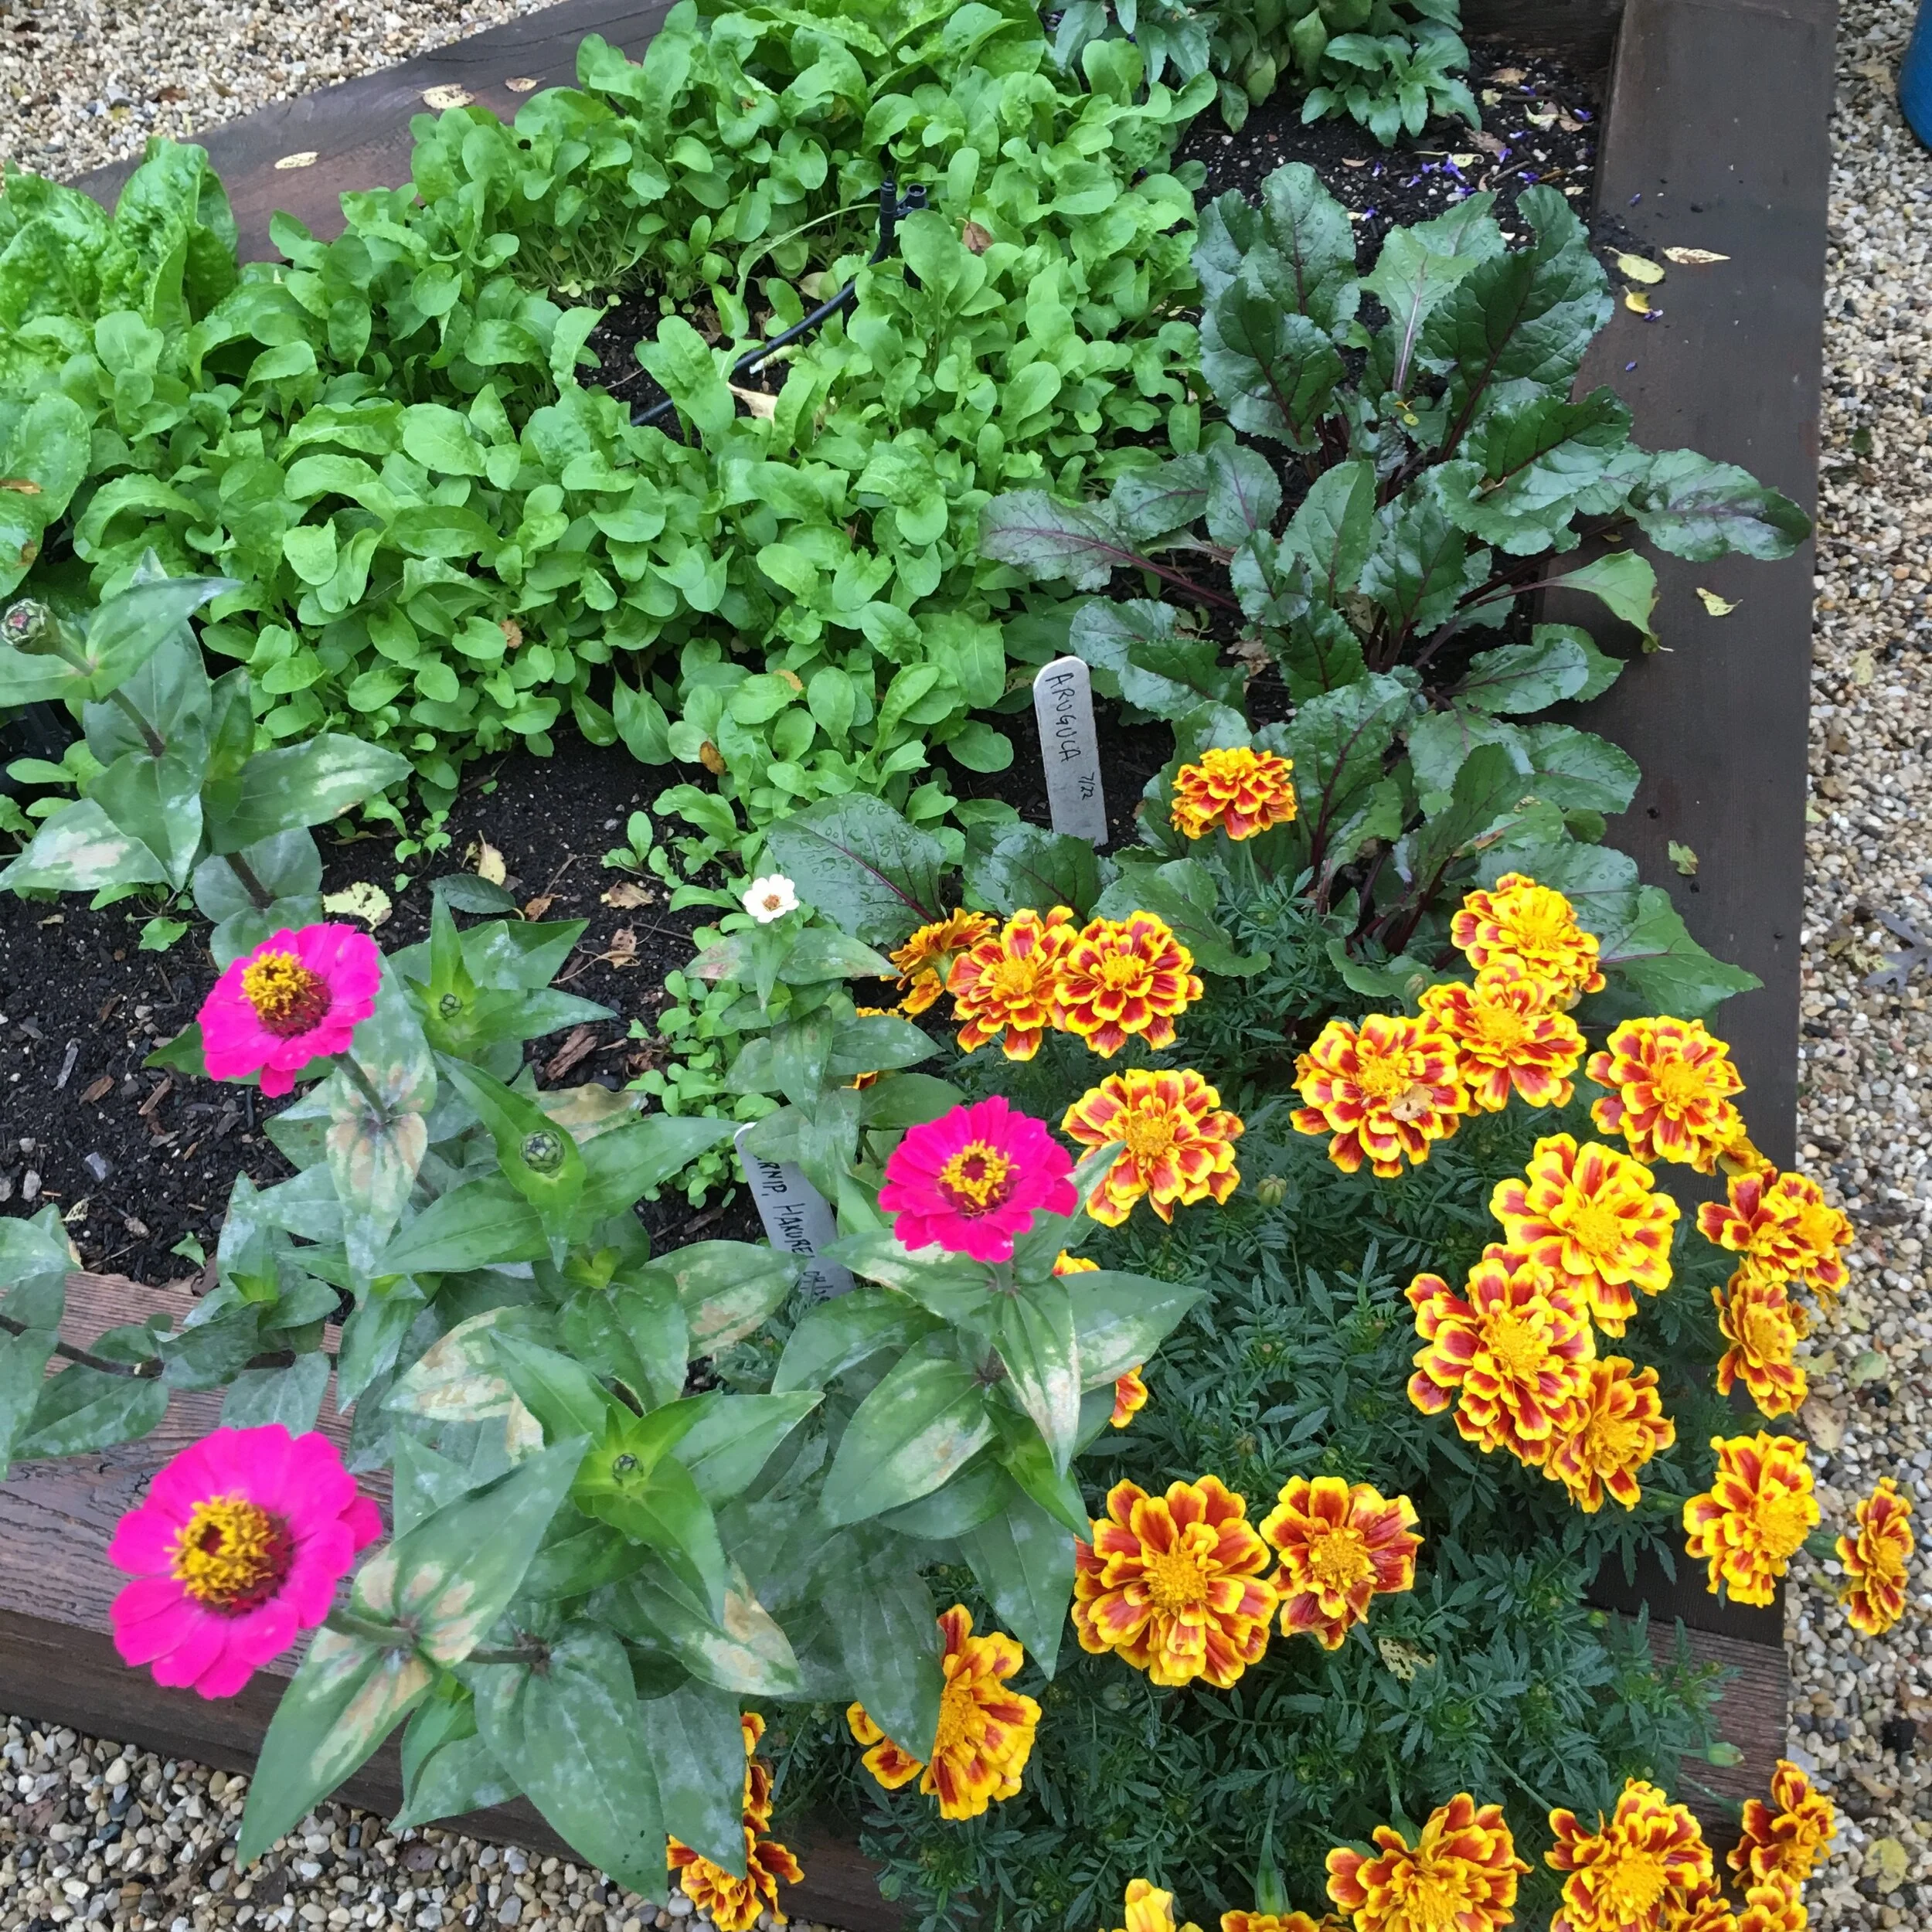
Planting Polycultures and Cover Cropping to Build Soil & Insect Biodiversity
When I think about a polyculture, my mind dances up and down differing heights and textures of greenery, the soil is completely covered with plant material, and colorful blossoms poke themselves in and out of everything.
Polycultures, simply put, are communities of plants that are grown together to form beneficial relationships over time while increasing the biodiversity of the entire Soil Food Web, from invisible soil microbes to backyard frogs, snakes and birds. The plantings can be simple or incredibly in-depth, ranging from the beloved Three Sisters Guild of squash, corn and pole beans to edible forest gardens that contain a multitude of different species of plants (fruit trees, brambles, annual and perennial vegetables, etc) all growing together and benefitting one another.
Sounds like interplanting and companion planting, right? These two gardening practices forms of polyculture, but both of them only scratch the surface. I say that not to dumb either of these methods down, but I think we can do better in terms of understanding plant relationships on a deeper level. When we truly understand how our plants work together and complement one another, that is when we become better gardeners.
Related: Digging Deep: How to Suppress Weeds Organically Without Chemicals
The level of depth that you want to understand polycultures is entirely your choice, so don’t feel overwhelmed. The point I want to make here is that even a small 4’x8’ veggie bed can benefit from polycultures.
To plant a polyculture takes a bit of know-how in terms of how quickly plants grow and how big they get, but with a bit of experimenting you will gain knowledge quicker than you ever imagined. Experiment with plantings as much as you can! There are no hard rules, just guidelines. I’ve listed a few of my tips below to get you started.
Related: Starting Seeds Indoors: Biggest Mistakes to Avoid
Tips for Planting Polycultures in an Annual Vegetable Garden
Mix plant families so mostly different plants are growing together. For example, if you have four garden beds and want to plant Brussels Sprouts, Broccoli and Kale (all in the same Brassica family), you would plant one in each of the four beds rather than all together in one bed. Not only are these all taller, longer season crops that will provide a shaded understory for lettuces, spinach and other tender greens, but their biggest predator, the cabbage looper, is also more likely to be confused by the separateness and do less overall damage. Apply this example to every plant family.
Plant many quick-growing, shallow rooted crops. These include radishes, hakurei turnips, arugula, lettuces and other cutting greens such as mustard, mizuna, tatsoi and baby kales. These crops are quick to grow from seeds and act nicely as a living mulch, suppressing weeds and keeping soil moisture in. You will also be able to harvest these crops as baby greens… no space is wasted!
Related: The Ultimate Herb Garden for Zone 6b
Choose species that, when planted together, provide many support functions. Support functions include:
Nitrogen fixation: When certain crops, such as legumes, can transform atmospheric nitrogen into a useable form for other plants at their roots;
Nutrient accumulation: When taproots mine nutrients from deep within soil and bring those nutrients to the soil surface in their foliage for other plants to use (comfrey and dandelion greens are great examples);
Living mulch/groundcover: When plants grow as a groundcover to suppress weeds and protect top layer of soil from harsh weather, sun, and prevent soil moisture from evaporating (creeping thyme, cutting lettuces, sweet alyssum, vining squash);
Vertical support trellis: When tall, sturdy plants (corn, okra, sunflowers) can act as a trellis for vining plants (cucumber, squash, melons) to grow on;
Attract pollinators and provide nectar (native flowers are a wonderful source for this).
Harvest whole plants. Polycultures are busier and more full than traditional straight row plantings; however, they are not meant to be overcrowded, otherwise disease may strike due to lack of airflow between plants. By harvesting whole plants (for example, entire heads of lettuce rather than leaf by leaf) you will free up valuable air flow, space and sunlight for the other plants nearby.
For a more in-depth discussion of understanding polycultures, their functions, and a whole set of guidelines on how to design your own, I highly recommend reading this fabulous book: Gaia’s Garden: A Guide to Home-Scale Permaculture by Toby Hemenway. There are several chapters dedicated to polycultures and plant guilds.
Okay, now what is cover cropping?
Cover Cropping is an entirely different method of soil building, and I want to expose you to the idea because it is entirely feasible for you to practice cover cropping in your smaller, backyard garden. You may also decide that cover cropping is a more straight-forward approach and prefer to use this method instead of polycultures.
To learn how to cover crop, I have written an entire post about cover cropping here.

How to Mulch Your Garden to Build Soil Organic Matter
Mulch serves a wide variety of functions and is one of the easiest of the steps in this list to achieve.
When we cover our soil with a mulching material, lots of awesome things happen…
Mulching suppresses weeds;
Soil moisture is kept in reducing the need to water as frequently;
Mulch material breaks down over time providing valuable organic matter to our soils;
Mulch helps prevent soil erosion in rainstorms and during late winter snow melt;
“Good” mulch (organic, chemical-free) feeds the Soil Food Web;
Mulch protects the top layer of soil from nature’s harsh elements. Most of the microbial activity in our garden soil is contained in the top 4 inches. When left uncovered, the hot sun dries the top layer of soil out, Winter cold freezes it solid, and the rain pelts down on it, harming the soil life inside.
When I say “mulching material,” just to be clear, I don’t mean bags of wood chip mulch at the garden center – I mean softer, natural materials like straw or decomposed leaves. You absolutely do not want to add bagged landscape mulch to your veggie garden – not only are they laden with colorants and other chemicals, but the wood does not break down fast enough to support healthy bacterial colonies, which is what your annual vegetables crave.
Related: Outsourcing Compost and the Risks Involved
mulch materials for your annual vegetable or flower garden
Straw is an economical option because not only is it initially cheap to buy, but you can also use it for walking pathways. It is good to use around baby seedlings because it will help prevent birds from nibbling at them, and it will partially break down over winter so it may be incorporated into your soil during preparation in spring. A potential problem with straw is that, in my experience, a lot of times there will be seed heads present and you’ll have to contend with pulling grass. You can avoid this by sourcing seed-free straw (not easy, in my experience), buying spoiled straw, or by leaving it out in the rain/sun for a season before using it.
Related: How to DIY a Seed Starting Setup
Decomposed leaves, or leaf mulch, is my all-time favorite mulching option and adds a good amount of nitrogen to the soil as it breaks down and becomes incorporated into the garden bed. Earthworms love it, and as they shred it down, the vermicastings (poop) they leave behind are laden with beneficial bacteria that are essential for annual vegetable gardens. If you have a lot of trees on your property, you could create a compost pile of leaves and make your own leaf mulch. I actually drive around my neighborhood in the fall and collect tubs of shredded leaves off the side of the road and bring them to my farm… for free!
If you’re interested in using shredded leaves for mulch, you’ll find this post on improving soil interesting.
Woodchips are great for perennial gardens, or walking pathways, only. Lignin material in the wood sucks up and holds nitrogen in the soil, which is one of the most important elements for annual plants. For perennials, this is generally fine, and perennials also appreciate the intense fungal networks that woodchips encourage in a planting bed.
Other mulching options you could explore:
Spent grains from a brewery (I’ve never tried this)
Layers of pine boughs for perennial gardens
Layers of cardboard with other mulching material on top (Read our post on Sheet Mulch Gardening for a tutorial)
Shredded cardboard packing material
A deep layer of weed-free compost on top of garden bed
Living mulch (seeding clover, sweet alyssum, chives, etc in between perennial crops)
Chop ‘n Drop (scroll for our final part of this post on Chop ‘n Drop…)

Using the Chop ‘n Drop Method to Increase Soil Fertility
My mind always refers to old growth forests when I chop ‘n drop my garden. In a forest, everything that grows up eventually comes down – and stays there, forever. Dead leaves, branches, insect bodies, seed pods, crumbling bark, and entire fallen trees lay to decompose on the forest floor. I recently finished reading The Hidden Forest: The Biography of an Ecosystem by Jon R. Luoma, where I was enlightened by this entire closed forest system. A dead tree lying in decomposition on the forest floor is more alive than a living tree. It provides habitat and a food source for a whole slew of insects and microorganisms; it holds water like a sponge, hosting mosses; and slowly breaks down adding new layers of rich, organic matter made from the very stuff that grew there in the first place.
We should mimic this natural forest system in our gardens, but in a way that makes sense for our space.
Related: Using Burlap & Leaf Mulch as Organic Weed Suppression for Perennial Shrubs
“Chop ‘n Drop” is a nickname for chopping plants at their base and dropping the soft remnants (leaves, flowers) in the garden to decompose over time. Roots are left intact to decompose and host fungal hyphae. Chop ‘n drop is an especially great practice at the end of a growing season when the dropped materials can provide a nice thick layer of insulation for the soil over the winter.
Tips for Chop ‘n Drop to Build Healthy Soil Naturally
At the end of a plant’s life cycle, or at the end of the growing season, “chop” the plant at the soil line with pruners or loppers, leaving roots in tact. Roots left underground will help prevent soil erosion, leave hyphae of mycorrhizal fungi in tact, and continue to feed microbes at the rhizosphere where most soil microbial activity occurs.
Pull all leaves off the stems and let them drop onto the soil surface. Only do this with plants that have no signs of disease or insect infestation! Good plant leaves to drop are: greens (make sure they are free of aphids), peppers, eggplant, and brassicas (broccoli, brussels sprouts, cauliflower, etc). Be wary of tomatoes and cucurbits (squash, cucumbers, pumpkins, etc), which are susceptible to many fungal and bacterial diseases that may overwinter in your garden if left behind.
Compost stems and thicker, woody plant matter.
When thinning out your brambles such as raspberries and blackberries, leave all the old canes at the base of the plants. The natural habitats of these plants are woody areas, so we should mimic what nature would do.
After you’ve chopped ‘n dropped your garden, top your garden beds with a 1-2” layer of compost, and mulch on top of that, if you have access to any. Not only will this help break everything down quicker, but it will add more mass to your beds and cover up the mess we just made.
Related: The Difference Between Organic, No-Till, Sustainable and Regenerative Farming
Well, that was A LOT OF INFORMATION and I’m super impressed if you’re still here with me. There are a multitude of ways we can build healthy soil naturally, without machines, without synthetic fertilizers, and without much work! By mimicking nature, we help restore our soils back to their original fertility.
What are other soil building techniques you use in your garden? Leave a comment!
